Tinting of leads can be done by priority, by date and by responsible person
Color highlighting of lead cards by conditions
Detailed guide for working with widget "Tinting leads"
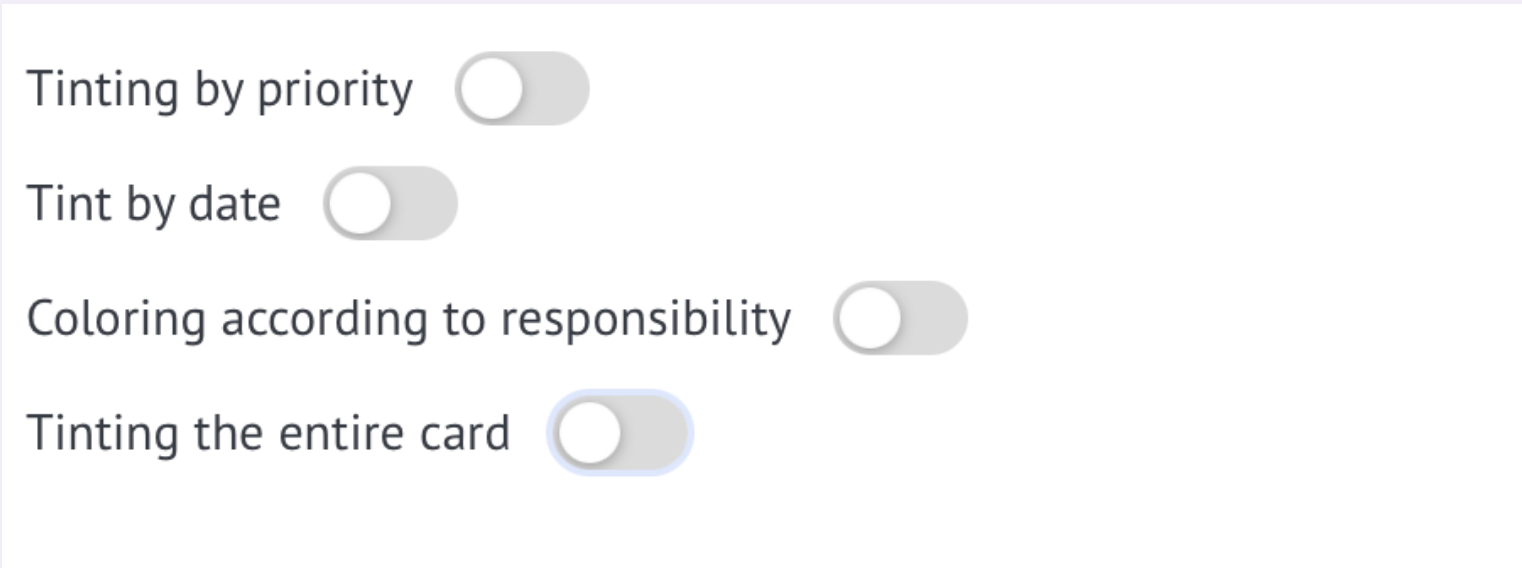
Tinting of leads can be done by priority, by date and by responsible person
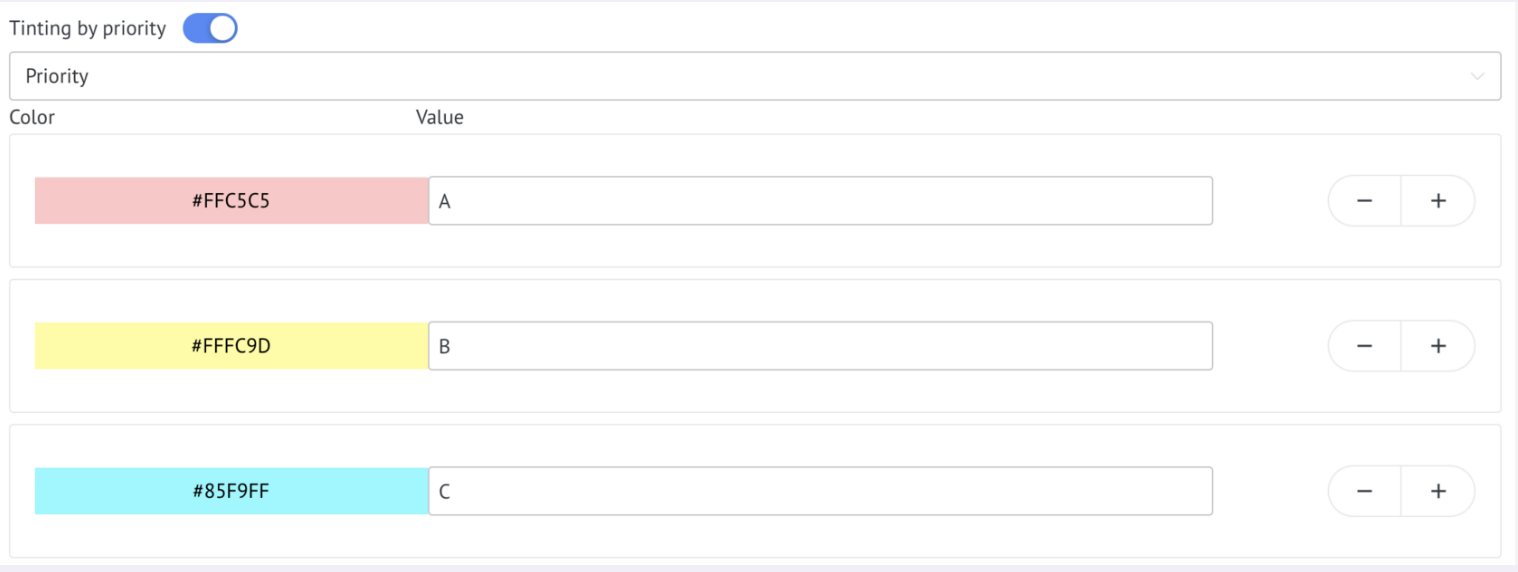
In the widget settings, enable the Priority Tint checkbox and select the field. This field must be of the "List" type and have one or more value options.
In the Color field, select the tint color, and in the Value field, specify the value of the list.
To add a new value and color, click on +
If it is necessary for leads to be colored by date (or a few hours before a certain time), it is necessary for the leads to have a field with the type "Date"/"Date and time". Next, fill in the widget settings fields "Color", "For how many hours" and "Date field".
If the checkbox is enabled, do not touch up if the date has already arrived.
Then, upon the arrival of the date/date and time specified in the leads, the leads stops being tinted.

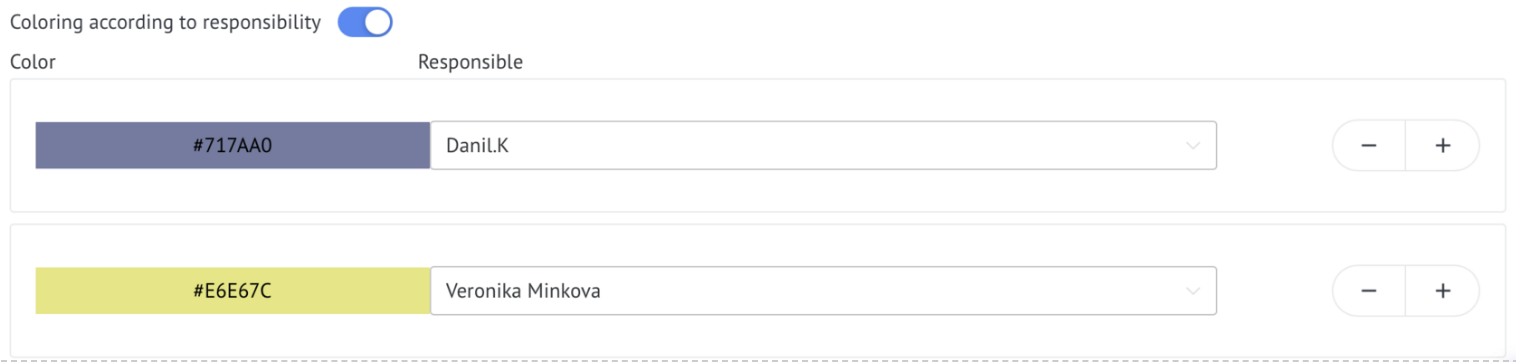
If leads need to be tinted according to those responsible, then you need to enable the Tinting by responsible checkbox, select the color and the responsible person.
To add a new responsible person and the color of his deal, click on +
After completing the settings, you need to save them by clicking on Save
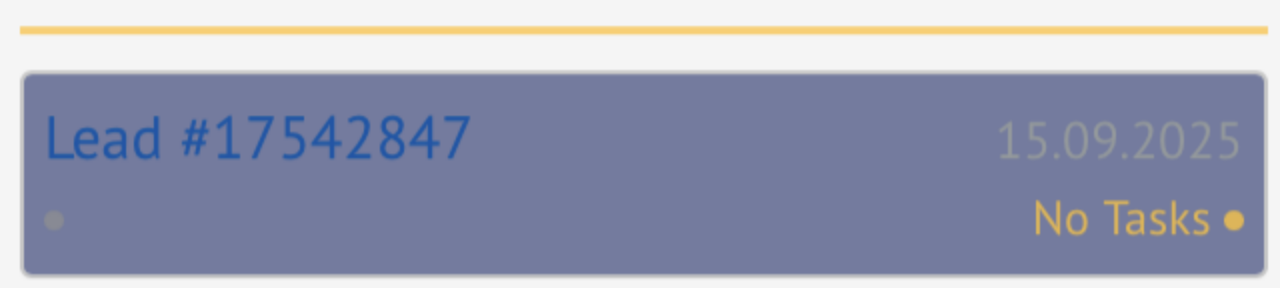
If the checkbox is enabled, the tinted lead will look like this
If the checkbox is turned off, the tinted lead will look like this
