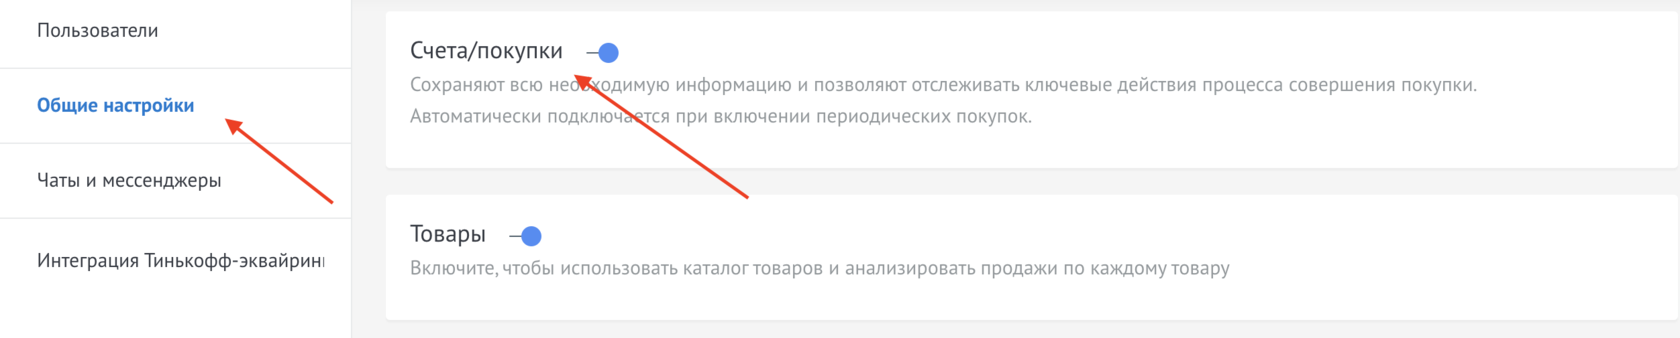
Before you start, you need to go to settings and enable work with Accounts/Purchases
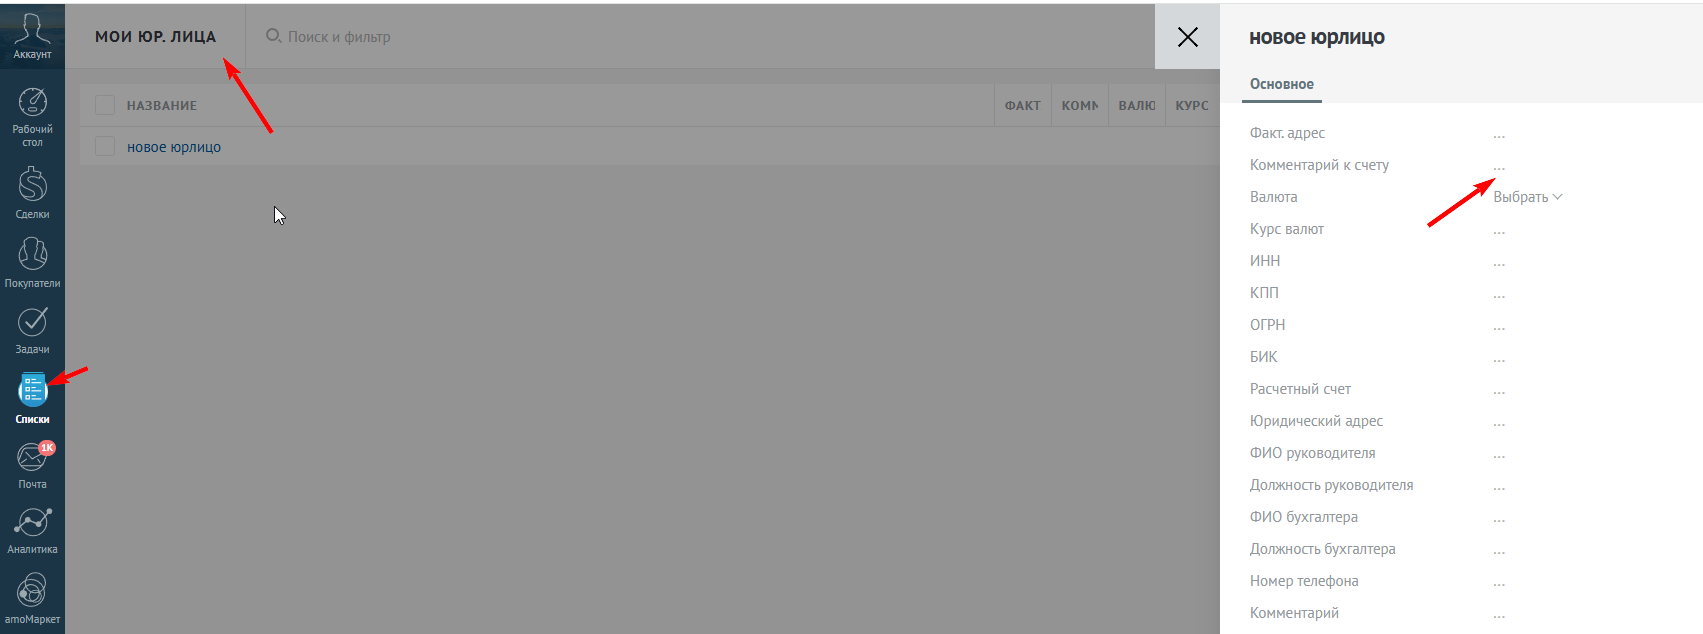
Next you need to go to Lists, My legal entities list and Add element
Add the required number of legal entities
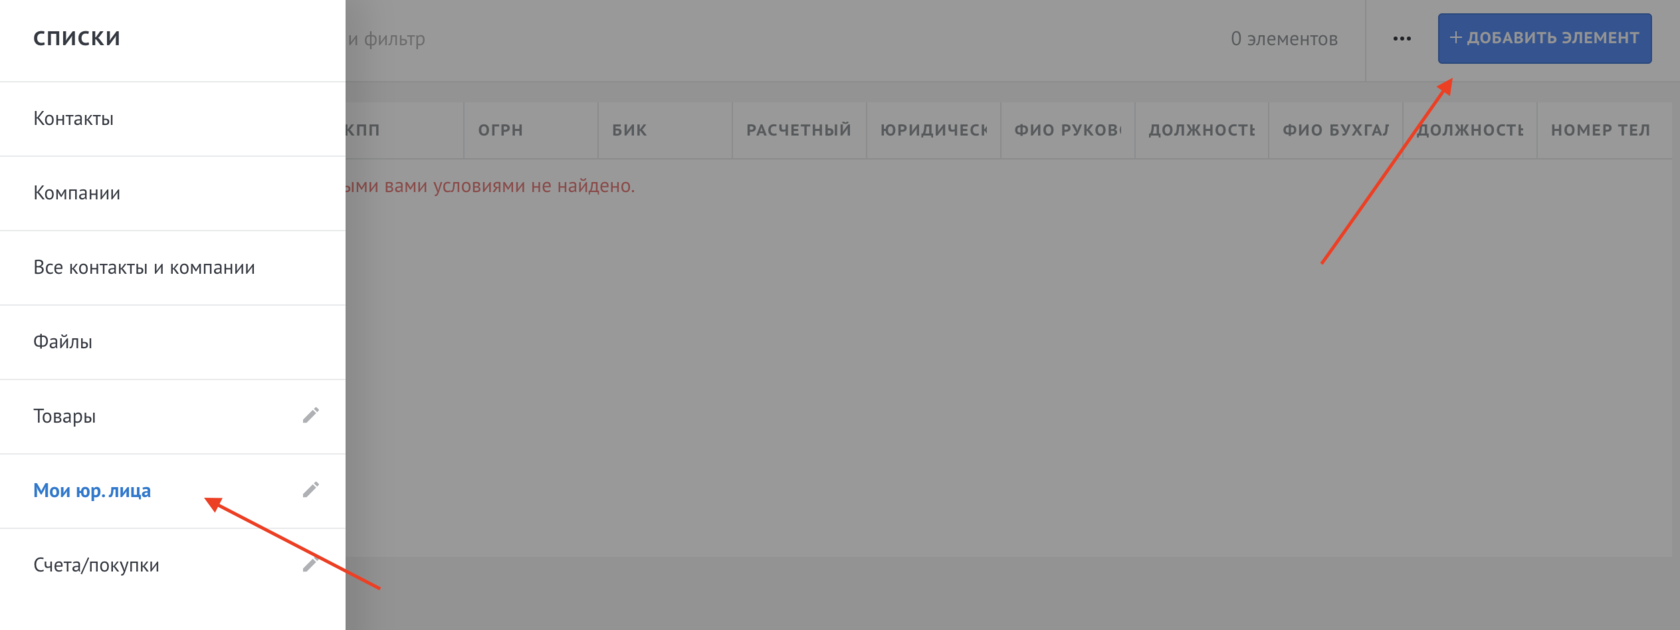
Or Add a legal entity in the widget settings

Integration with the international payment system Stripe
Detailed guide for working with widget "Stripe"
ℹ️If you don't yet have a Stripe account, register
Before you start, you need to go to settings and enable work with Accounts/Purchases
Next you need to go to Lists, My legal entities list and Add element
Add the required number of legal entities
Or Add a legal entity in the widget settings
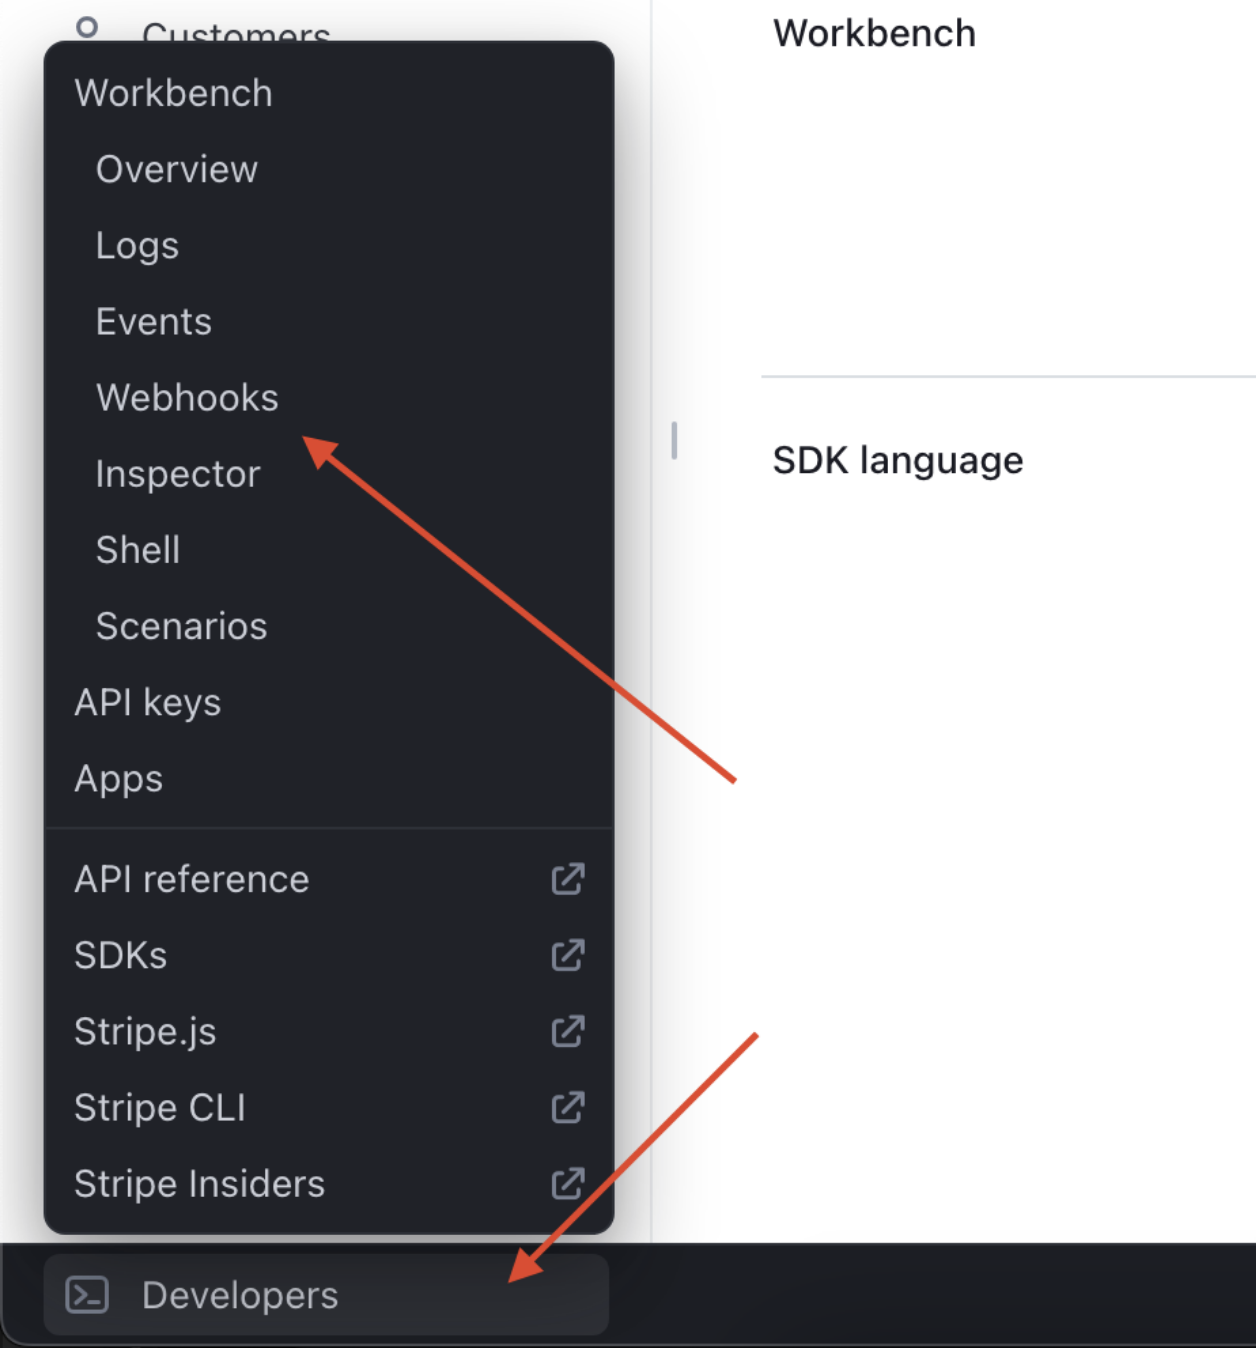
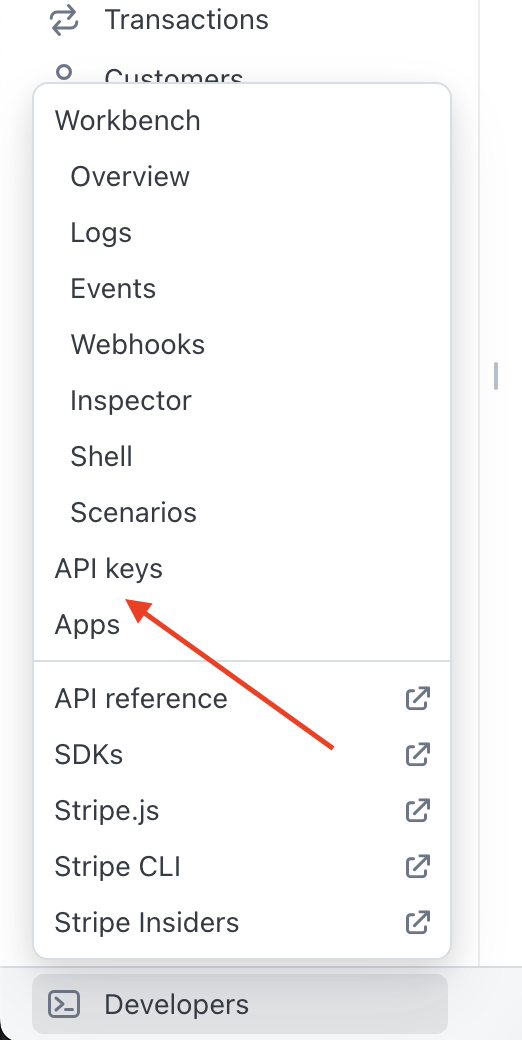
First, you need to log into your Stripe account and go to Developers
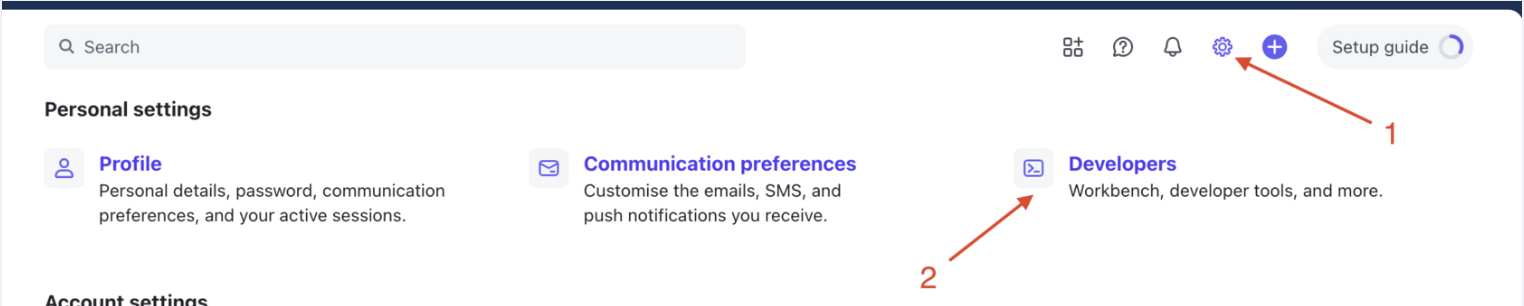
1. Go to the Webhooks tab
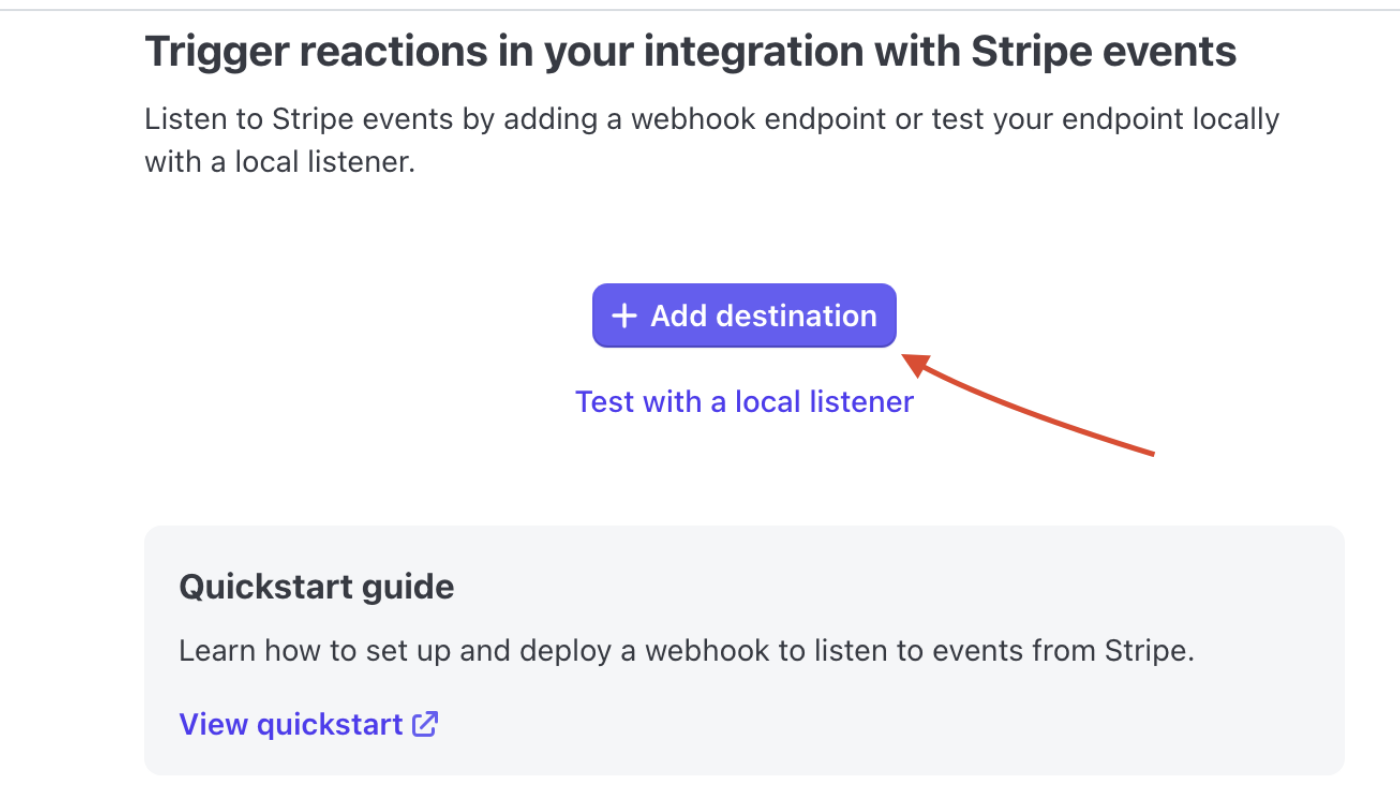
2. Click on Add destination
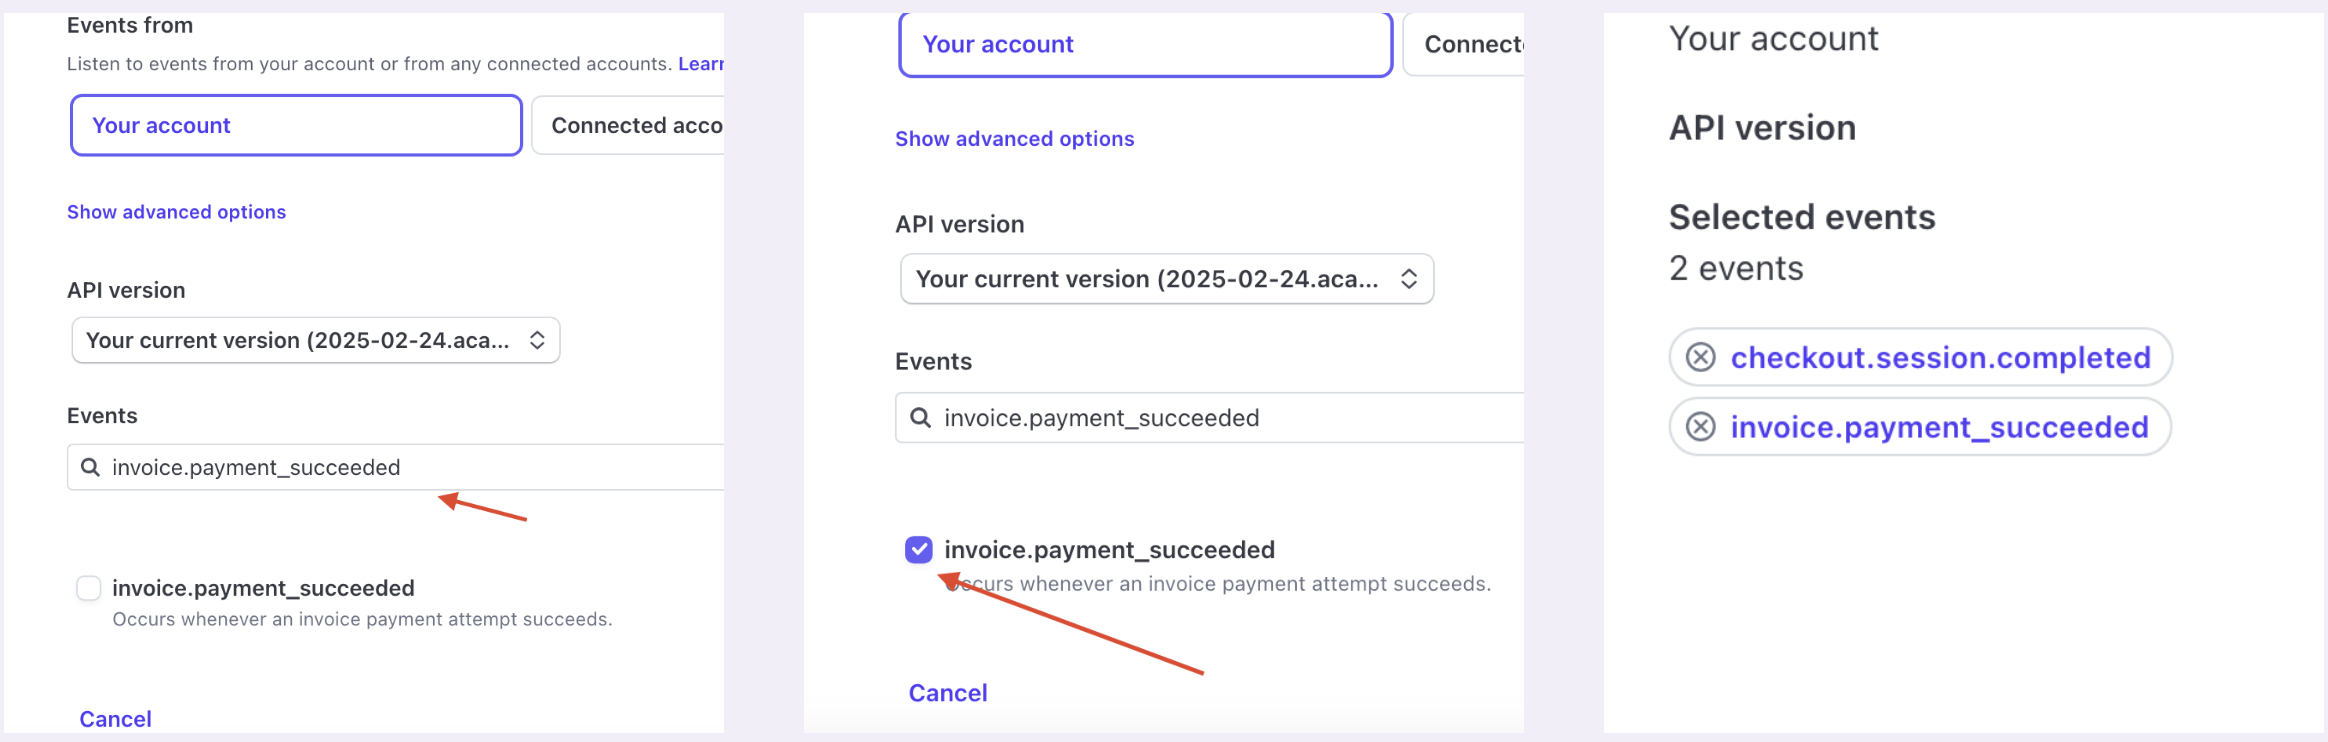
3. In the search, enter invoice.payment_succeeded and checkout.session.completed and click on the checkbox
4. Click on Continue
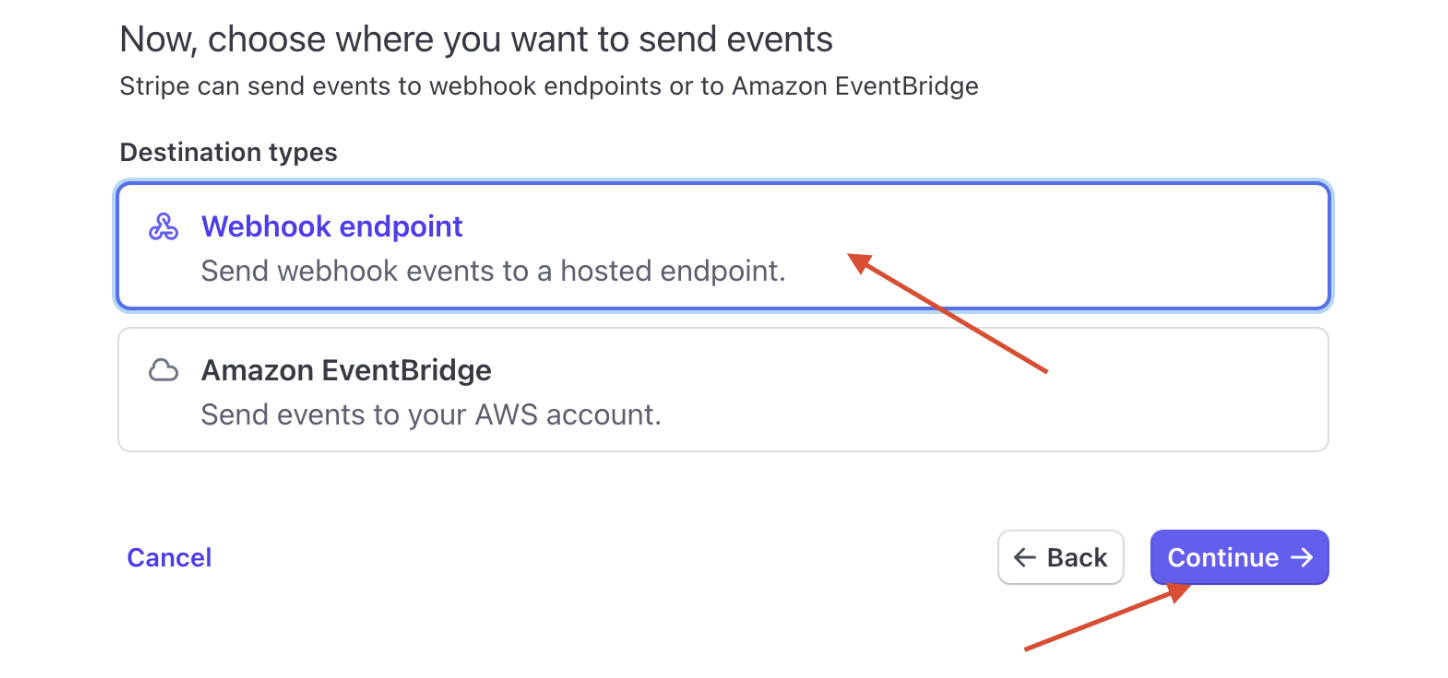
5. Select Webhook endpoint
6. Click on Continue
7. In the Endpoint URL field, add a link https://sp1-nova.com/api/stripe/webhook/
8. Click on Add destination
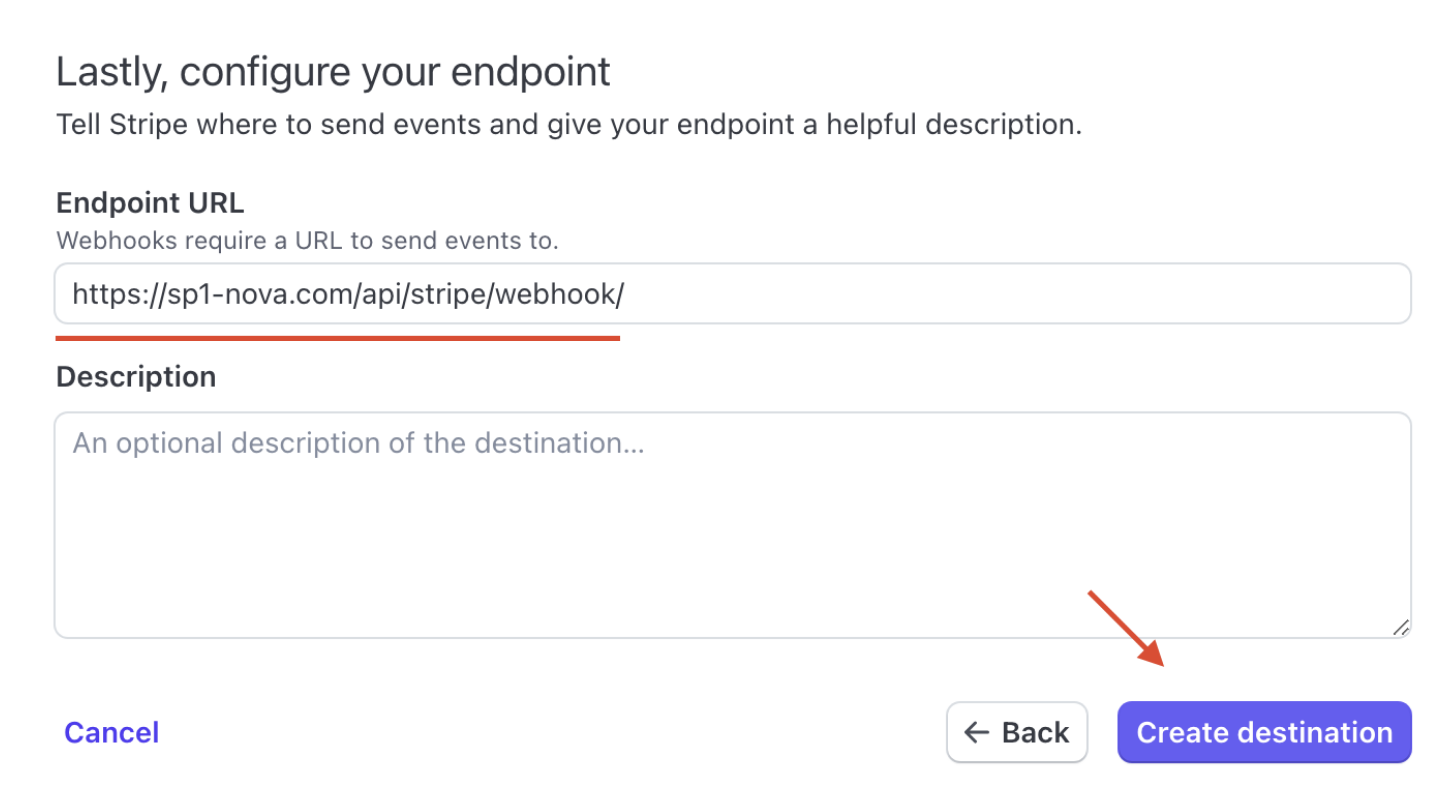
Then you need to go to the API keys tab
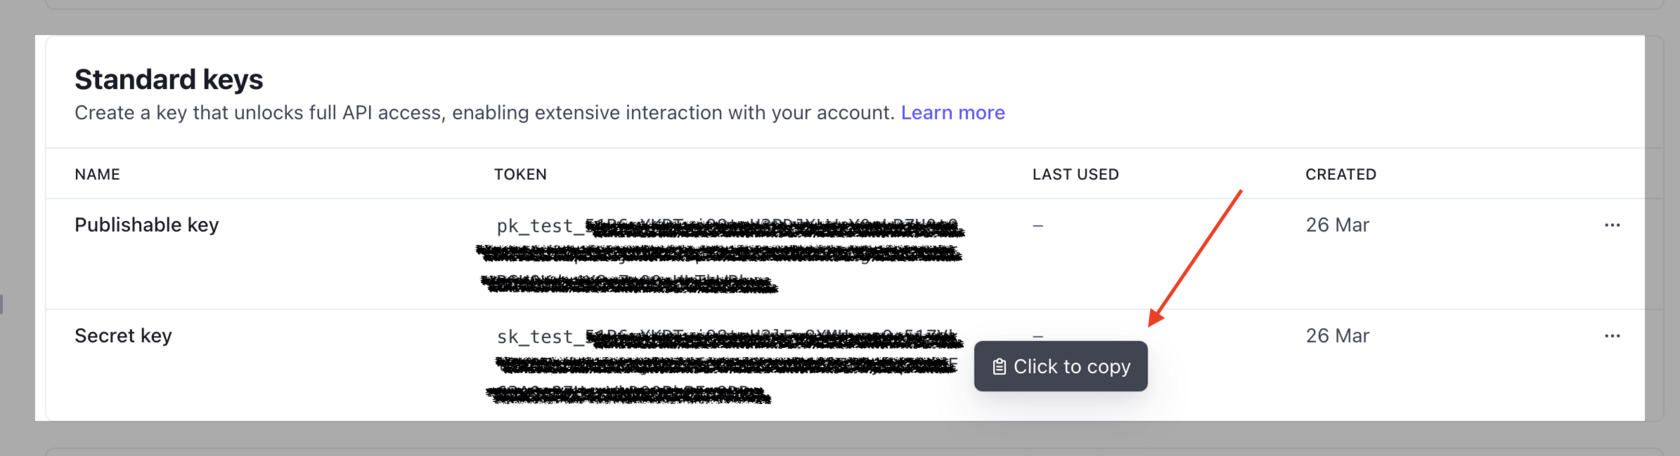
Find Secret key, click on it and copy
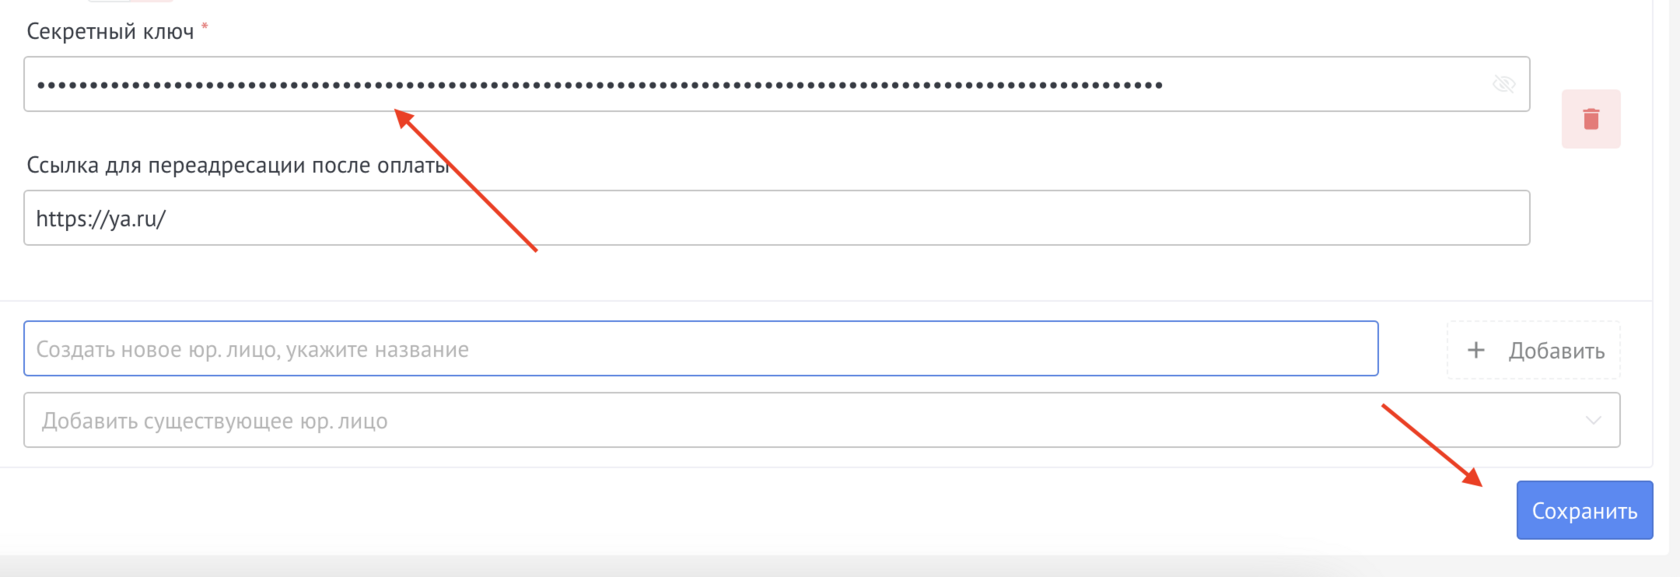
Go to widget settings, select the desired legal entity in the drop-down list

Paste the copied key and click Save
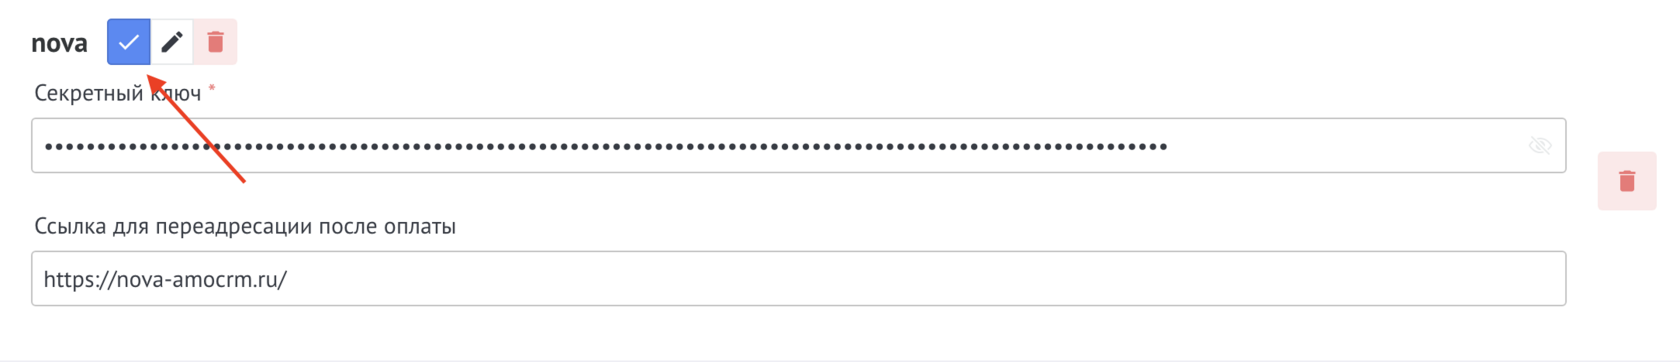
In order for one of the Legal Entities to be automatically added to the account, you need to make it the default by clicking on the checkbox
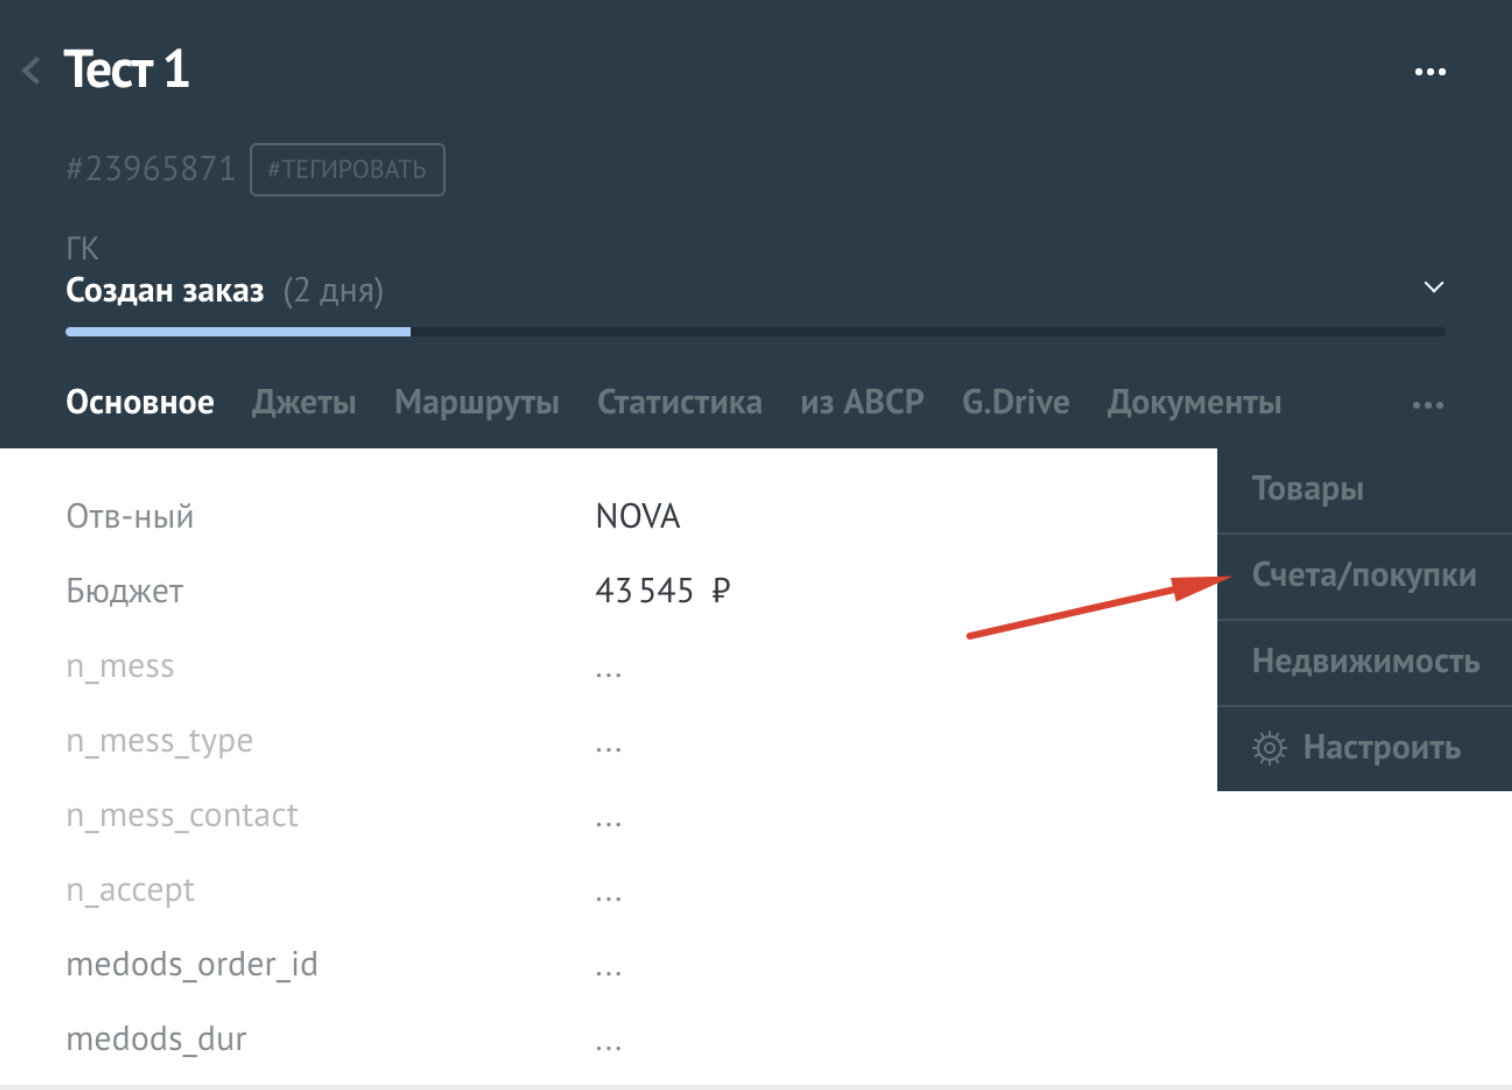
Invoices are created and deleted in the lead card. The tab sits in the «…» menu of the lead and is named «Invoices/purchases». There is no separate option for invoices in the widget settings.

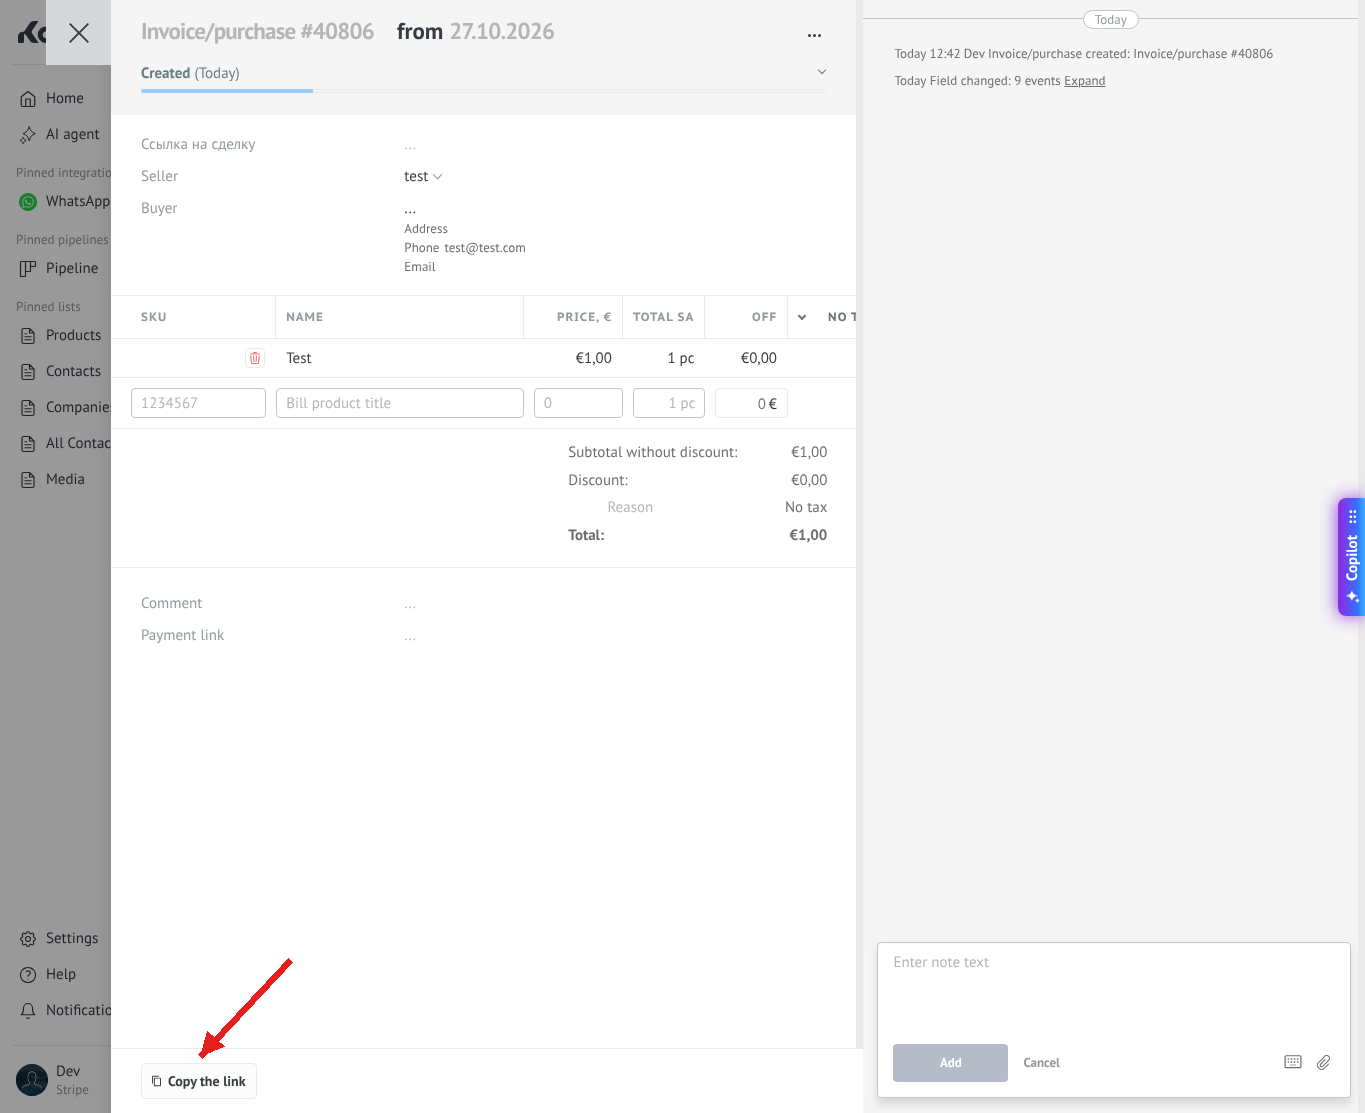
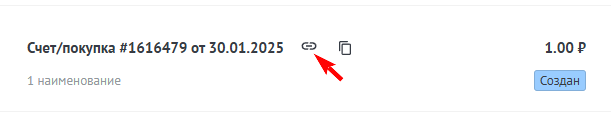
At the bottom of the new invoice, click «Copy the link» and send the link to the client. The client opens this link to pay.
Open the invoice on the Invoices/purchases tab and click Delete. An invoice cannot be deleted from the widget settings.
Next you can copy the link and transfer it to the client for payment, this can be done in two ways:
1. Copy link in invoice
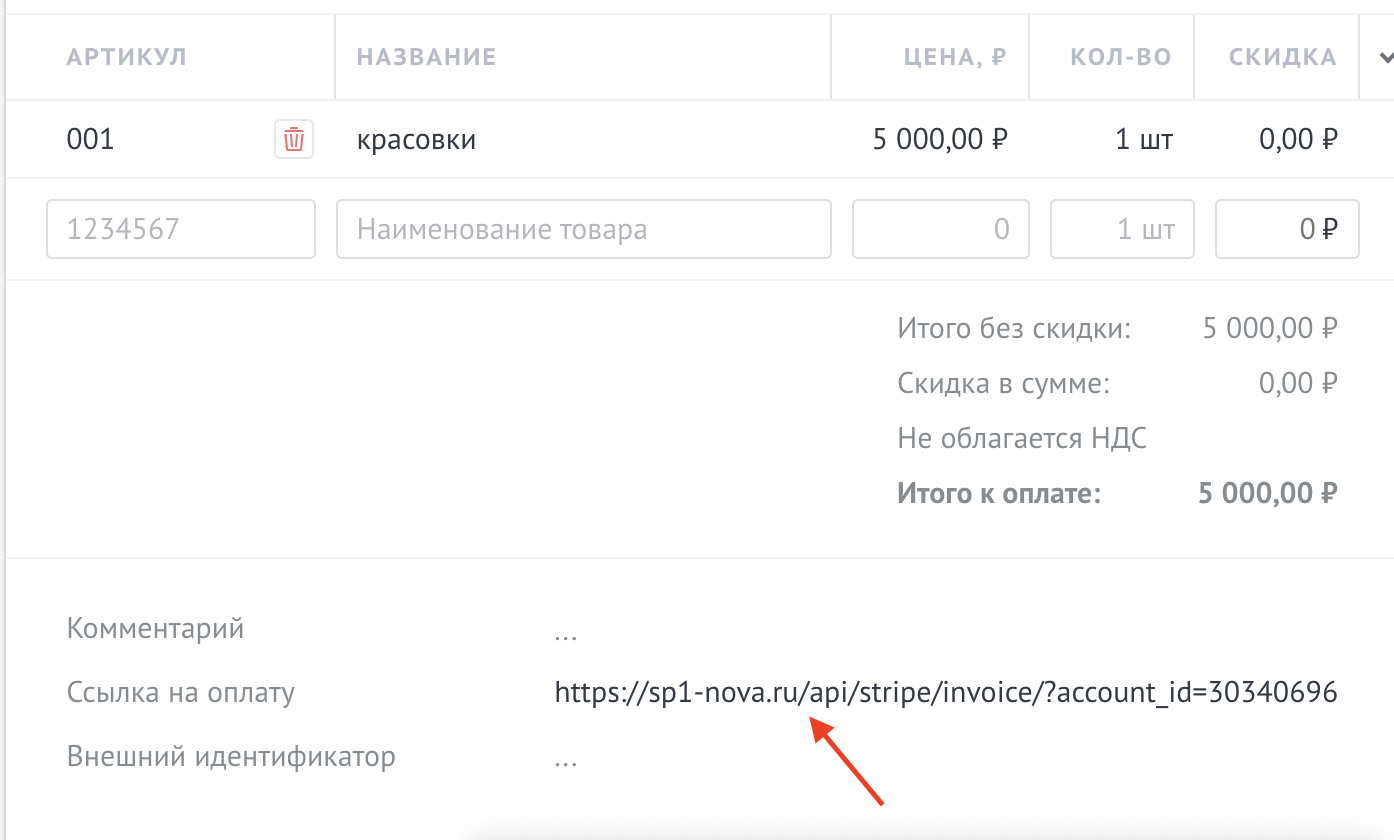
When a trigger is fired in a lead, an invoice is created, a link to pay this invoice will be inserted into the field you selected.
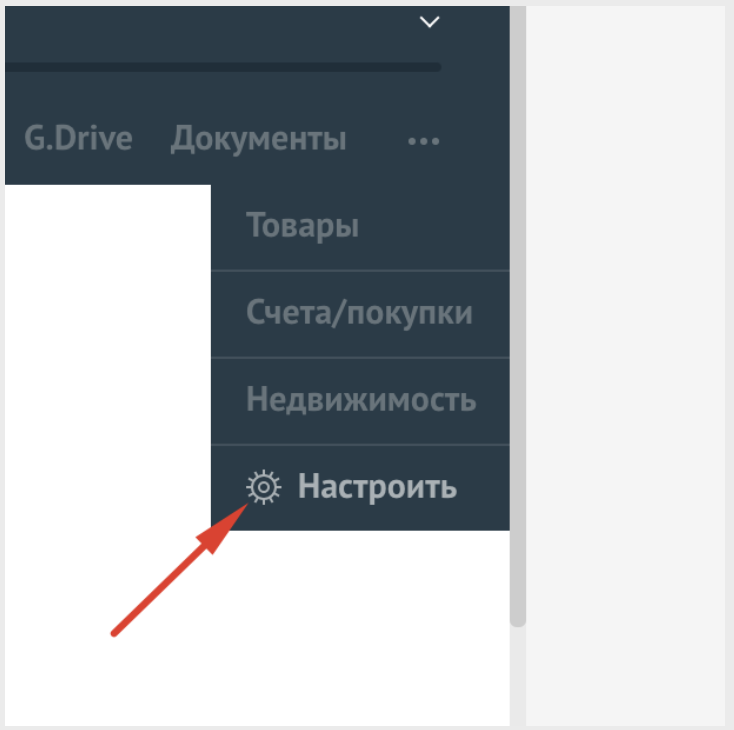
Before proceeding with the settings, you need to:
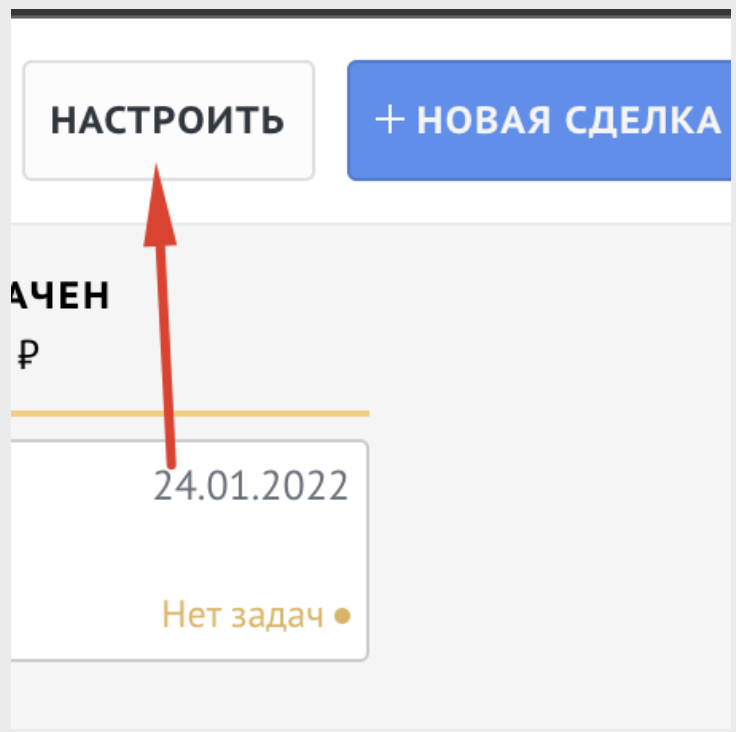
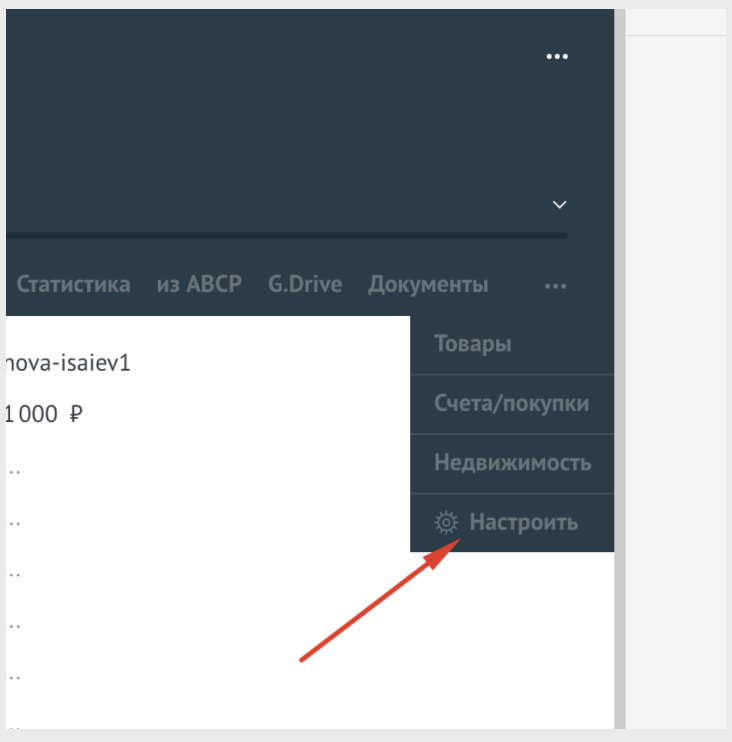
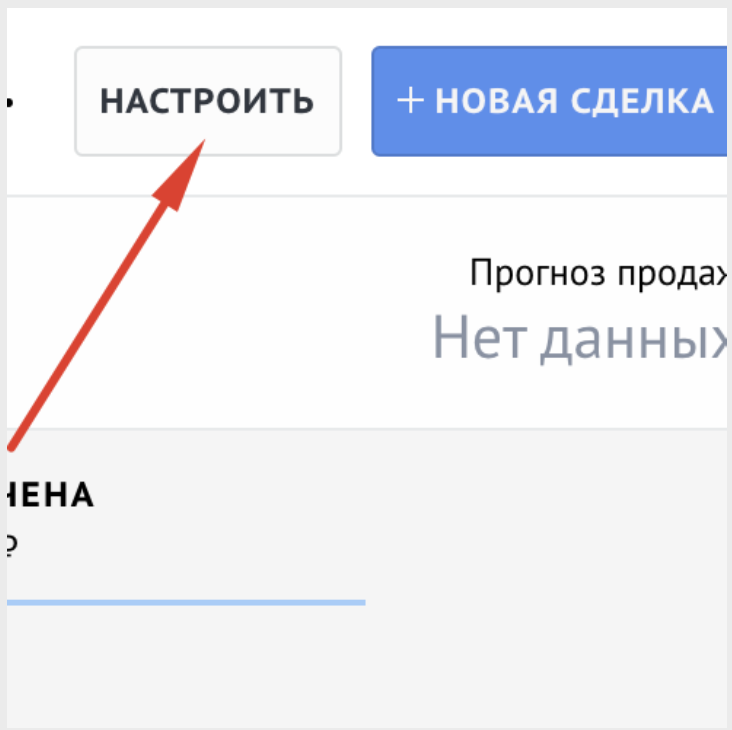
1. Enter the lead and click Setup
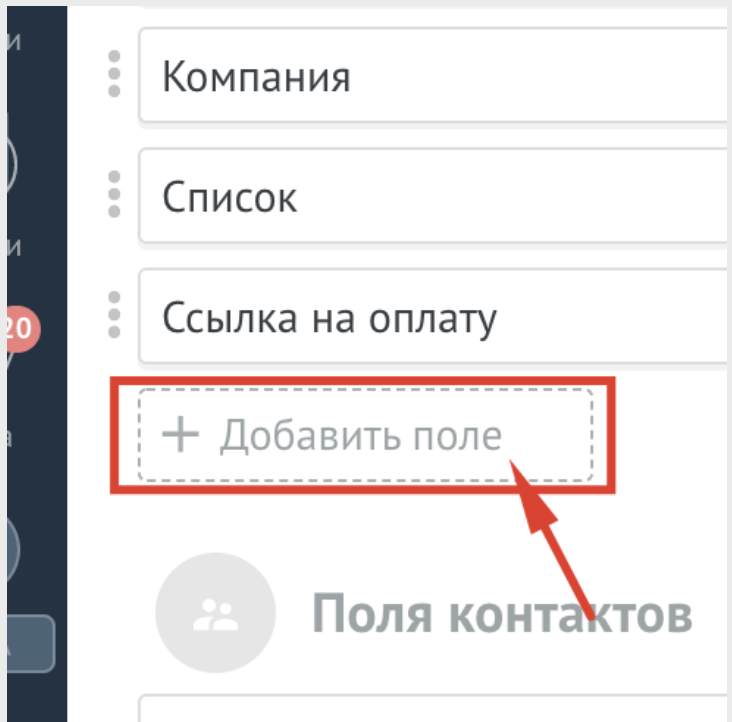
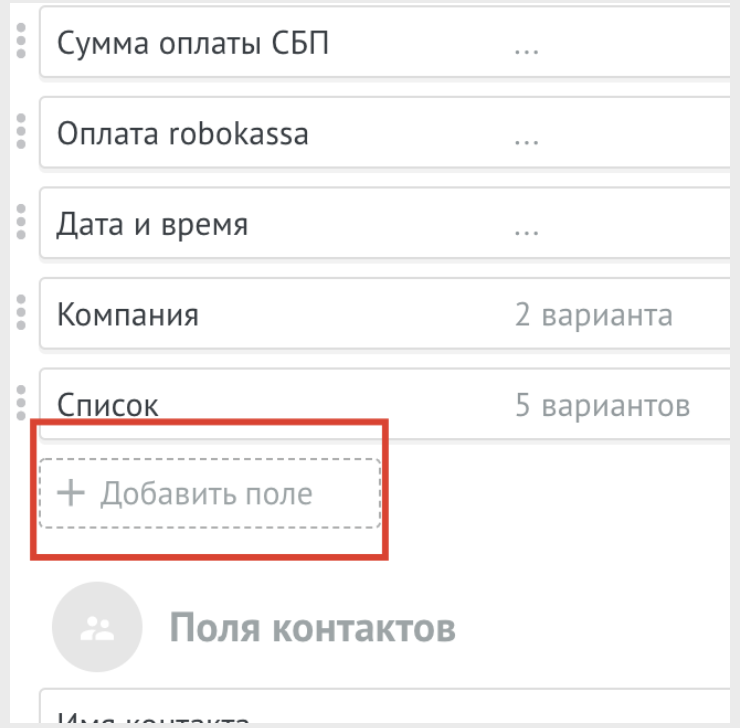
2. Click Add Field
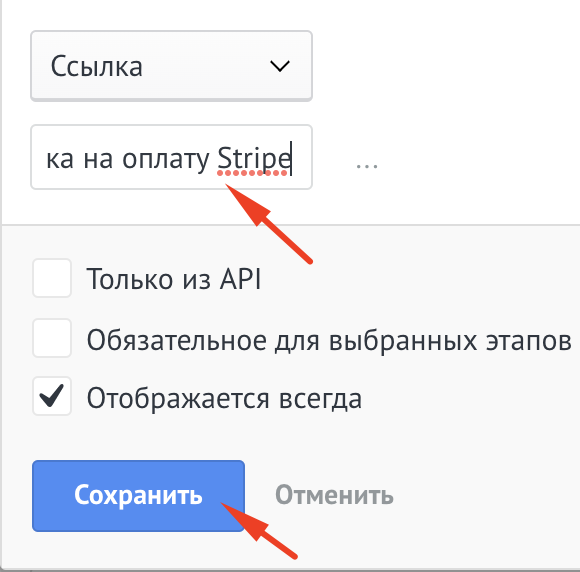
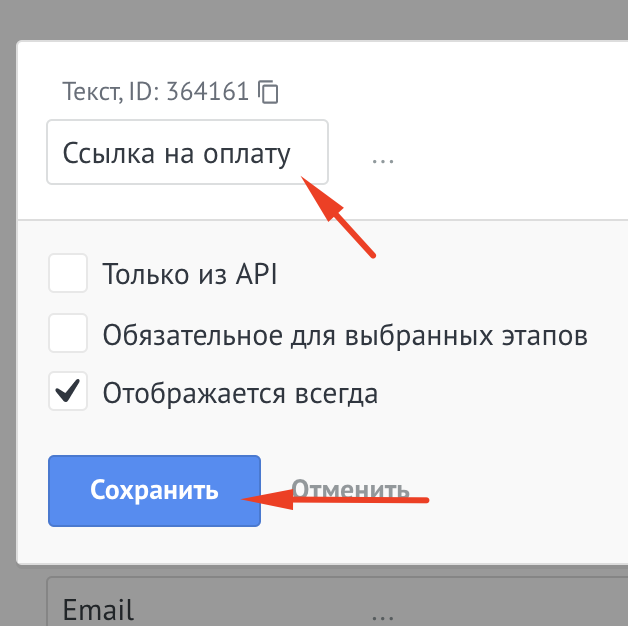
3. In the drop-down field, select Link, enter Stripe payment link, click Save
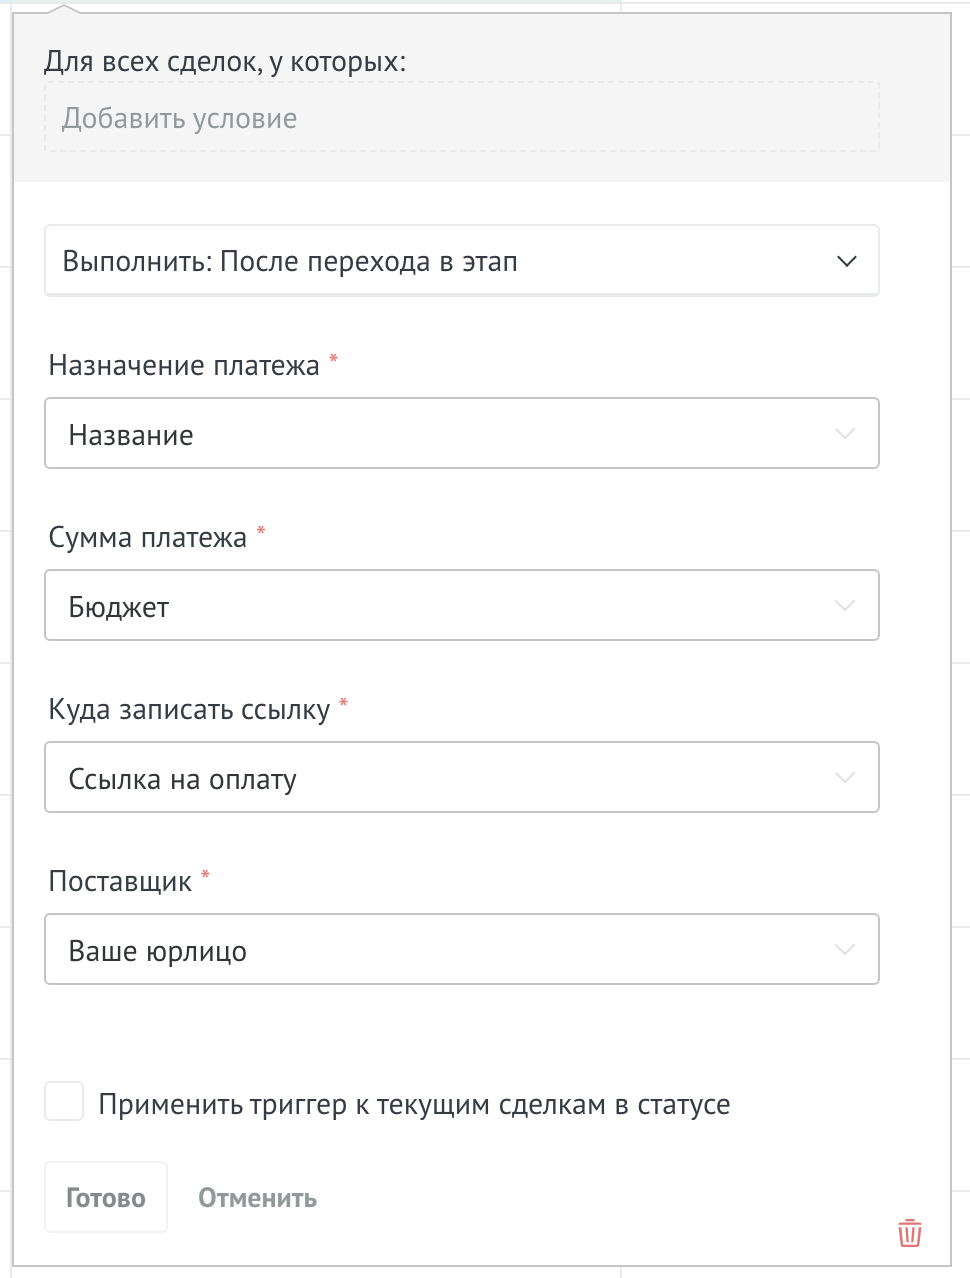
How to set up automatic billing
Before further configuration, you need to add a field to the lead:
1. Click on the lead.
2. Find the configure section, click on it.
3. Click Add field.
4. In the drop-down list, select Link and enter the name of the Payment link field, click Save.

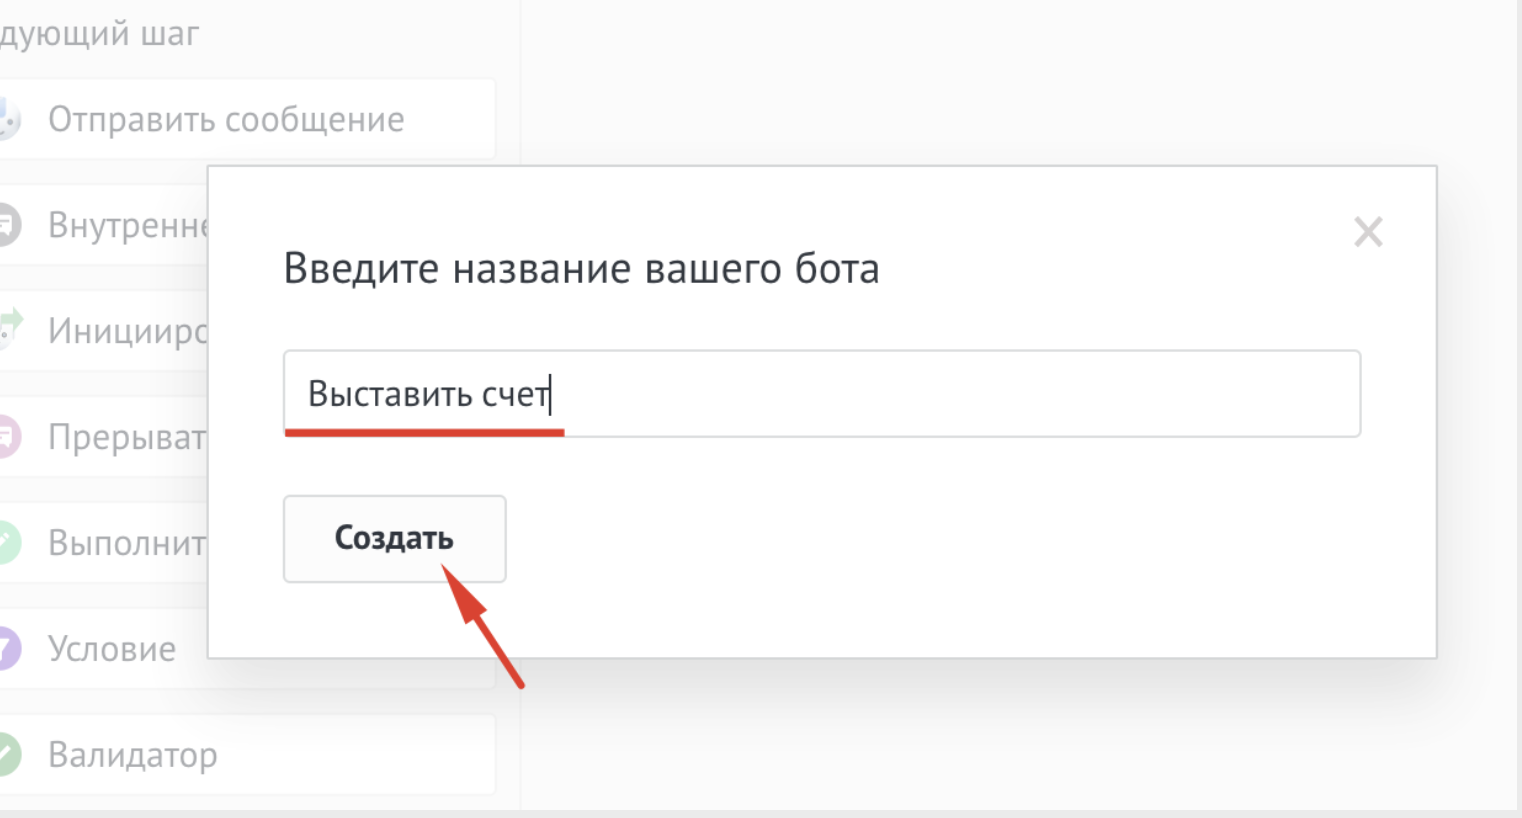
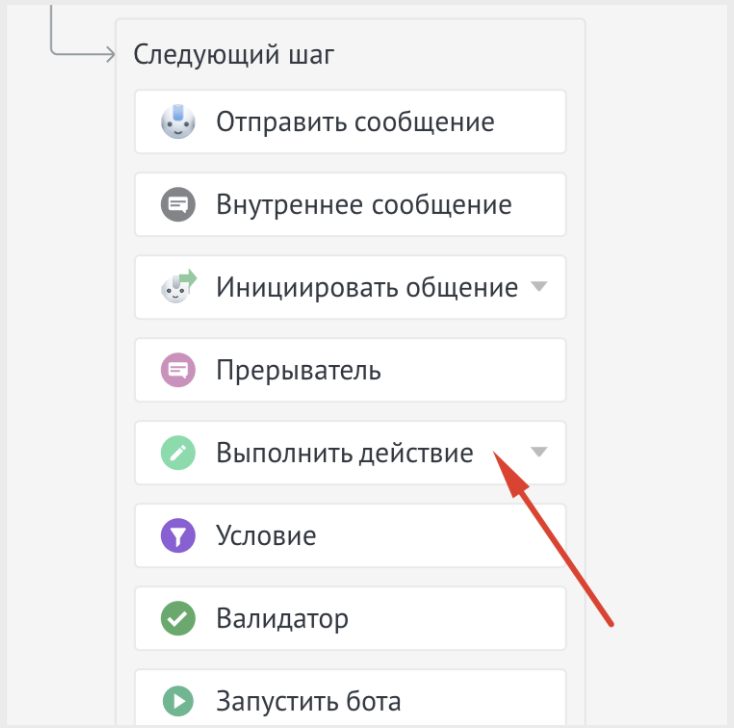
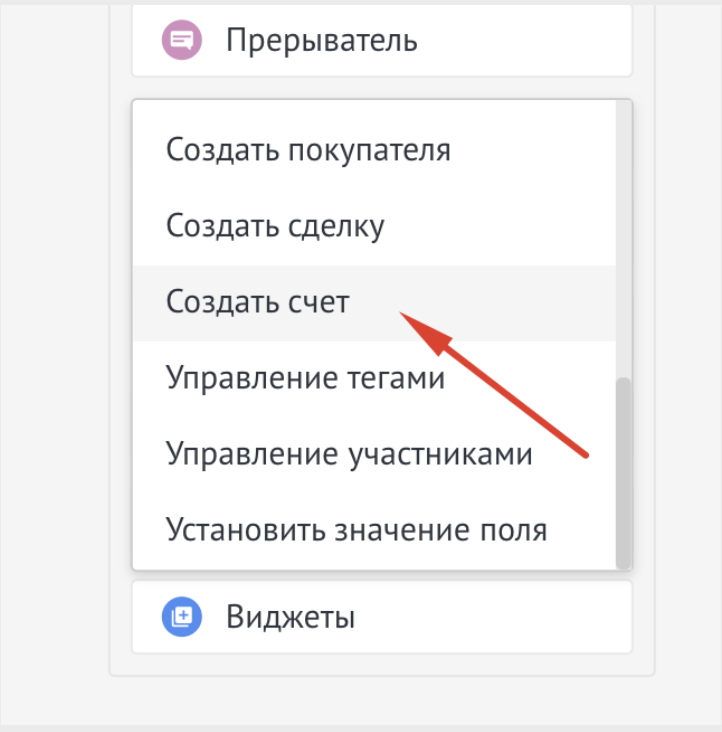
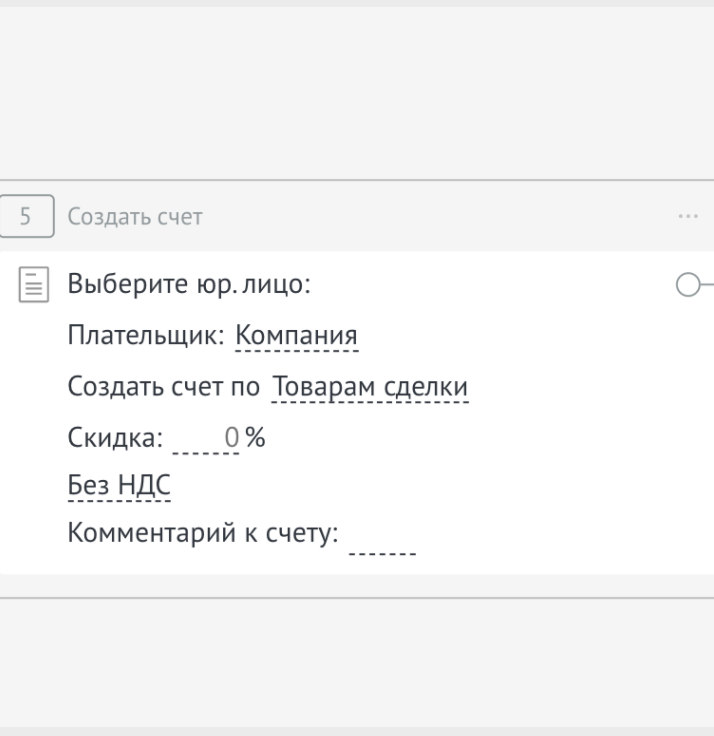
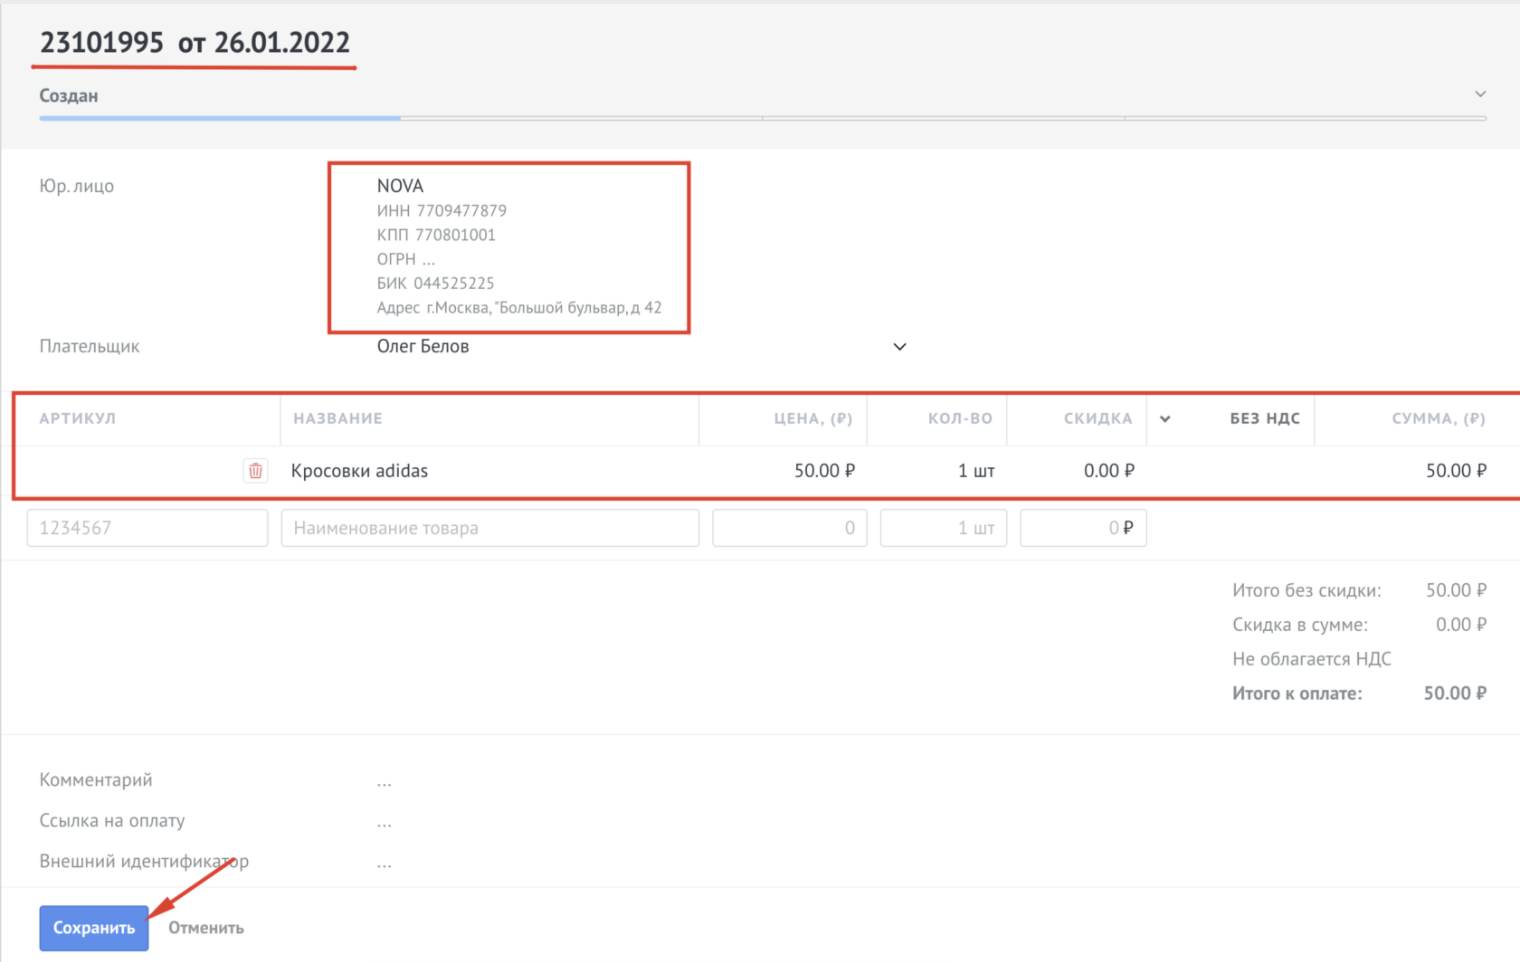
In order to create an account for a specific legal entity, select it in the Legal entity field

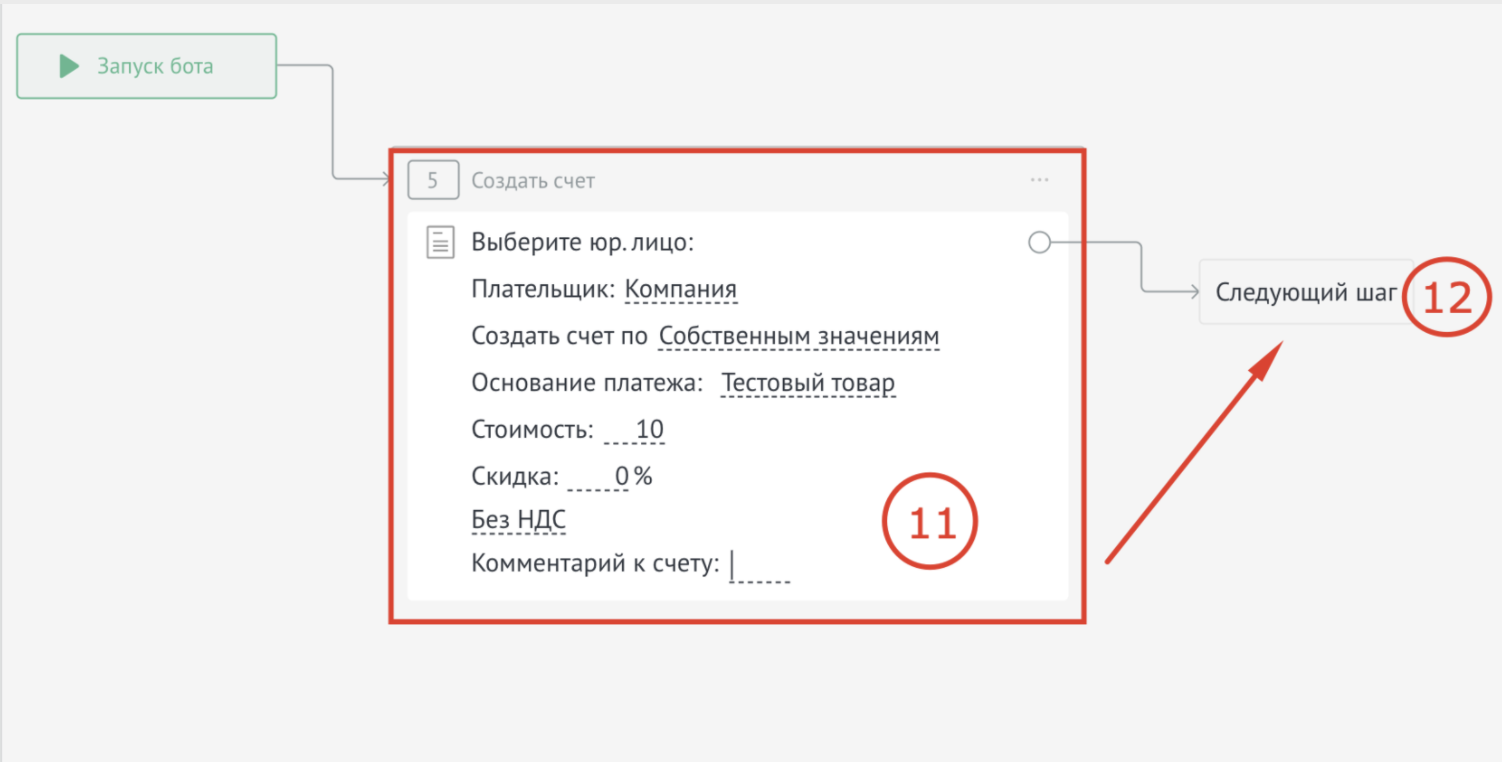
Important. The screenshot shows the test parameters
11. Fill out the form according to your needs.
12. After filling, click Next step
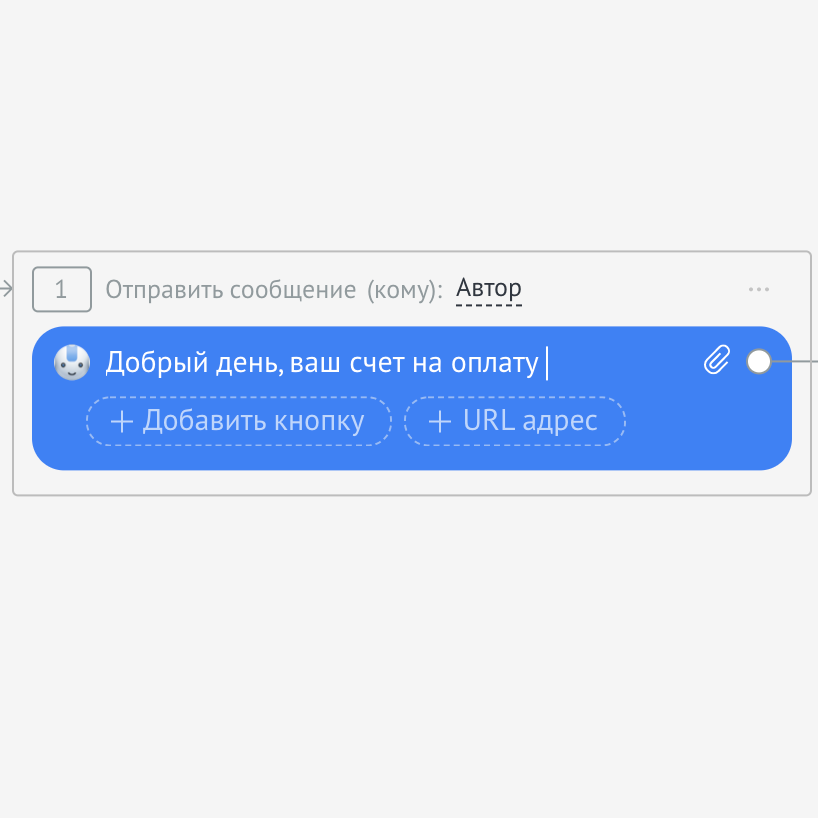
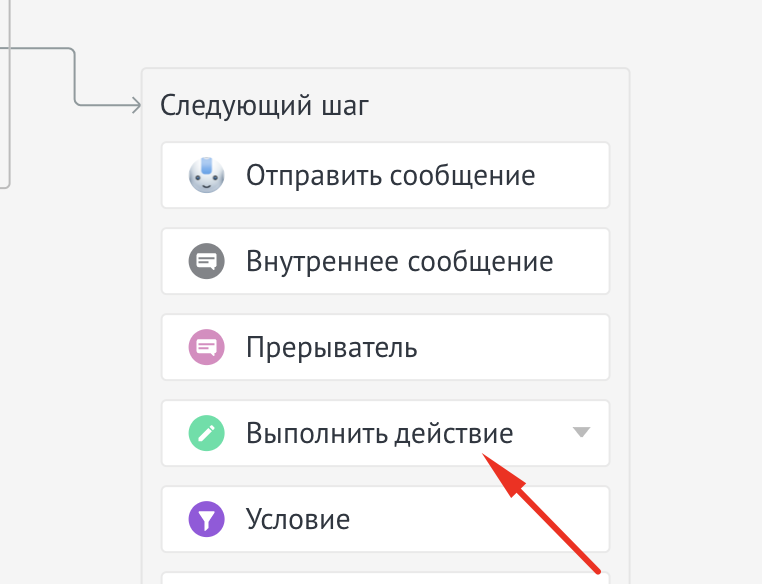
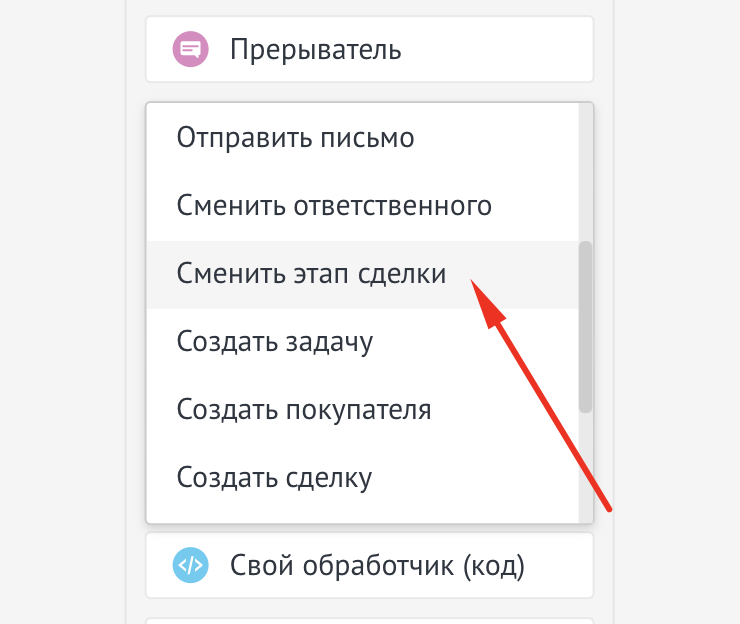
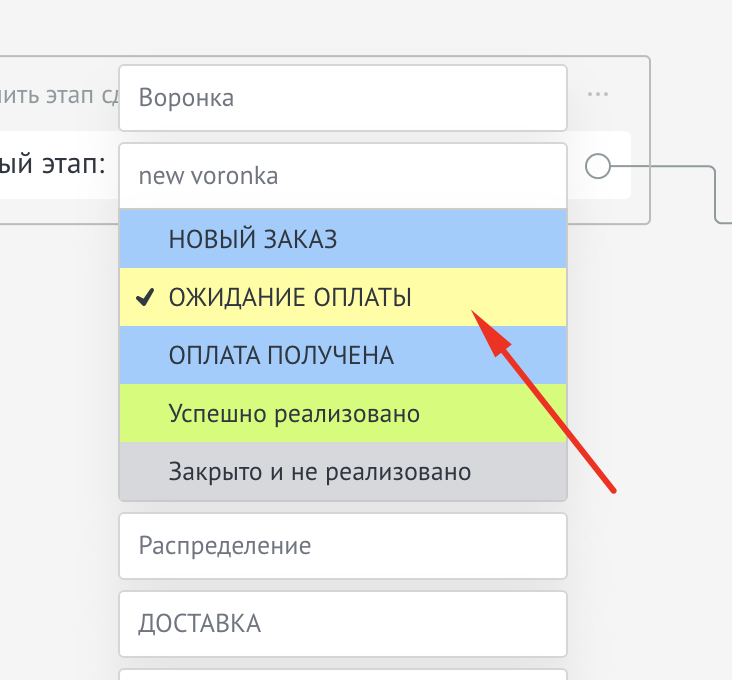
Sending a link to the client for payment in any messenger
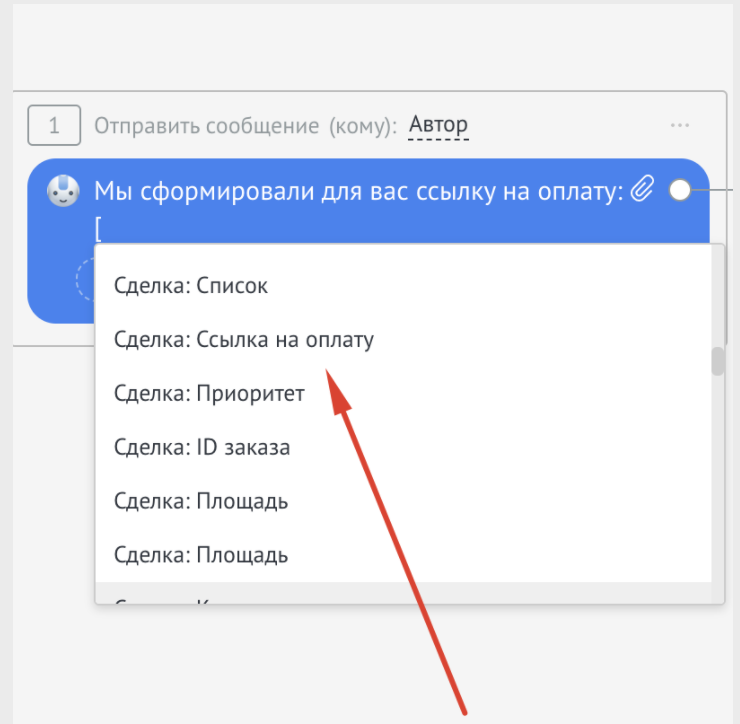
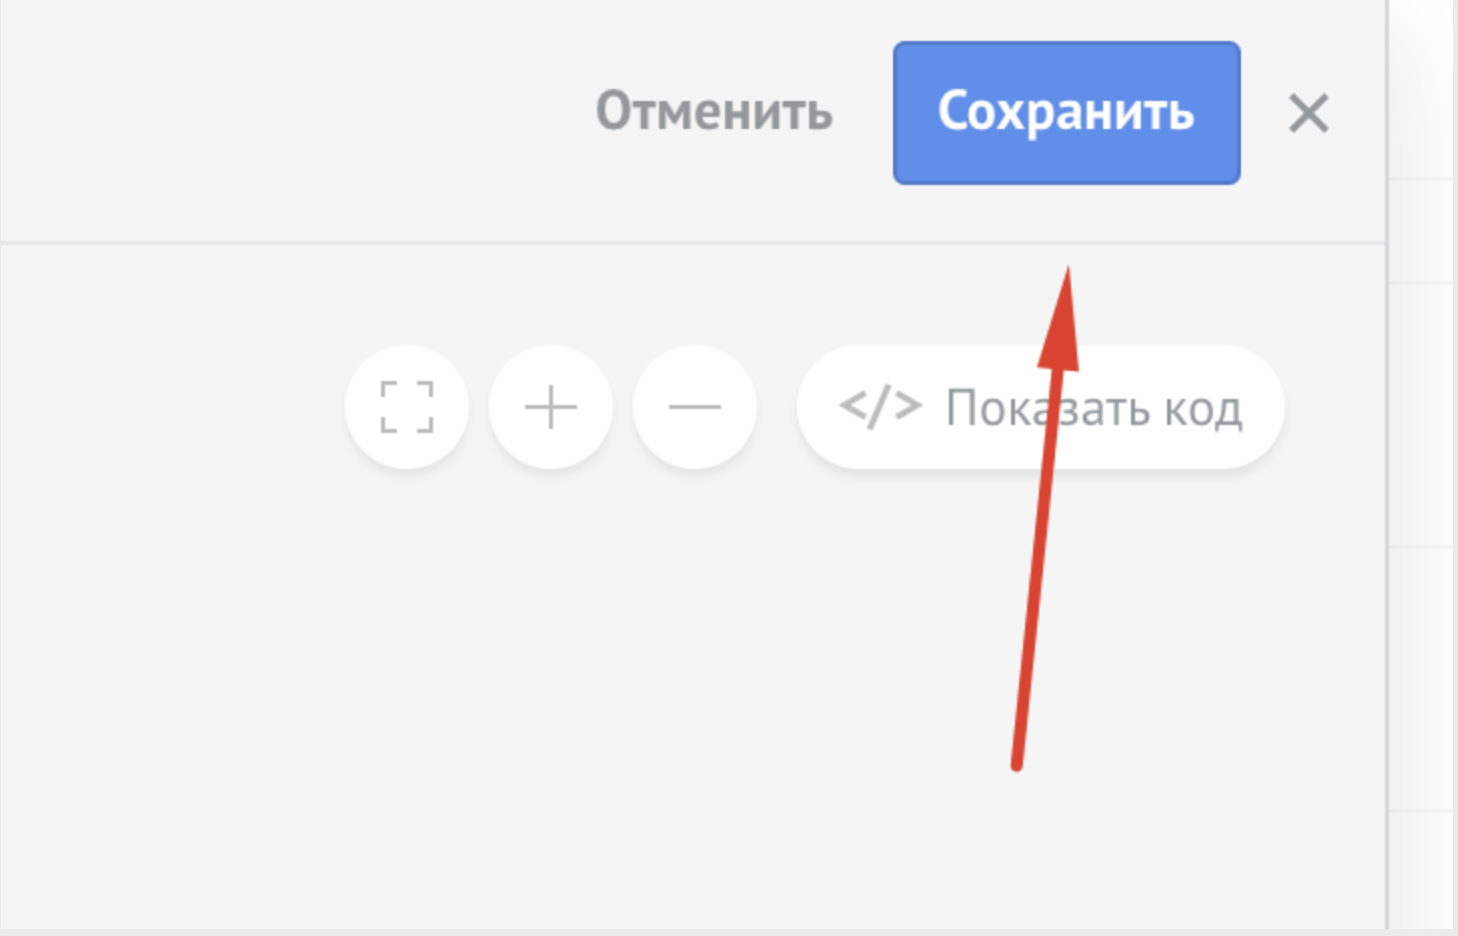
Don't forget to click Save and Finish
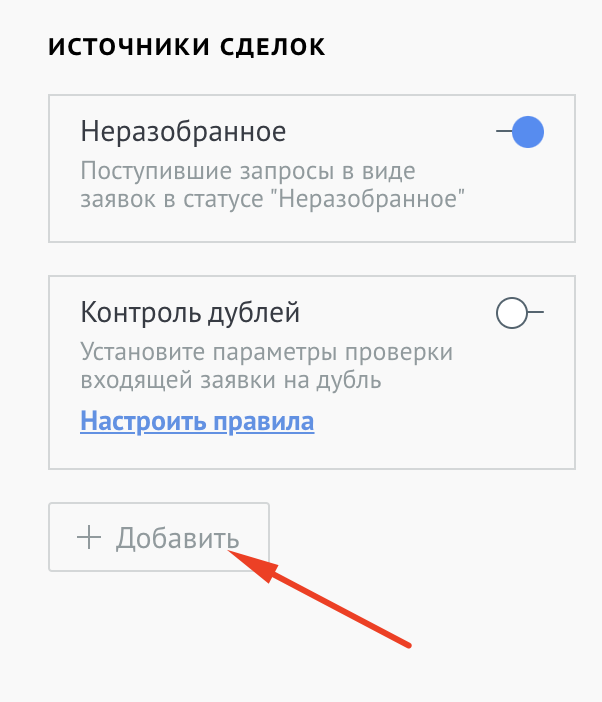
11. In lead sources, click on Add
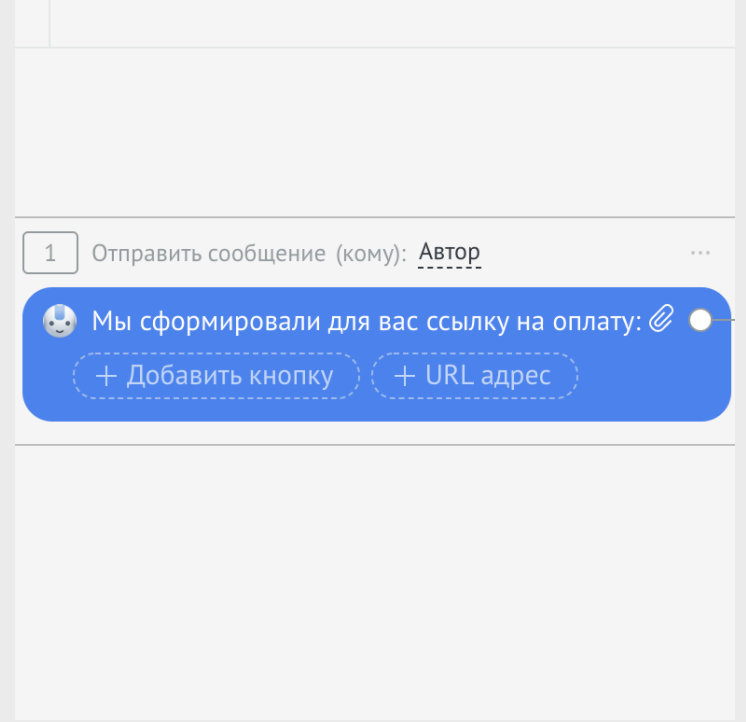
After the client has made the payment, you can send him a message stating that the payment has been completed
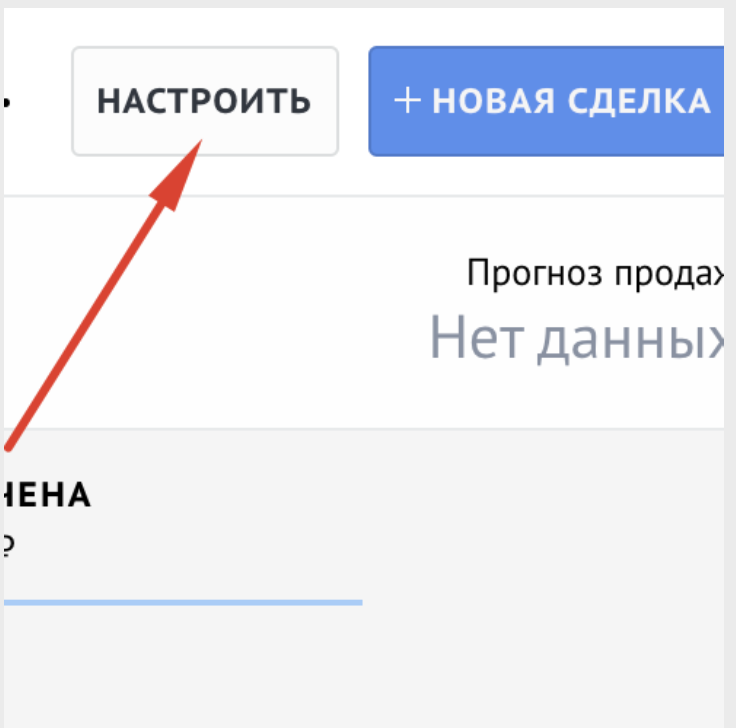
1. In the lead, click Setup
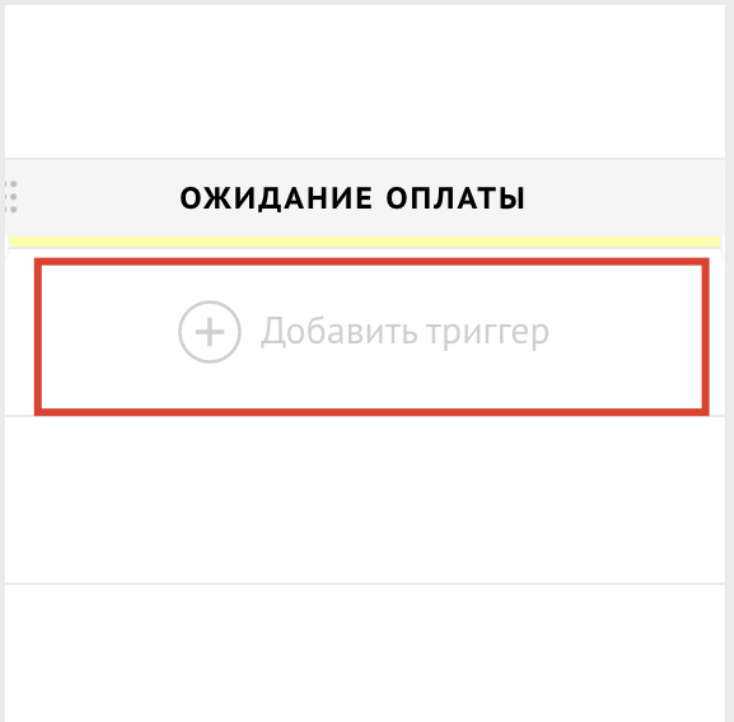
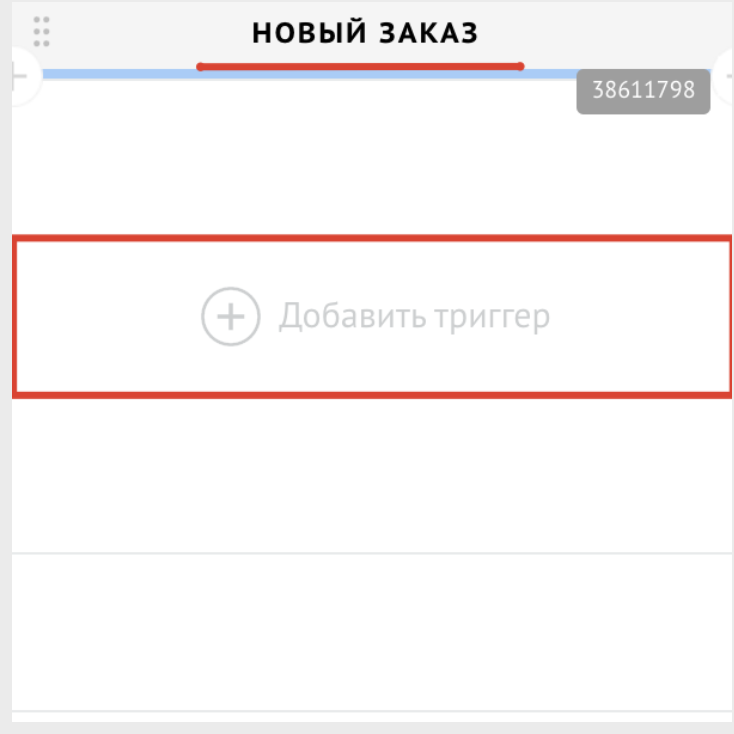
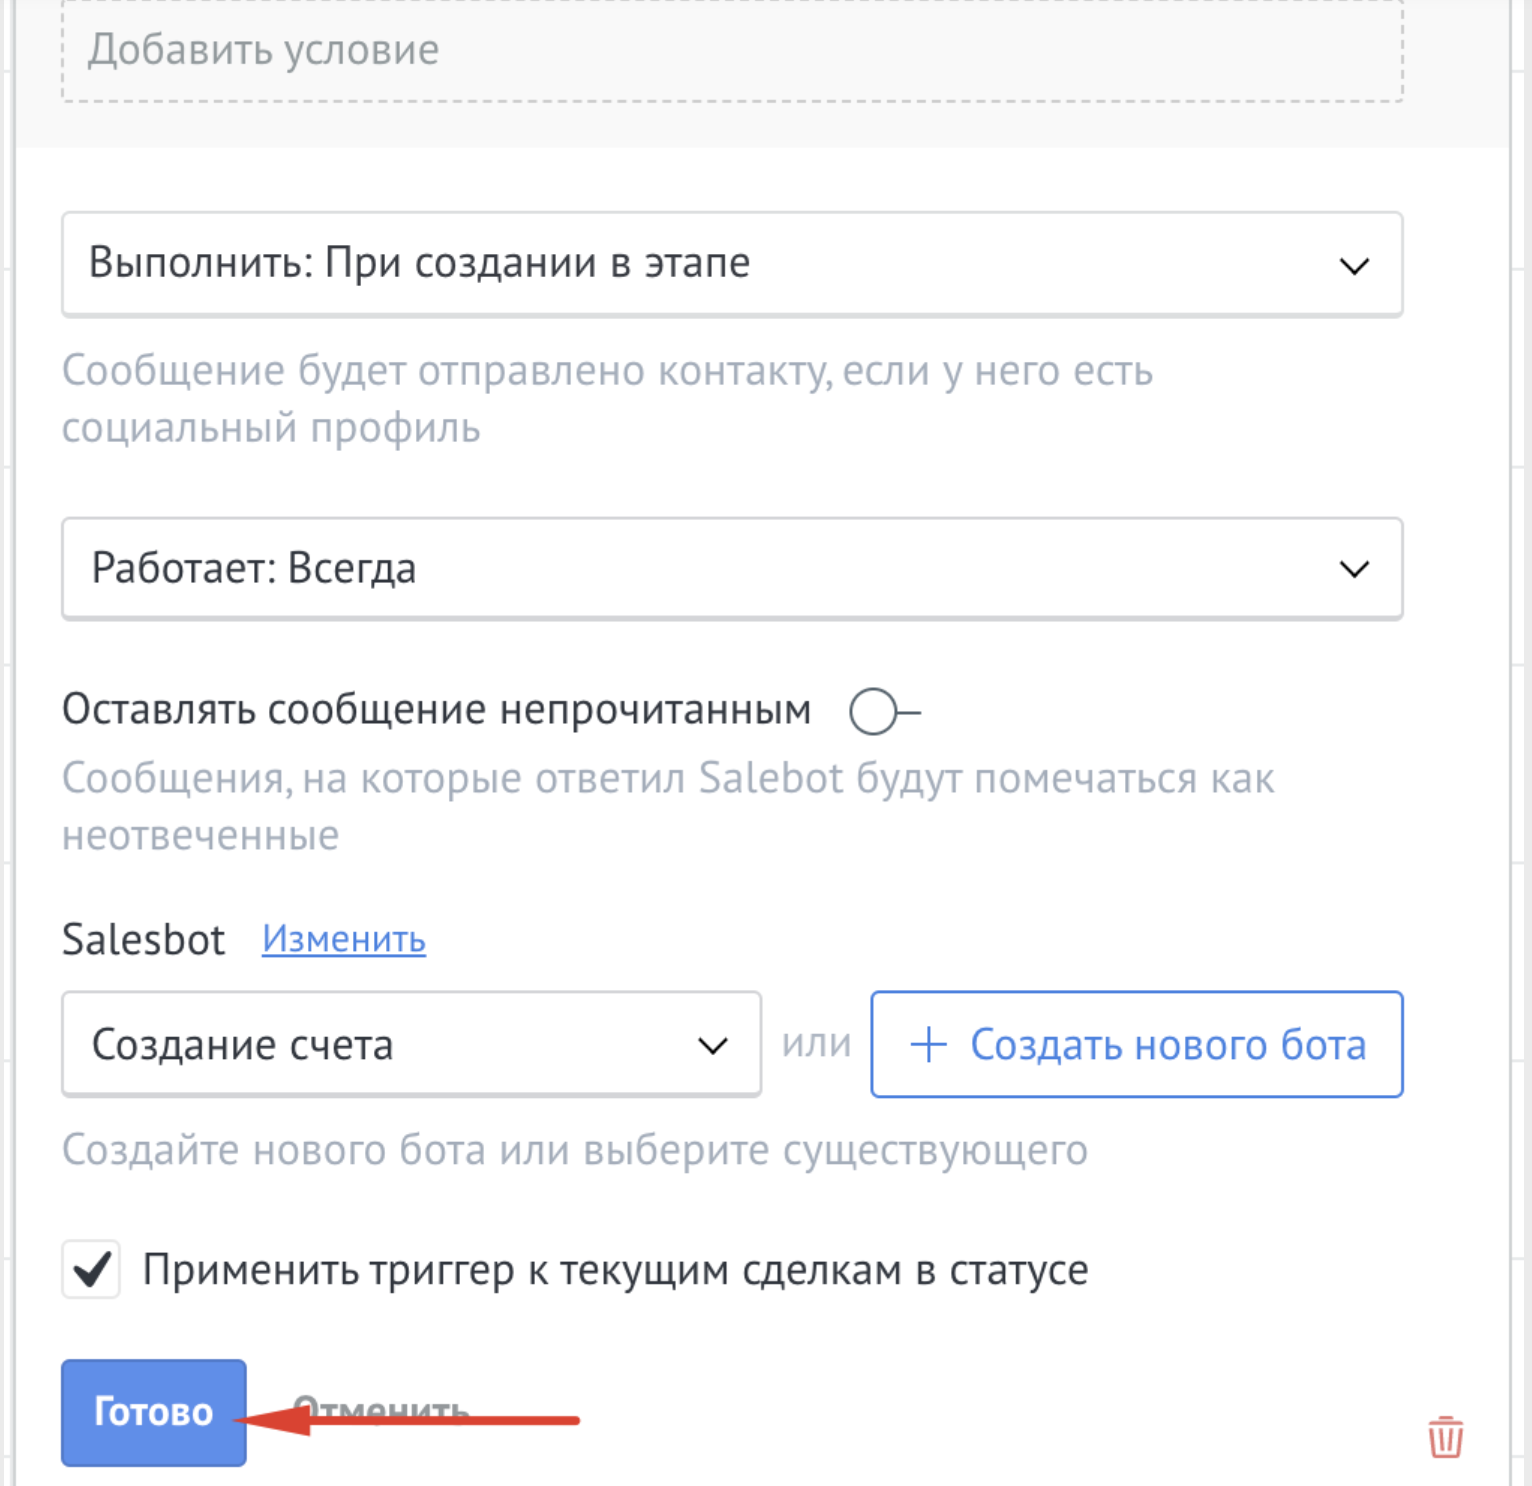
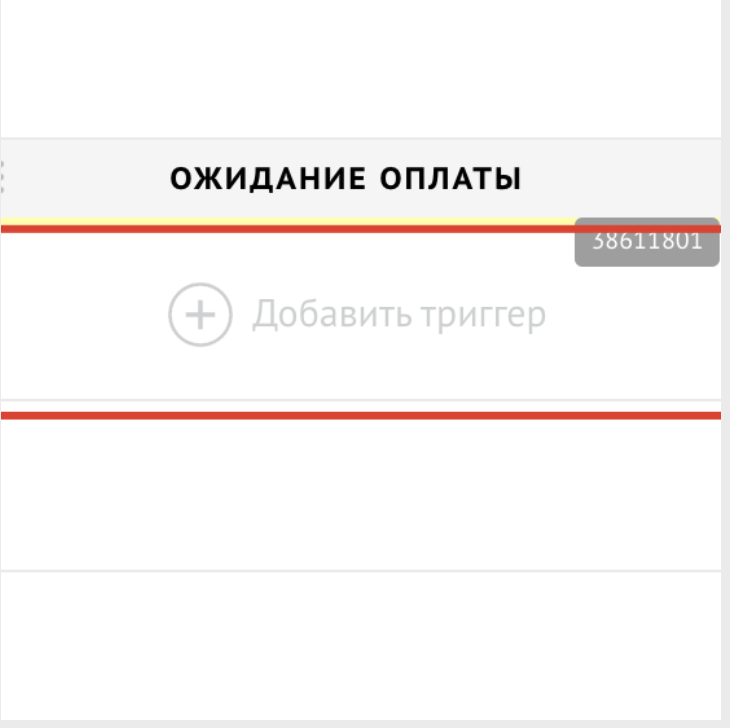
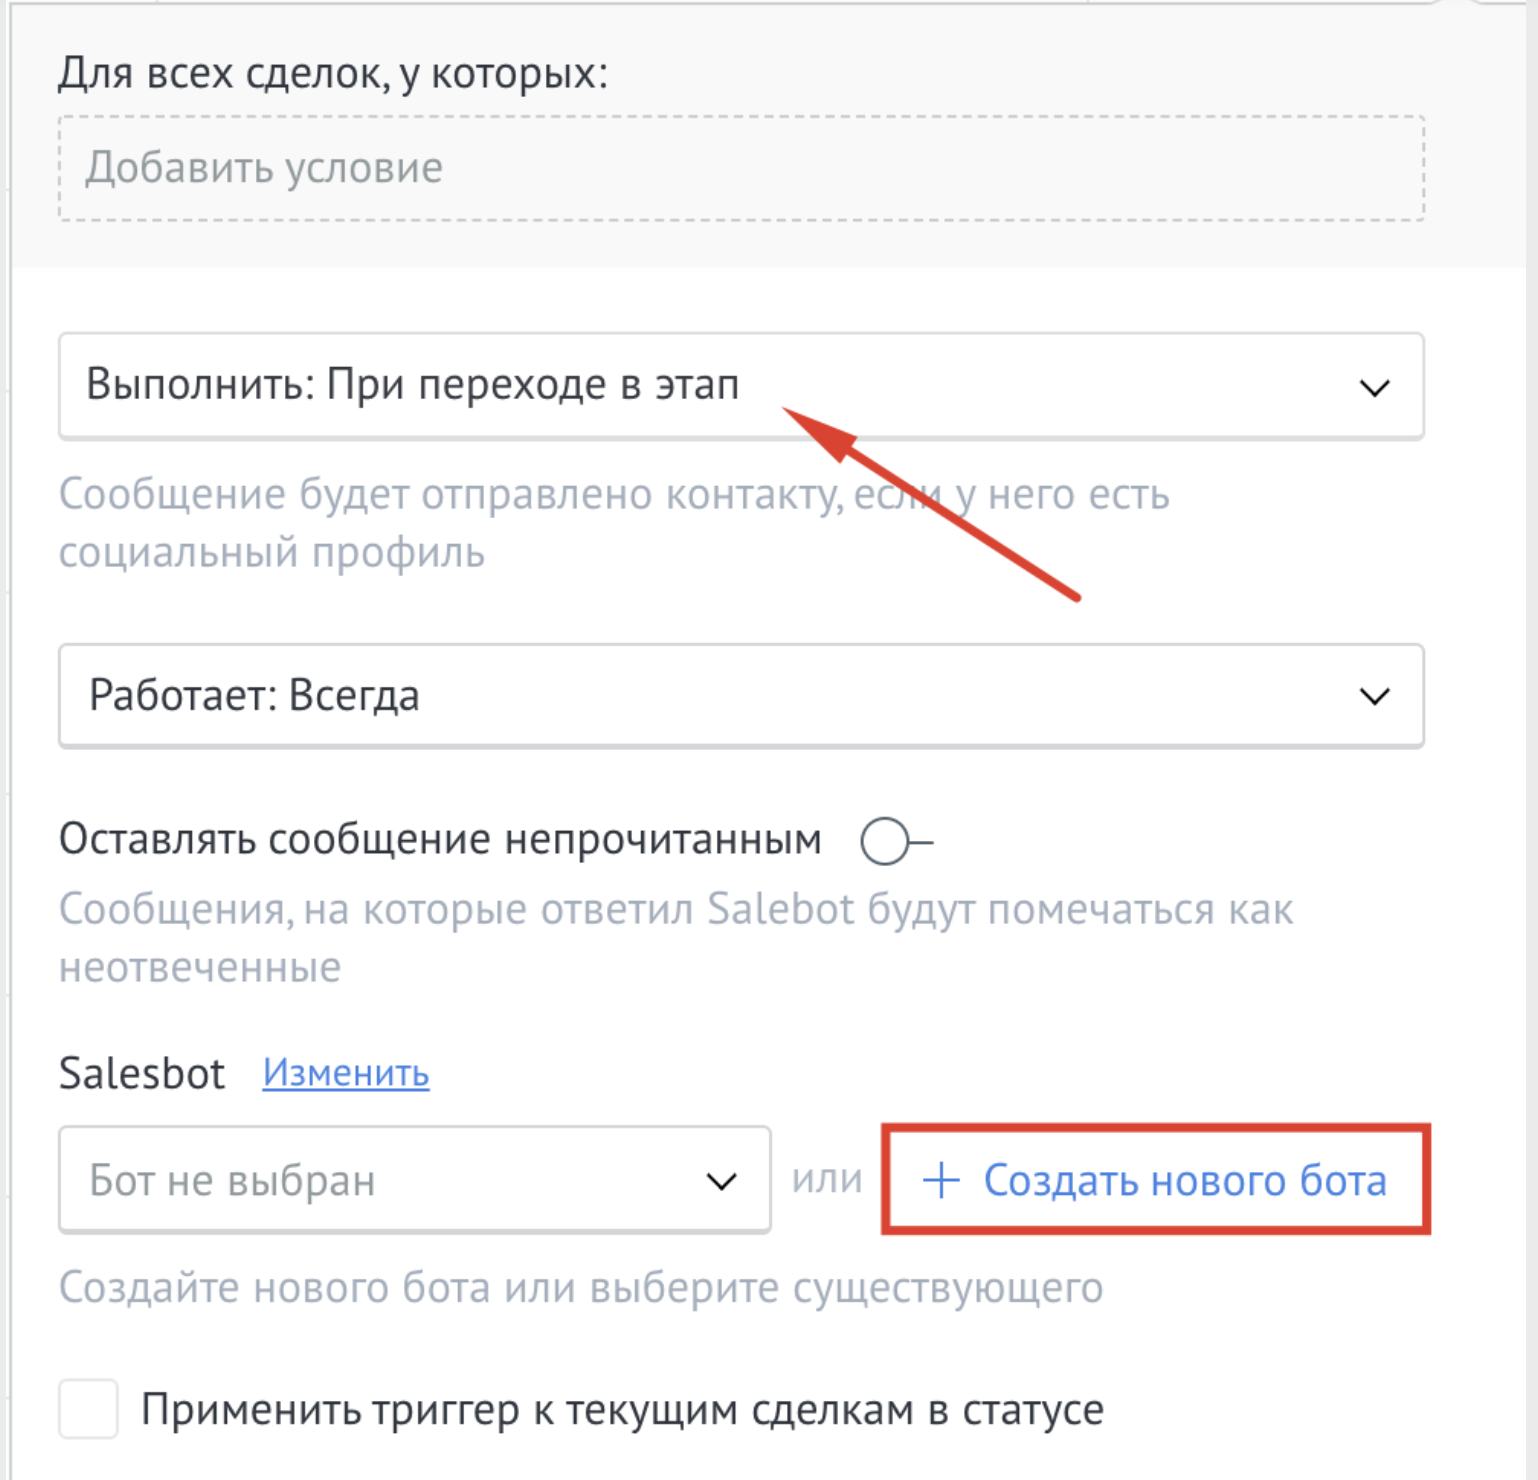
2. In the Payment received status, click on Add trigger
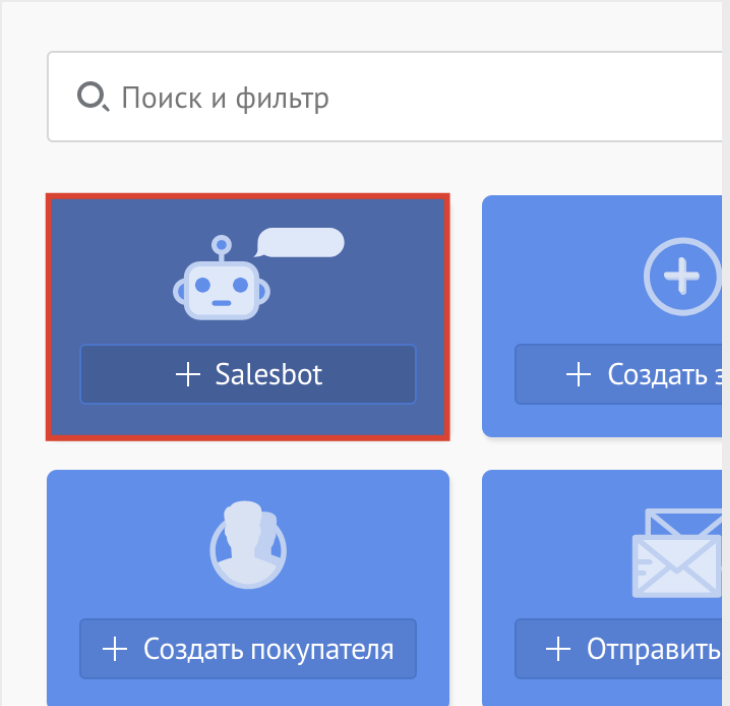
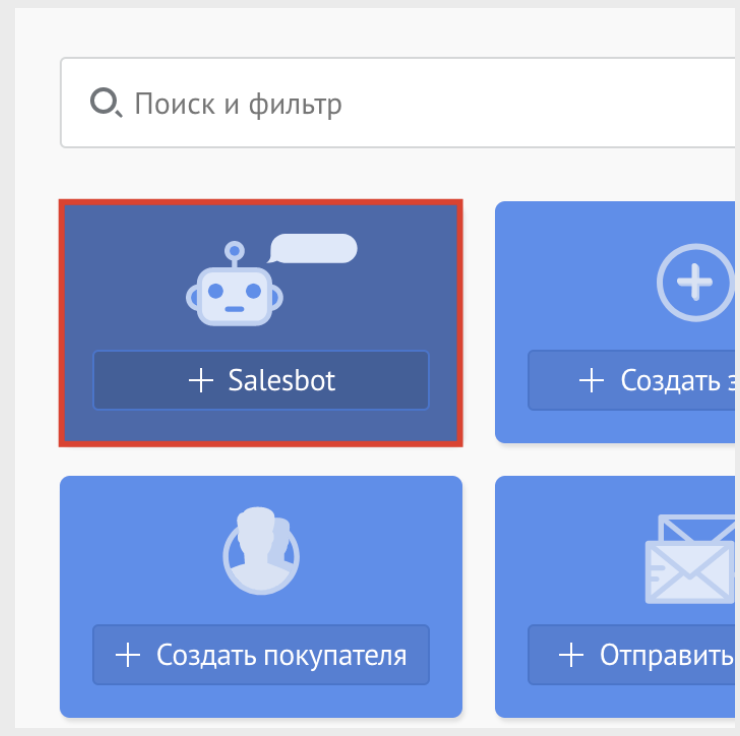
3. Select Salesbot
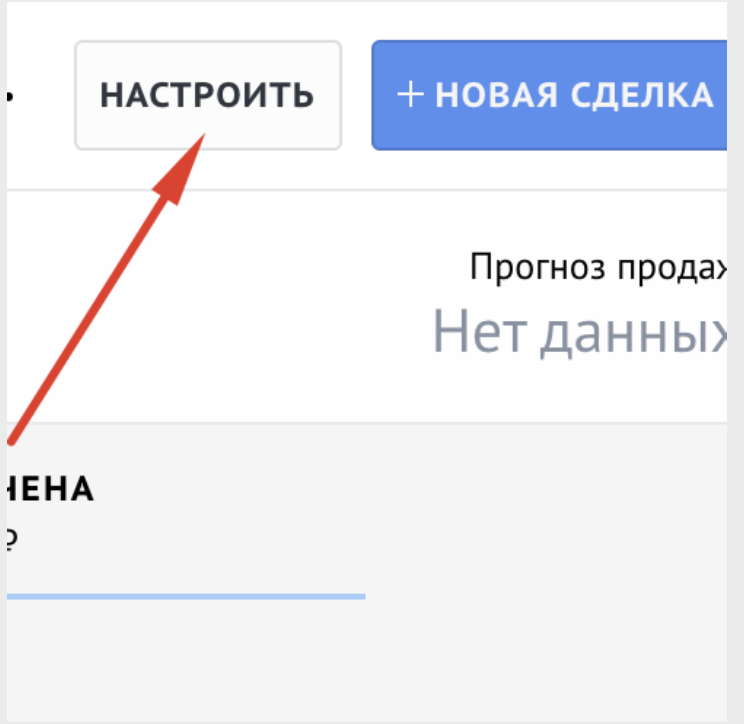
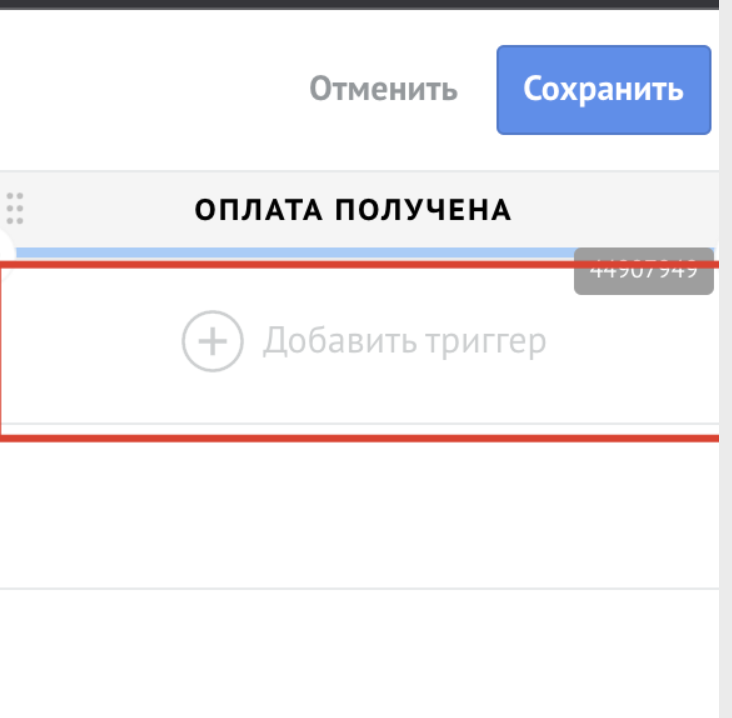
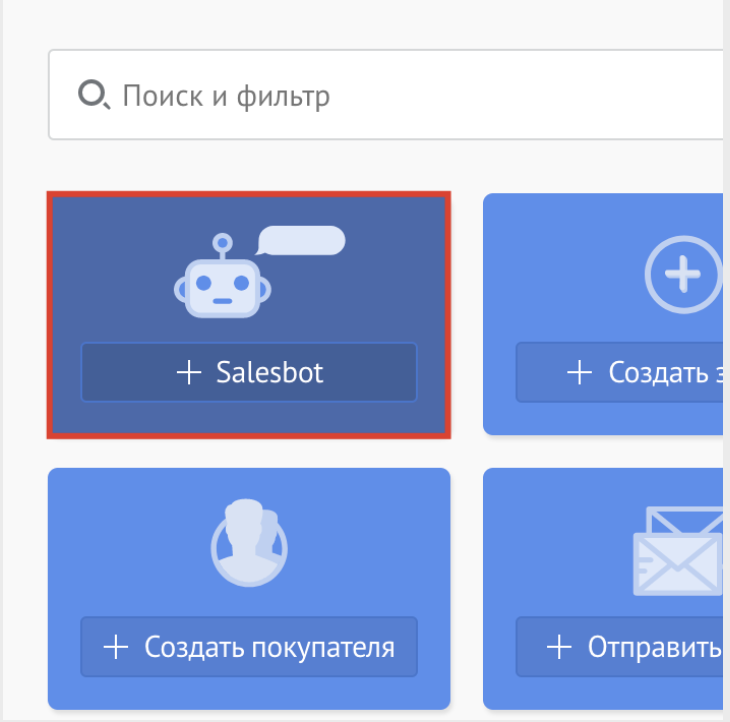
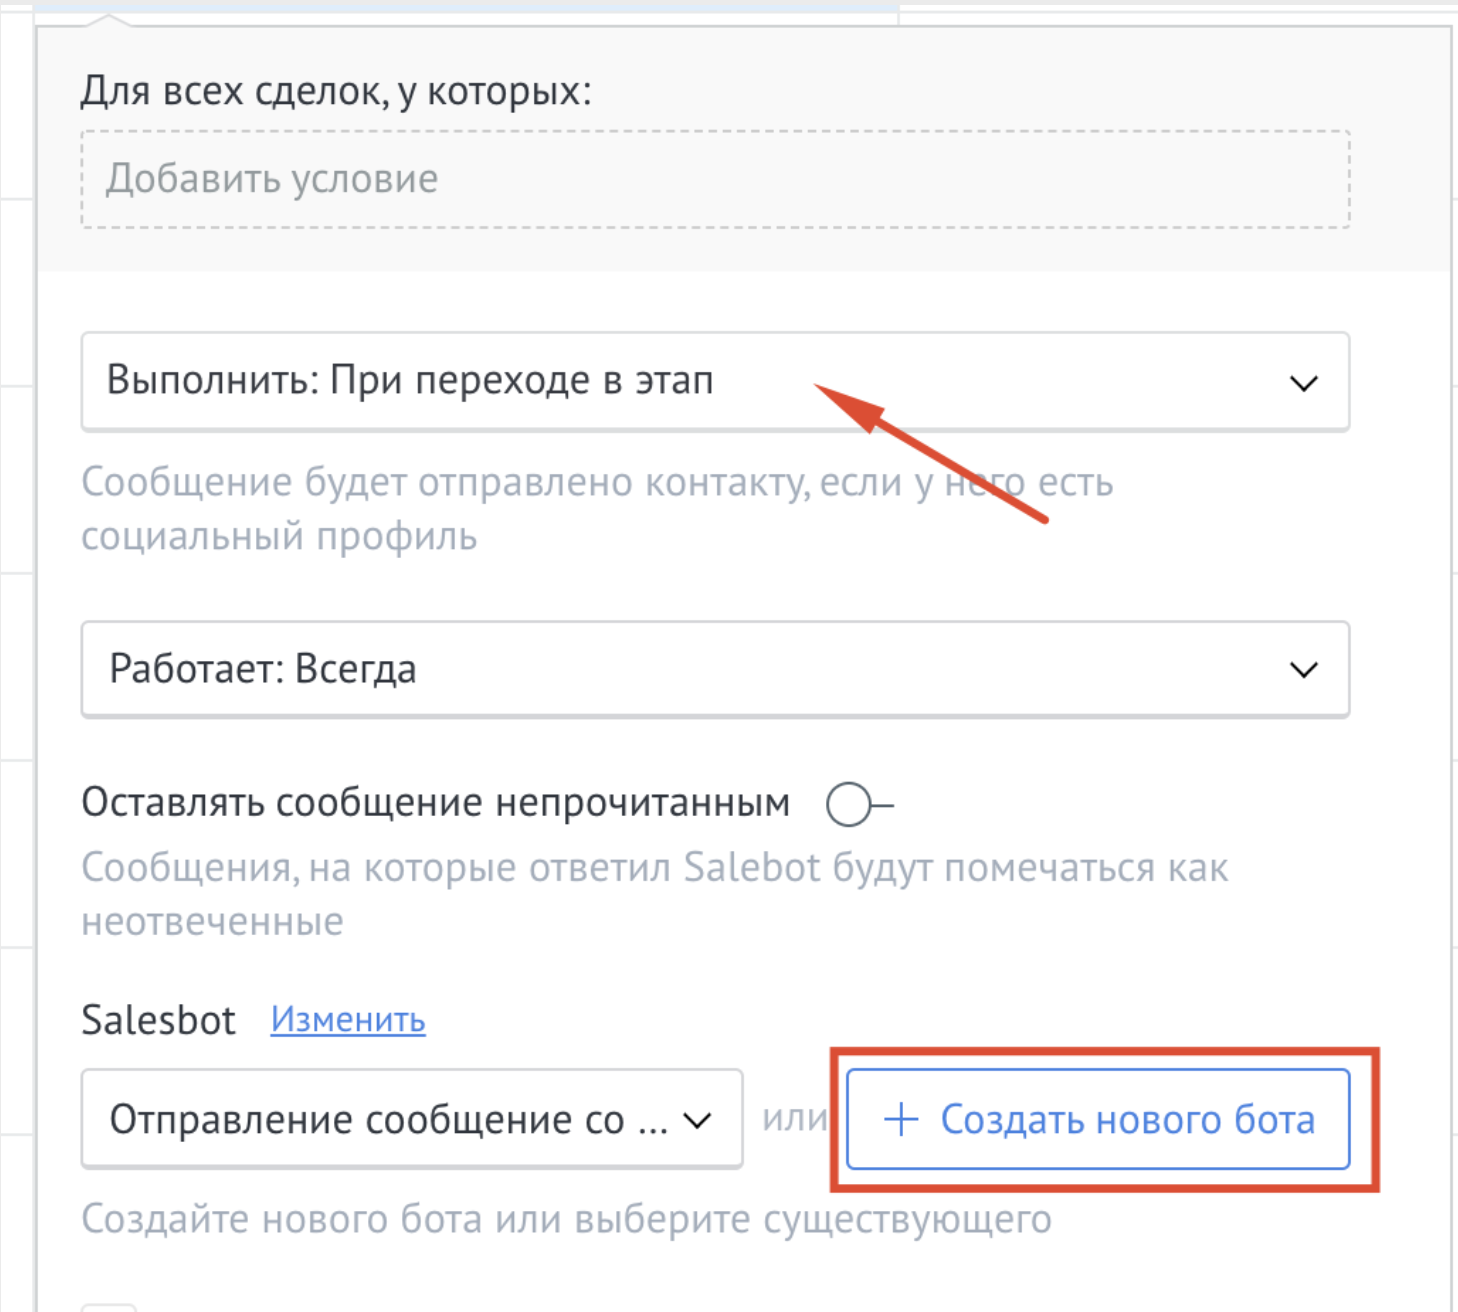
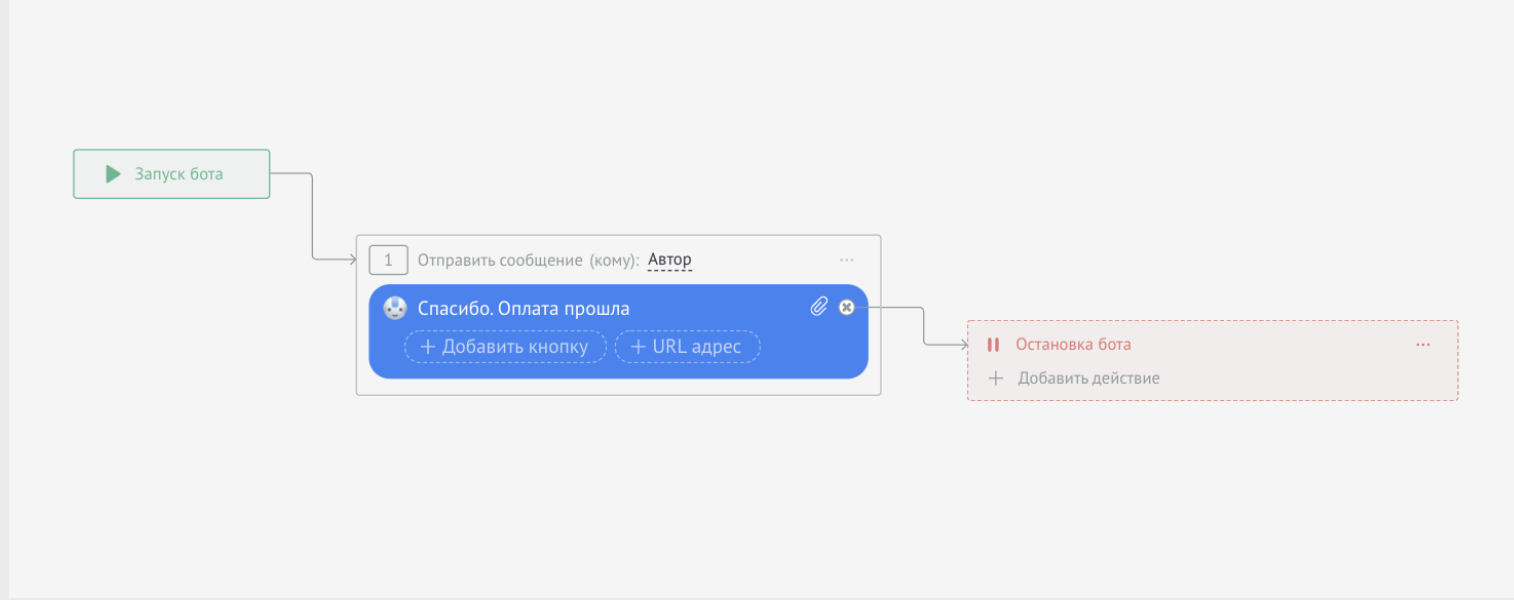
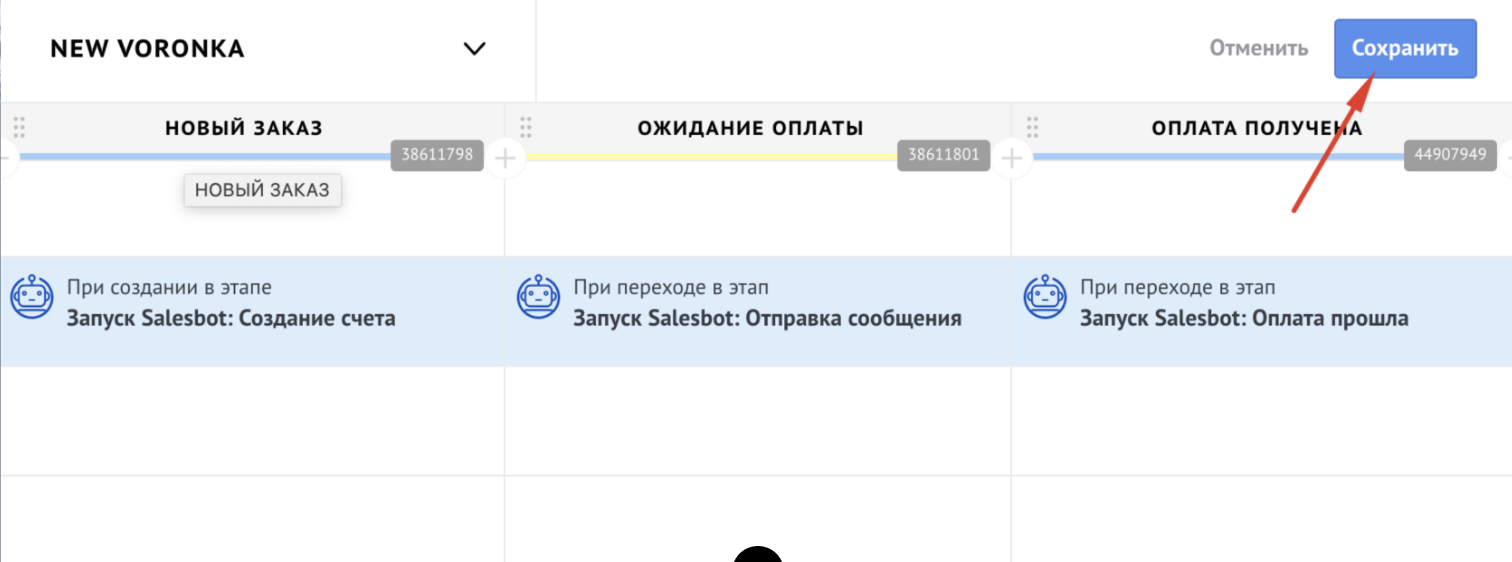
After receiving payment, you need to perform some actions, for example, transfer the lead to another stage, how to do this?
After payment in the lead, the invoice status changes to “Paid”, we take it as a condition for setting up the trigger
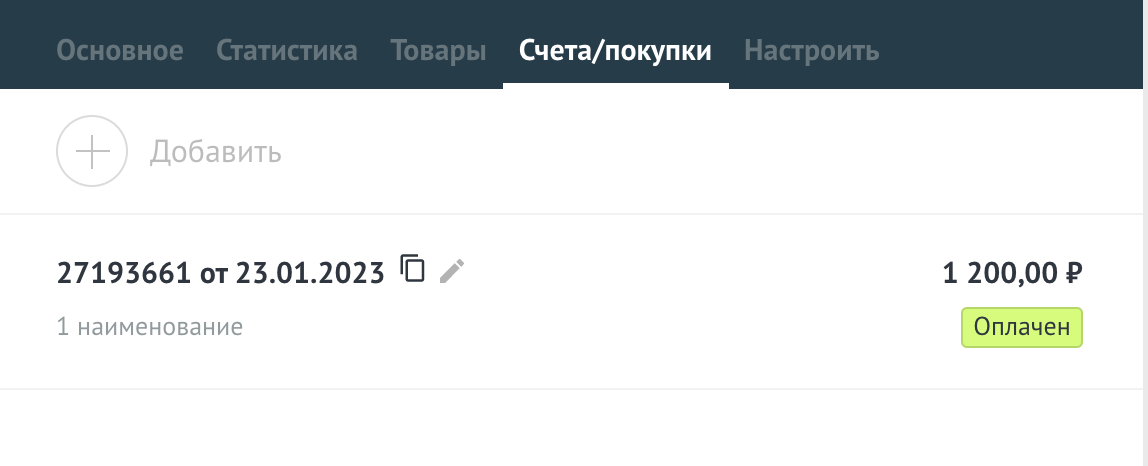
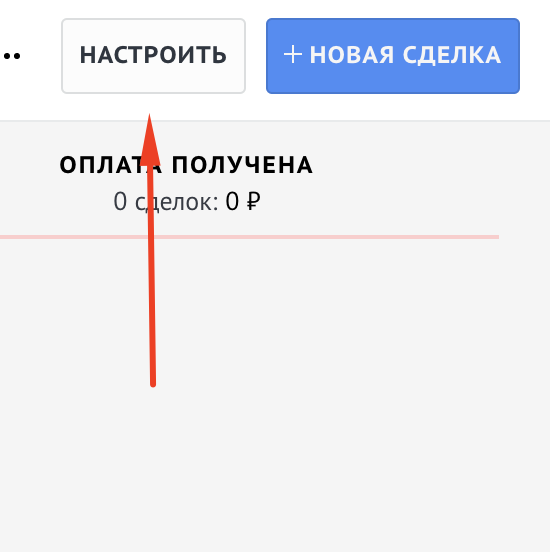
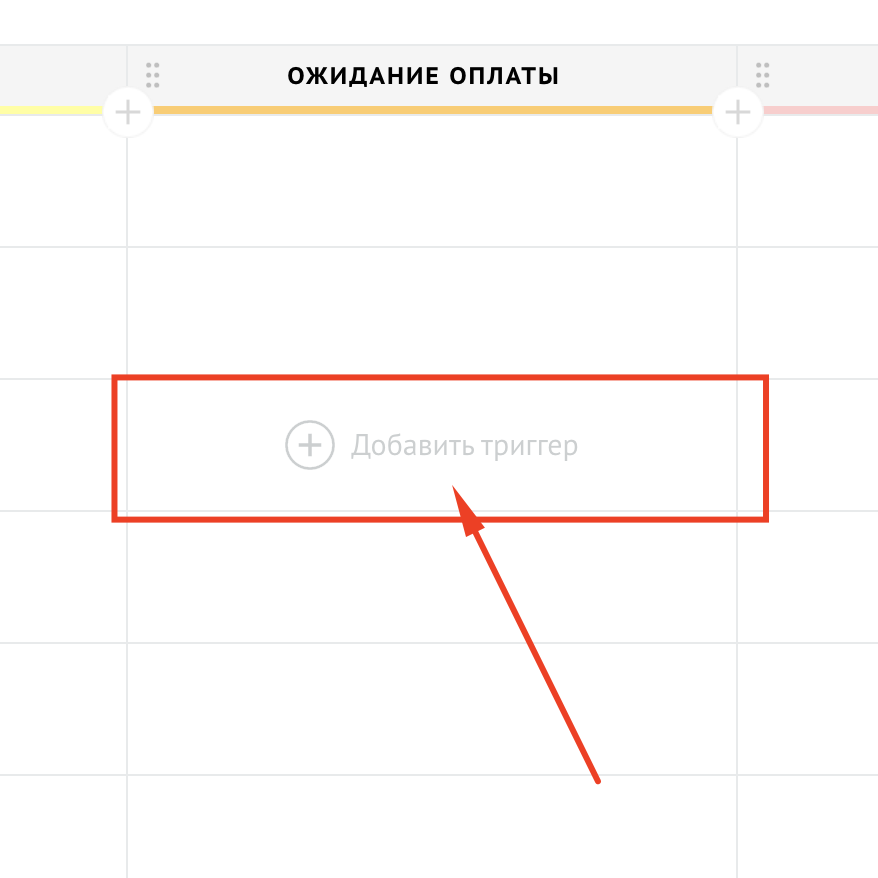
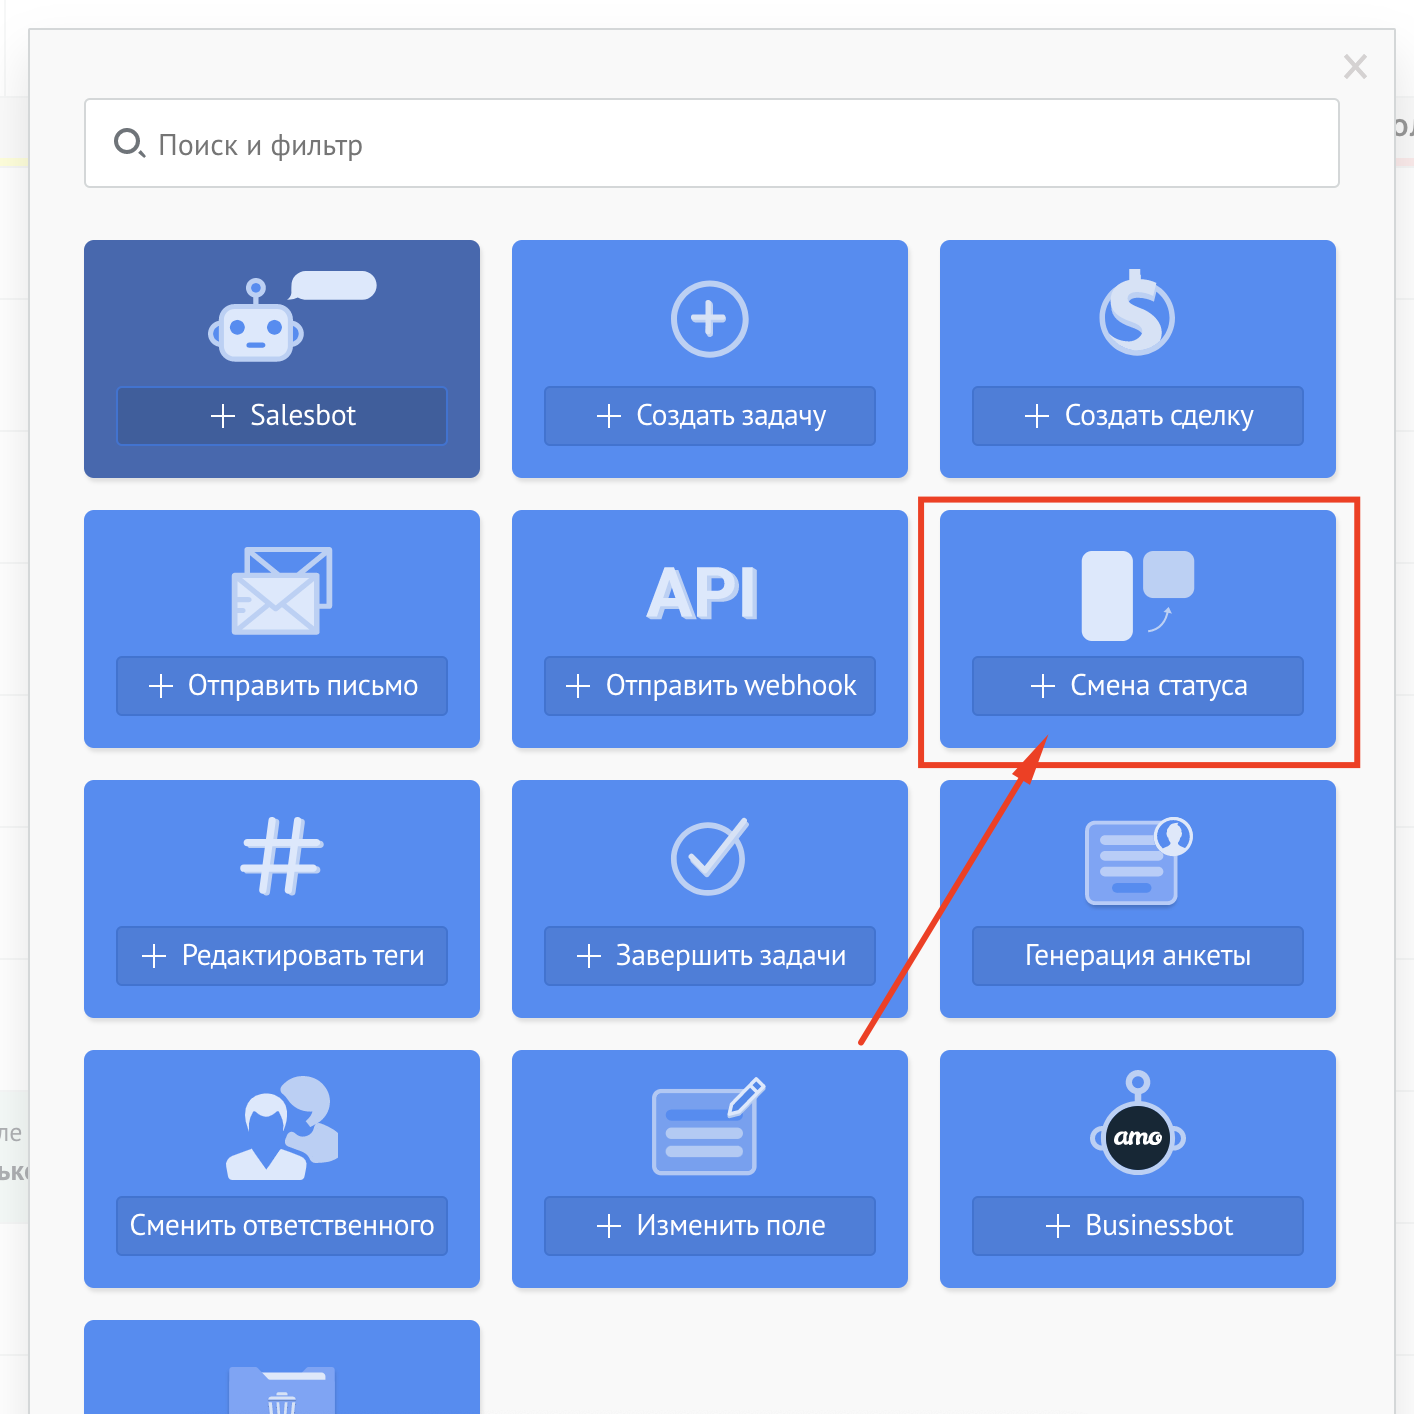
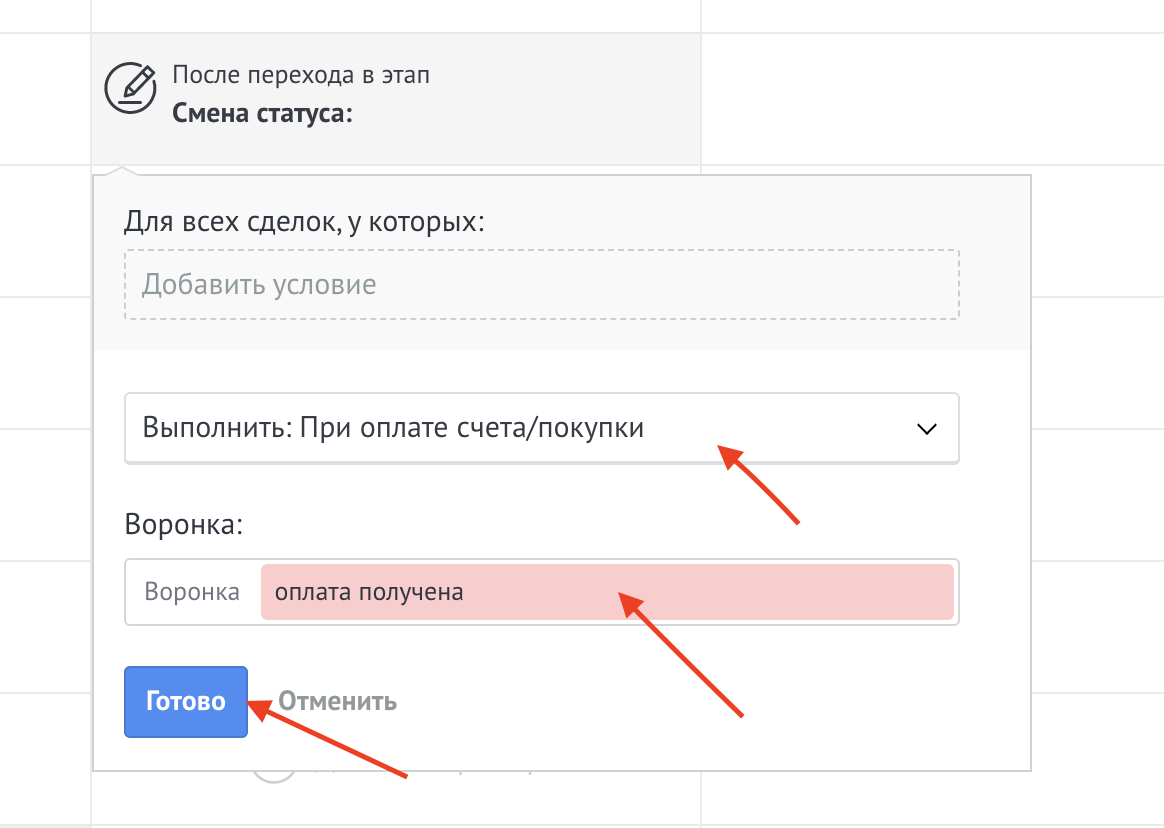
You can also create a task for the responsible manager
To do this, you need to add a trigger Create a task
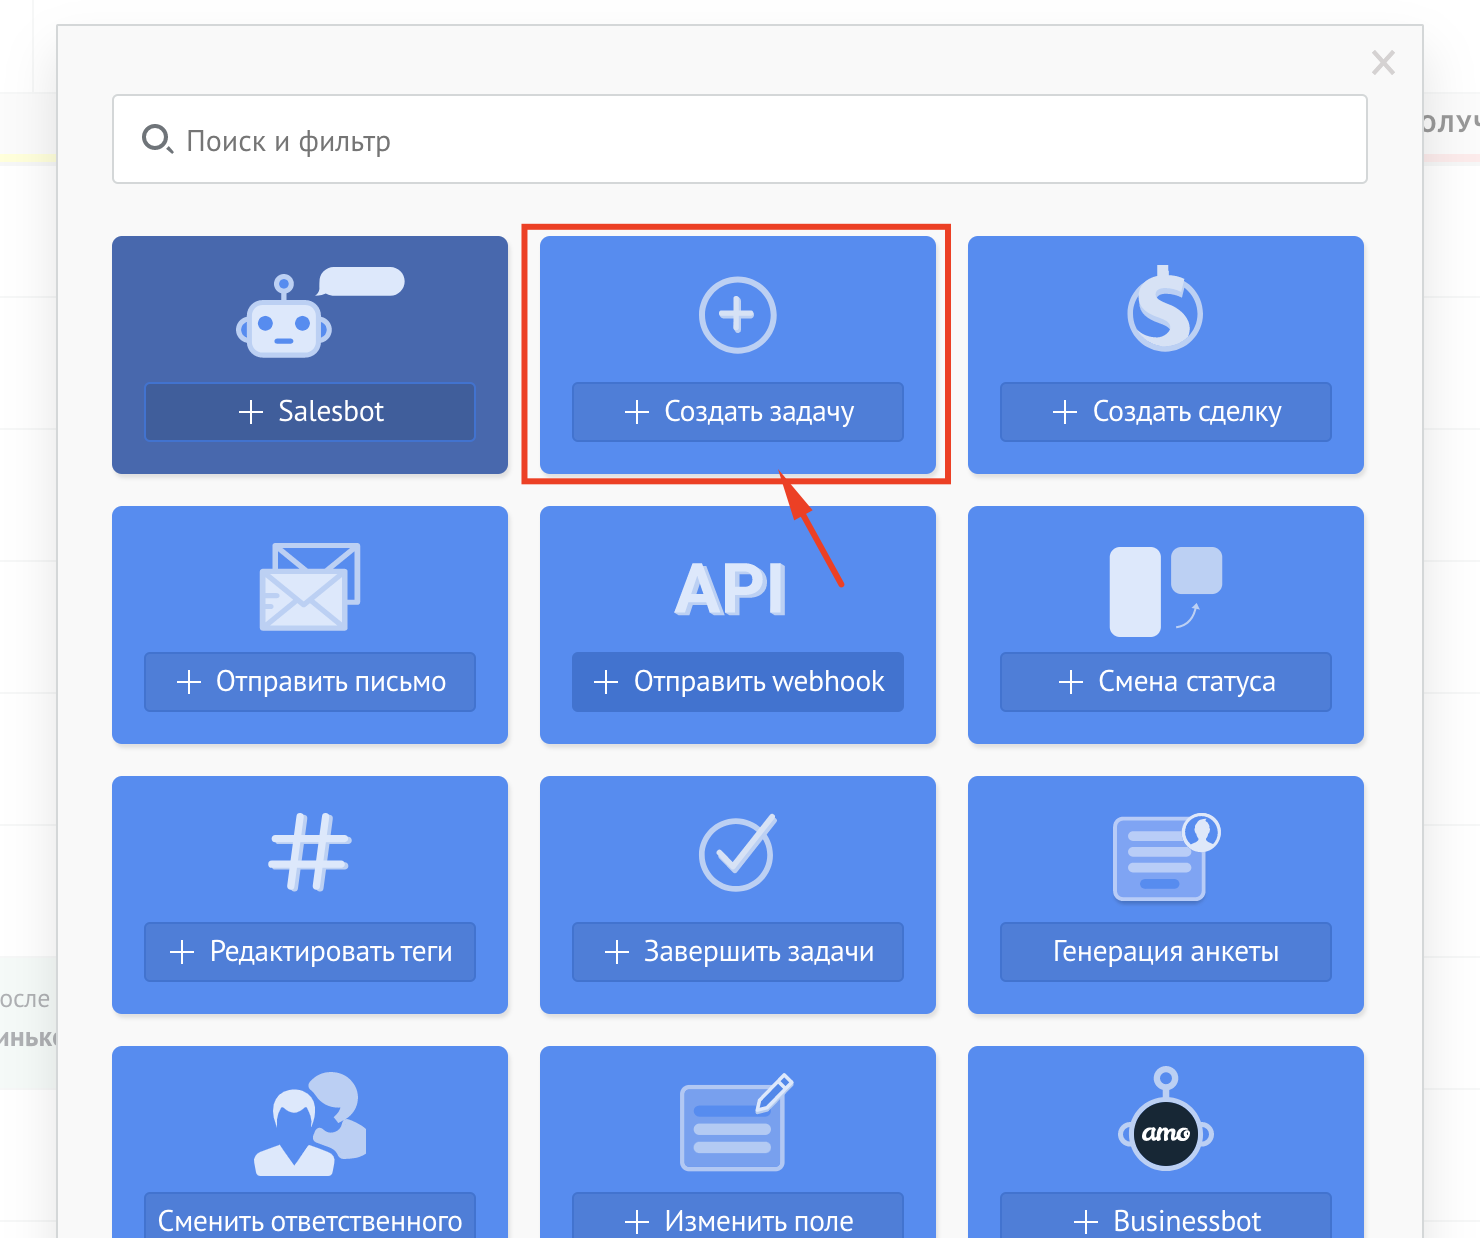
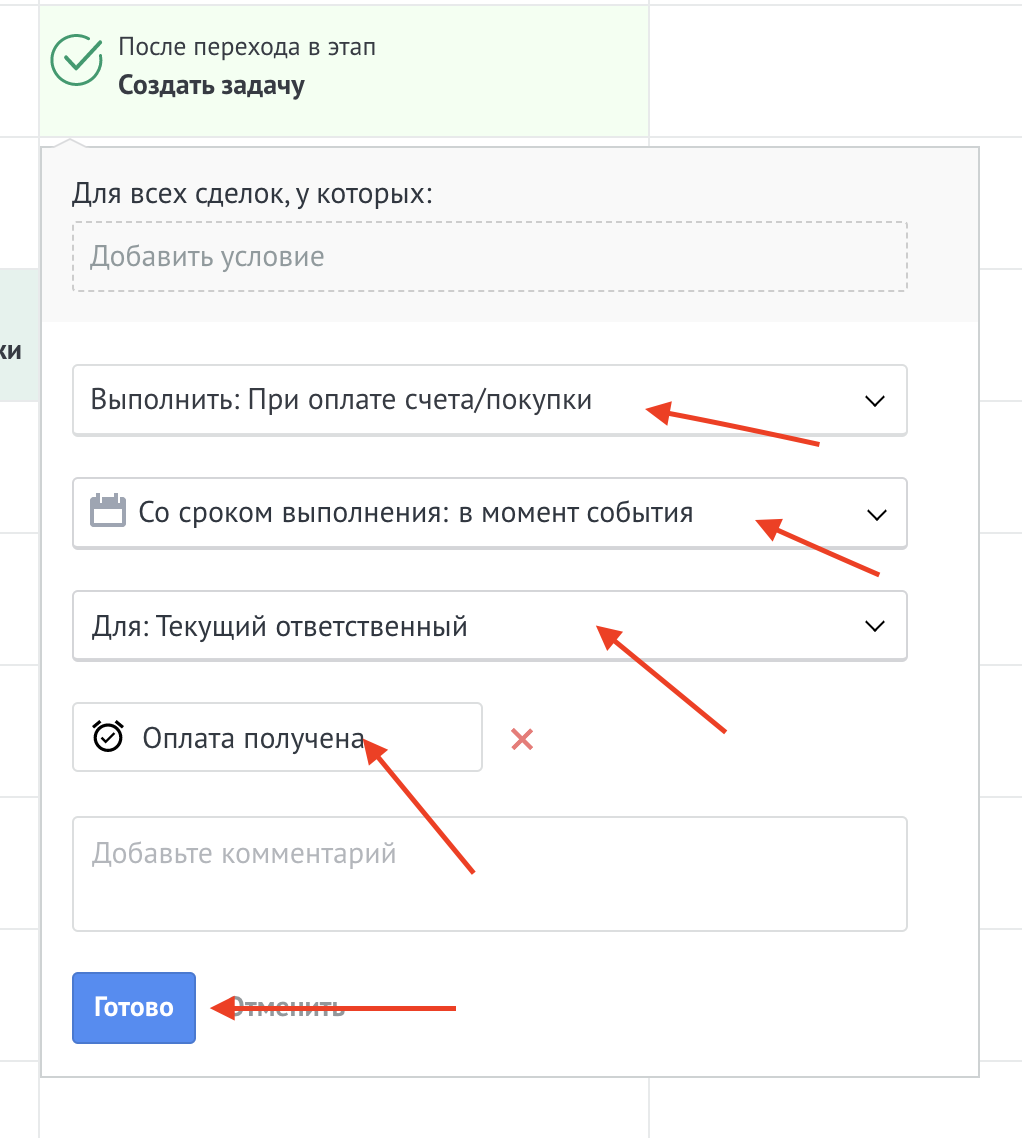
Be sure to click Save
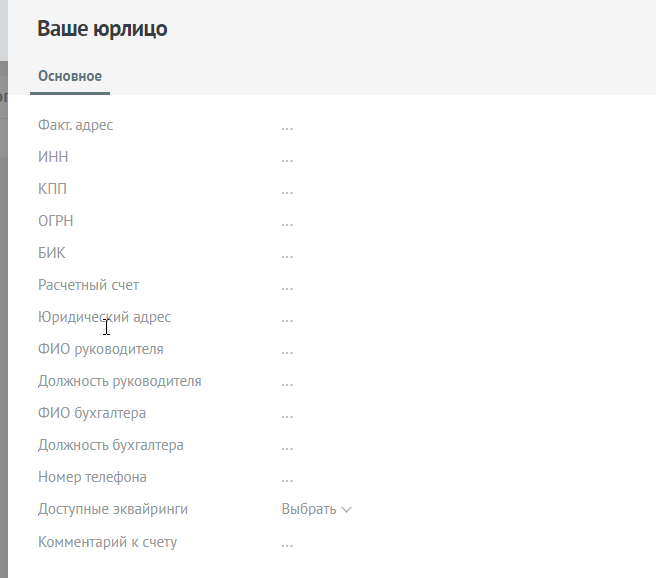
You need to add a legal entity to the list of my legal entities Kommo https://www.kommo.ru/support/lists/list-of-invoices-and-purchases and fill in the appropriate fields.
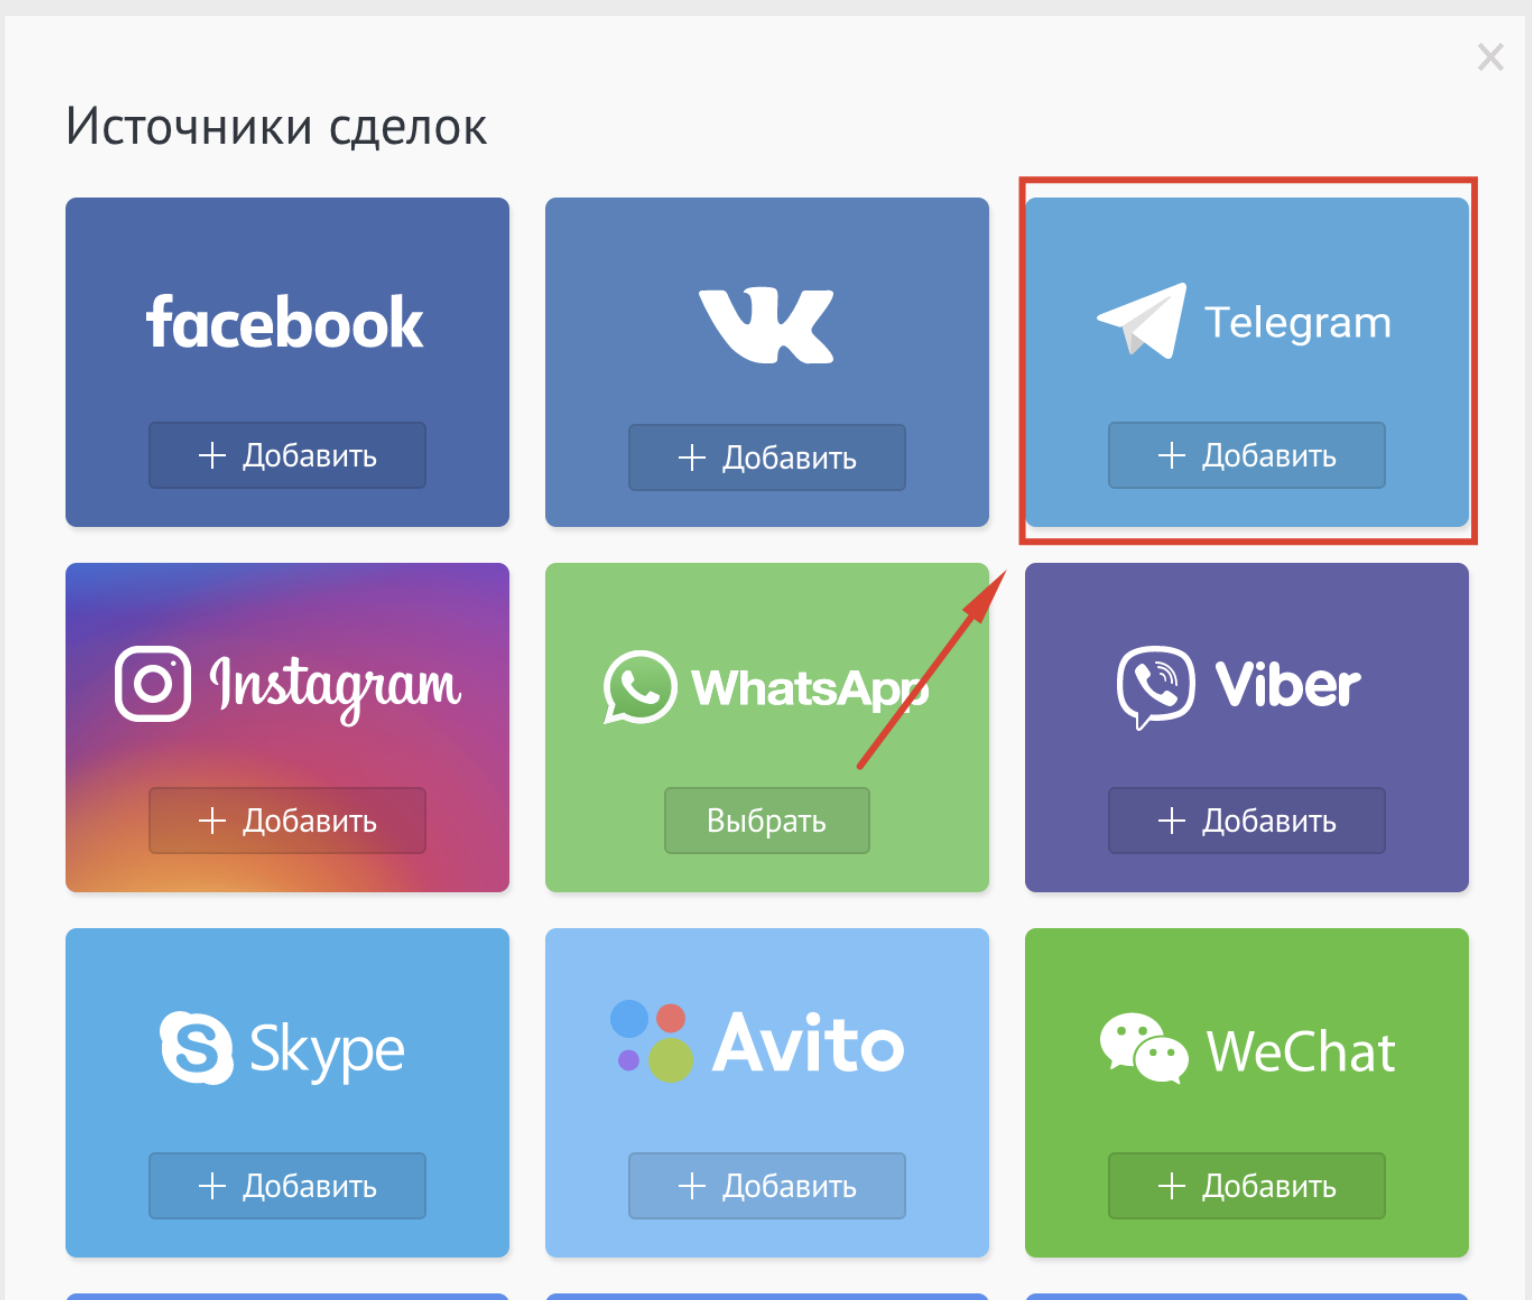
In lead sources, click on Add

Select a messenger

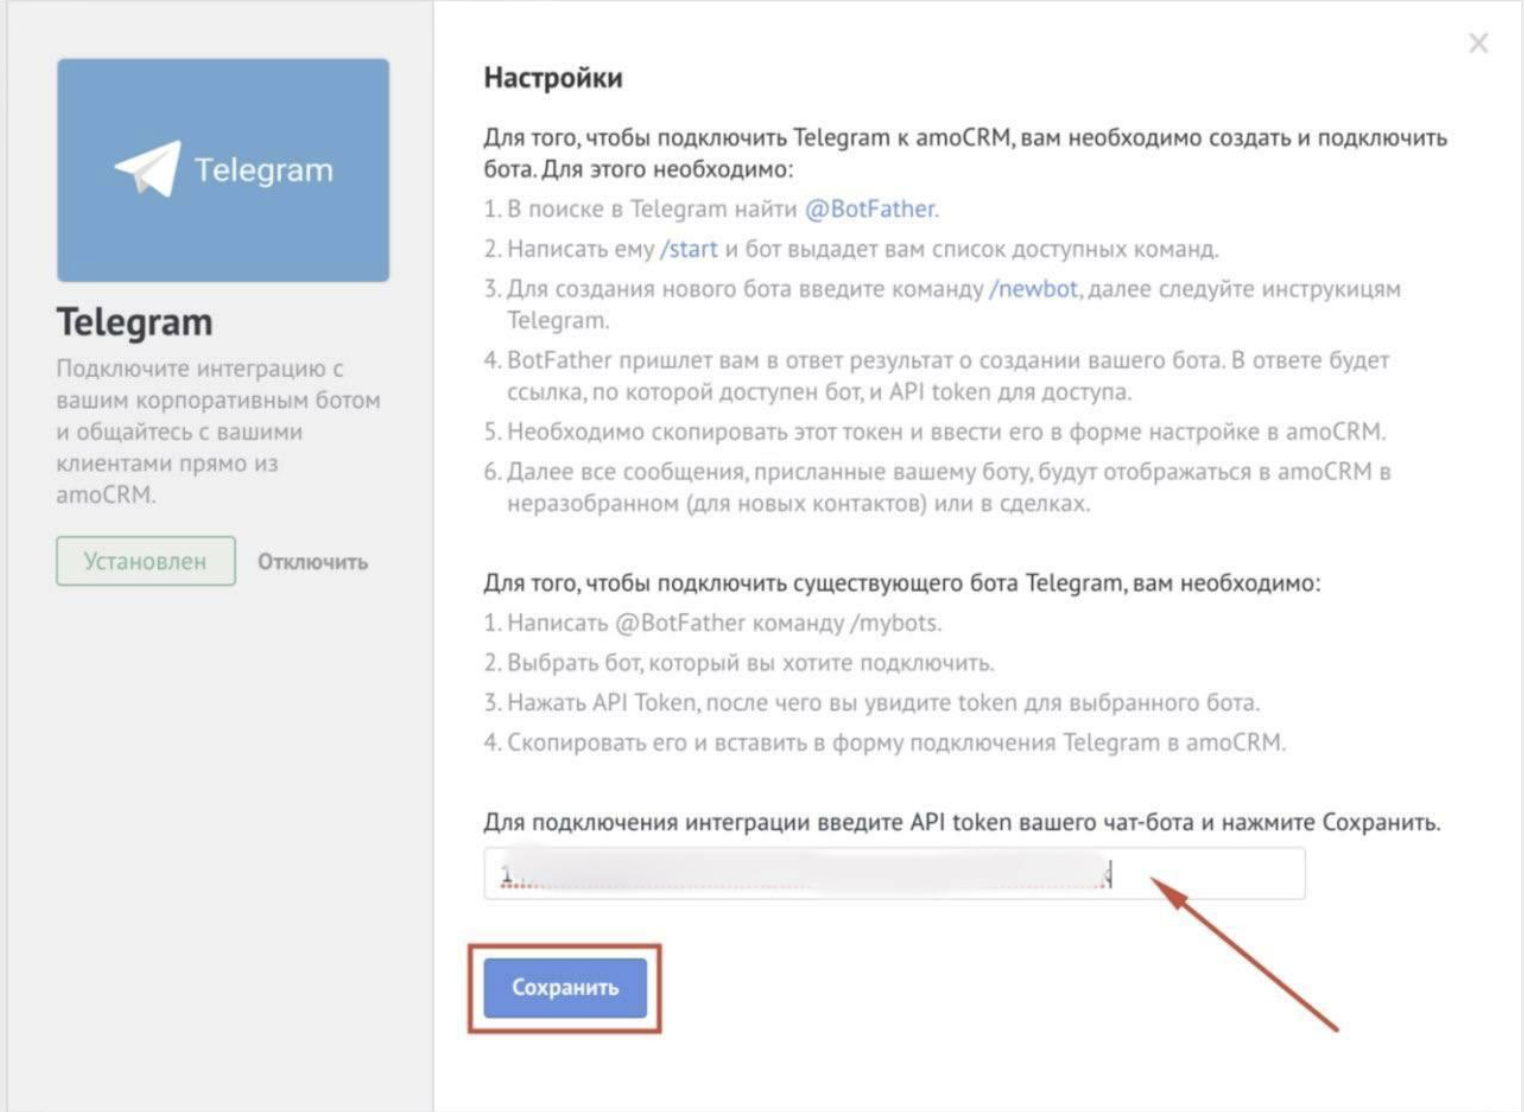
Click Install, enter the bot token and click Save

Click Next step and select Stop bot

Direct link to the last account in the lead
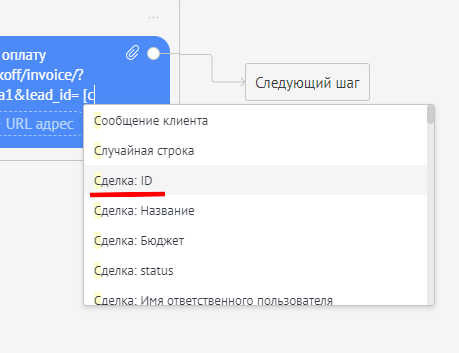
You can use a direct link to send to the client. This link will automatically open the last created account in the lead:
https://sp1-nova.ru/api/pay/?account_id=YOUR_ACCOUNT_ID&lead_id=[Lead: ID]
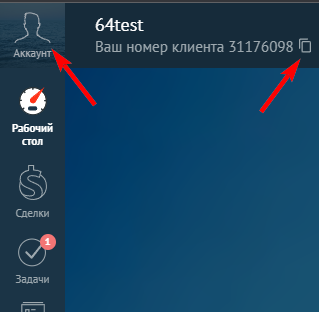
Where account_id is the ID of your Kommo account.
How to find account_id: in the Kommo address bar your domain looks like NAME.kommo.ru, and account_id can be found in the account settings or in the API request URL.
After the client has made the payment, you can send him a message stating that the payment has been completed
1. In the lead, click Setup
2. In the Payment received status, click on Add trigger
3. Select Salesbot


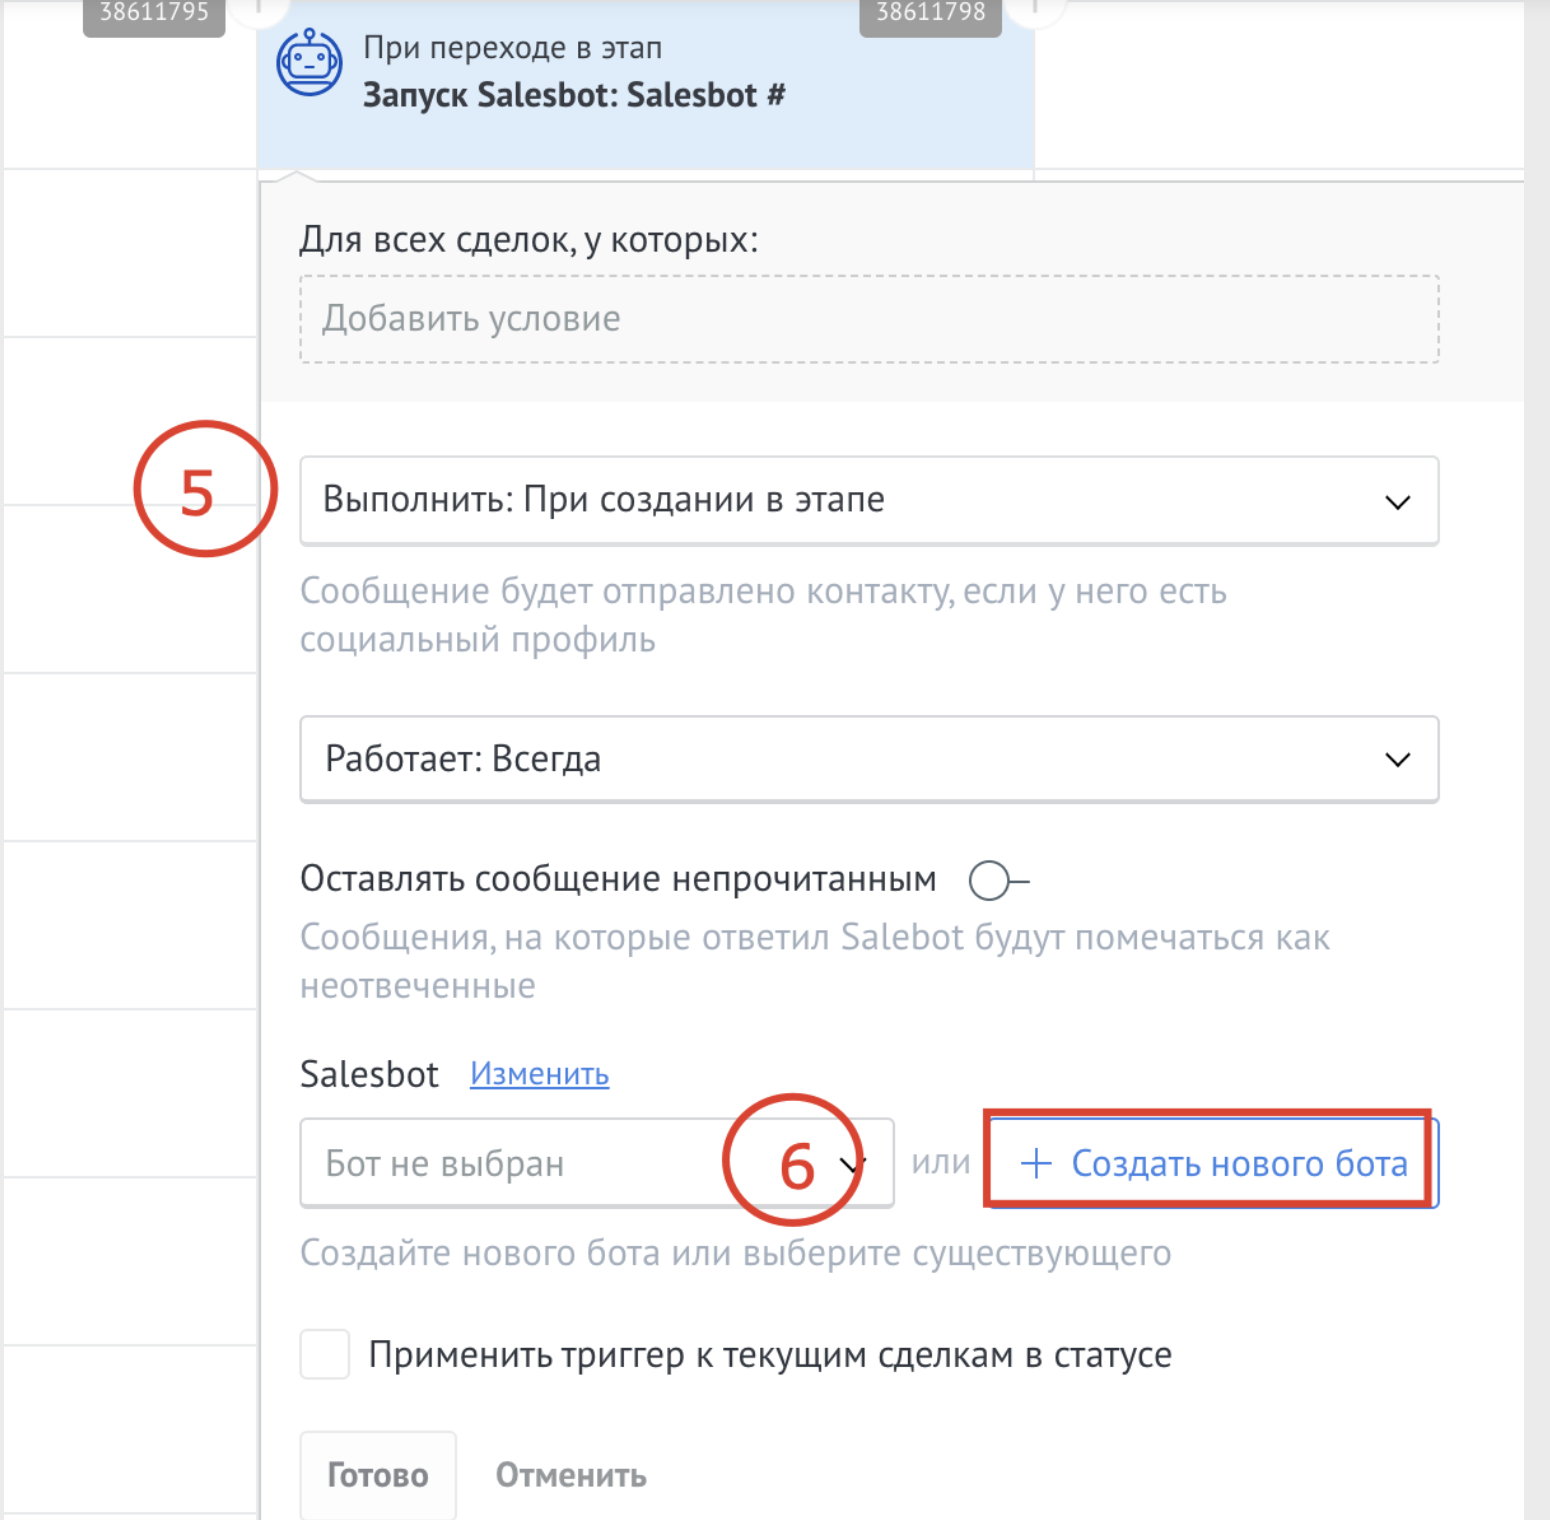
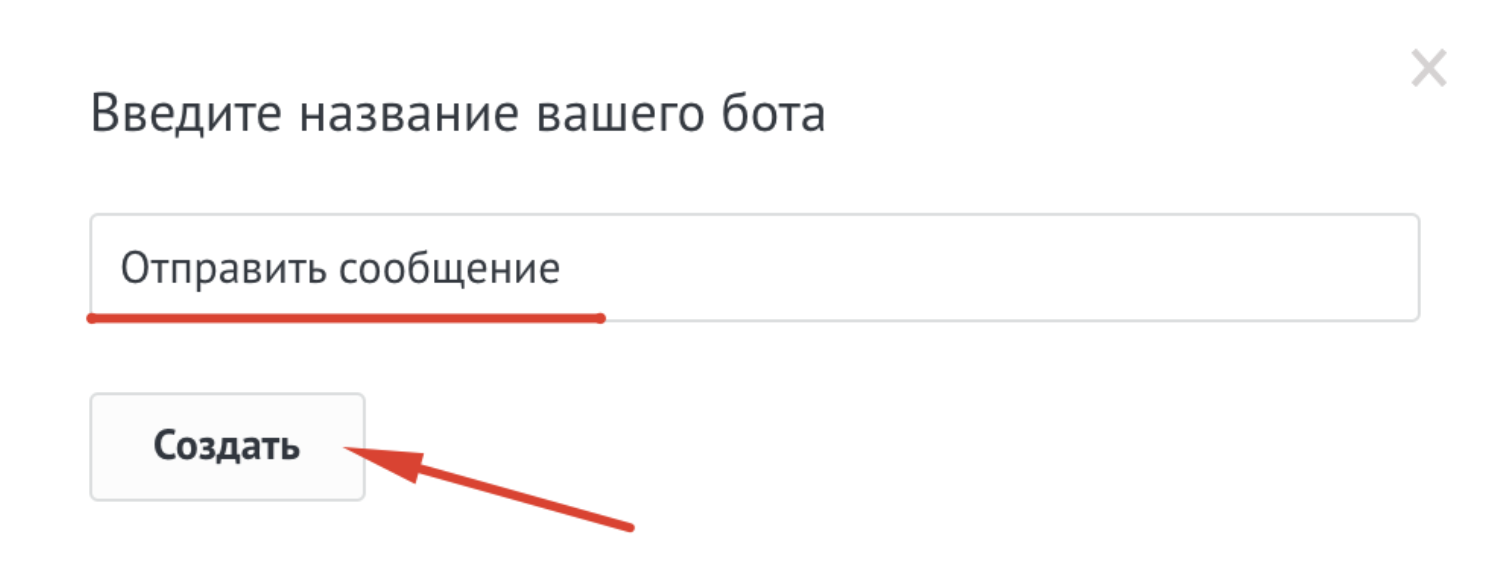
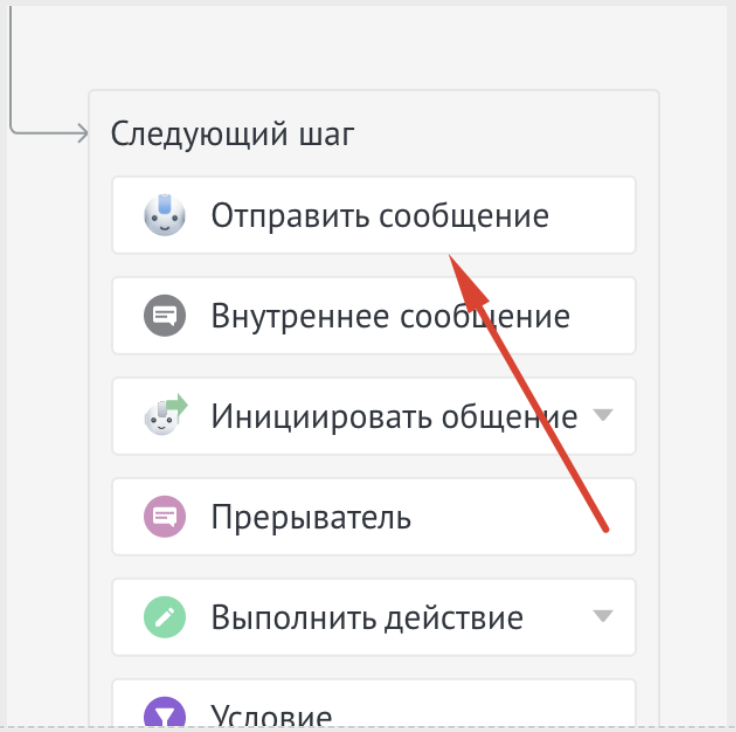
You can select a ready-made bot from the list or create a new one

You can use PAYWALL from NOVA where invoice items will be displayed, as well as the text of the offer and a button to proceed to payment
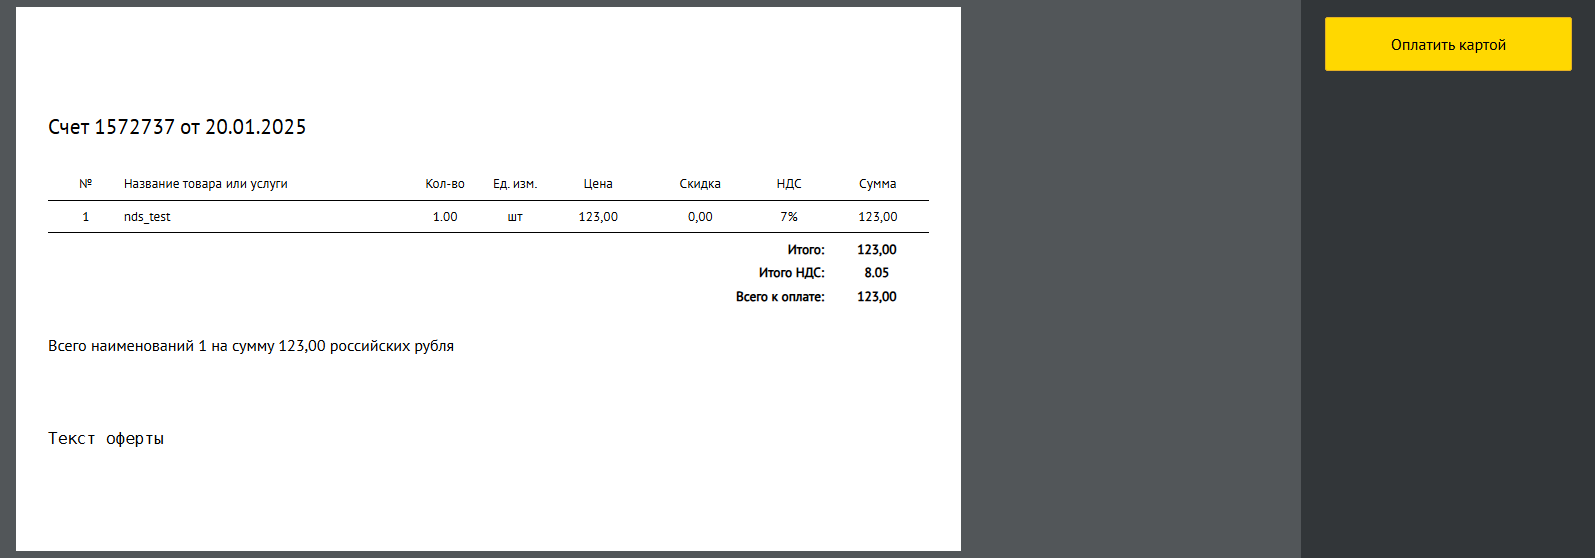
To do this, you need to fill out the Comment field on the invoice, which is in the list of my legal entities Kommo https://www.kommo.ru/support/lists/list-of-invoices-and-purchases