Integrations

Google Drive integration with Kommo

The widget allows you to connect Google Drive cloud service to Kommo for storing lead information

Features

Upload files from a lead
Separate folder in Google Drive
Unlimited storage
Folders by lead ID
Access rights management
Automatic upload from Kommo

Installation and setup guide

Detailed guide for working with widget "Google Drive integration with Kommo"

Widget setup

After installing the widget, you need to go to the "Google Drive" section
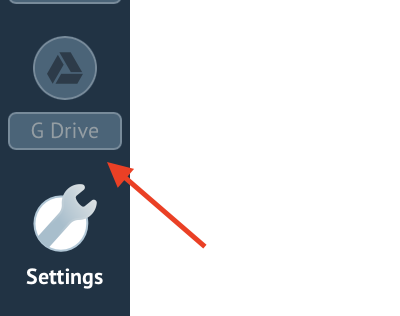
Click "Connect"
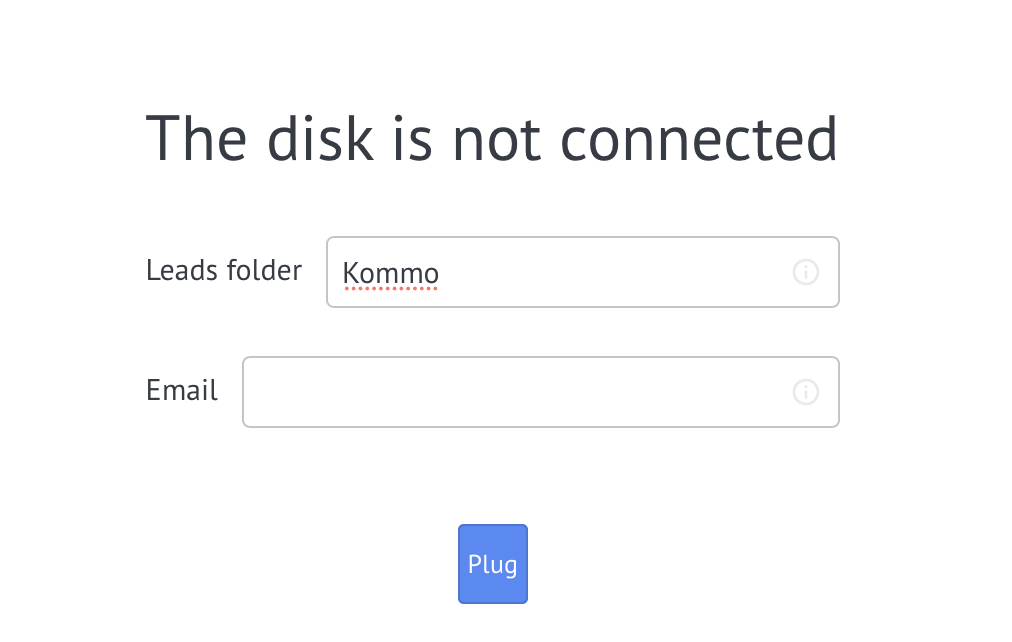
Enter your data, click “Login”

Go to Kommo and click Update
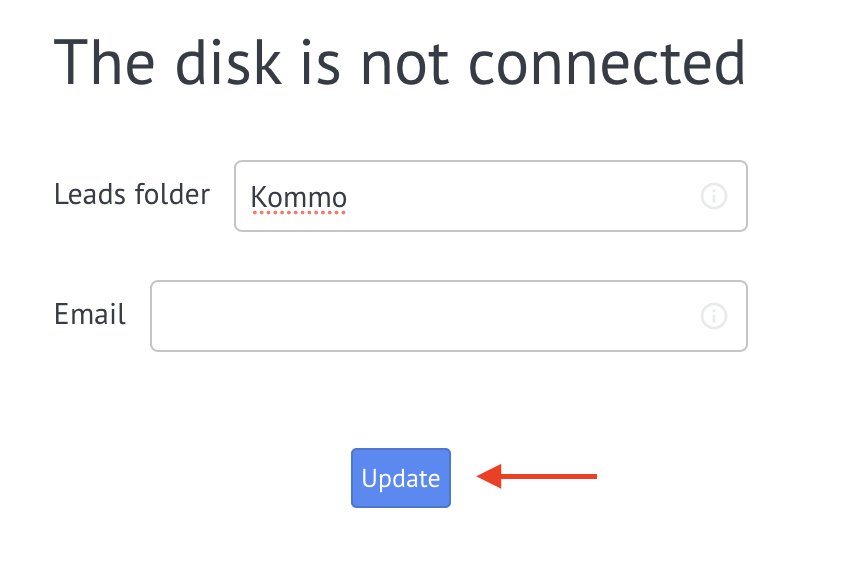
We enter any lead or create a new one, and the “Google Drive” item will appear in the top menu

In order to add a file to Google Drive, you need to click on the “Drag files” area, a window will open, select the desired file
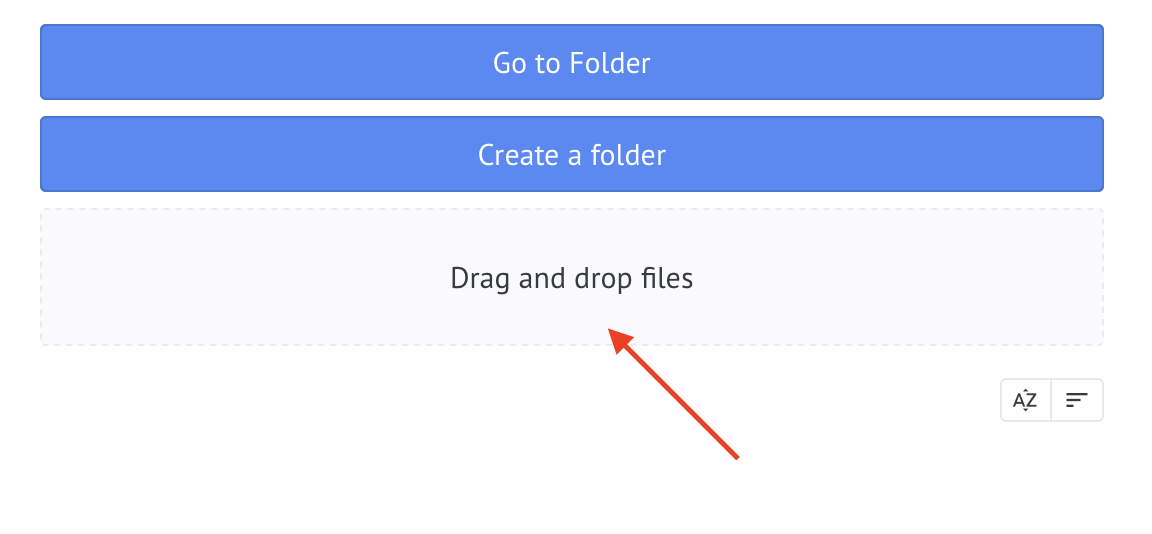
Or drag the file into the "Drag and drop files" area
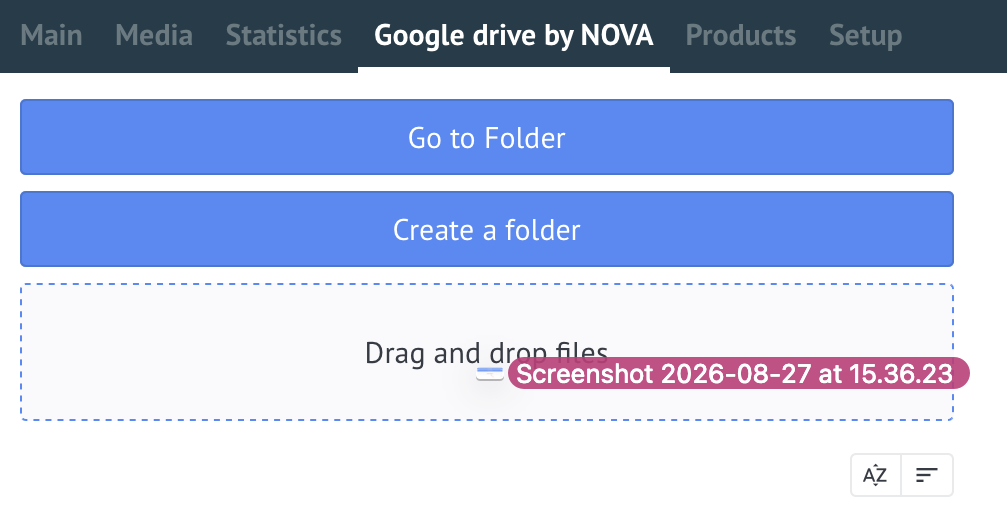
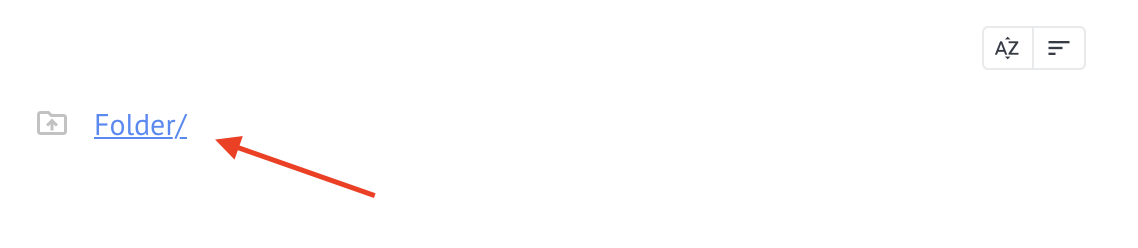
You can also create folders to upload different file types/categories.
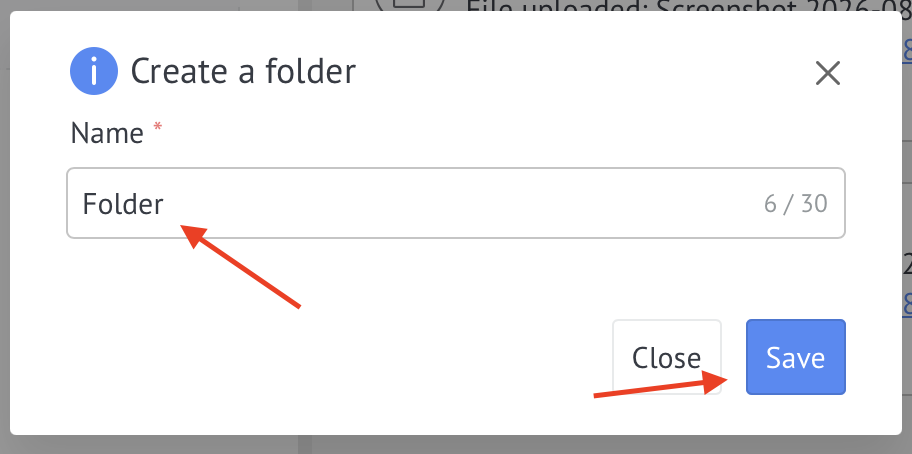
To do this, click Create folder
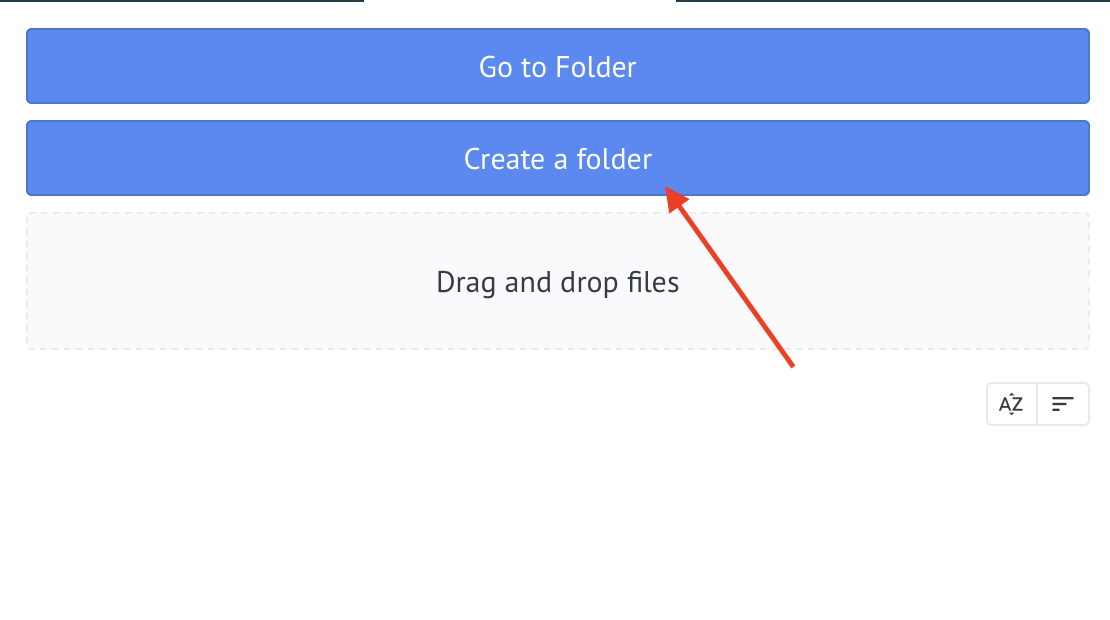
Enter a name in the window that appears and click Save
To download files to this folder, you must go to it
Hide folder access

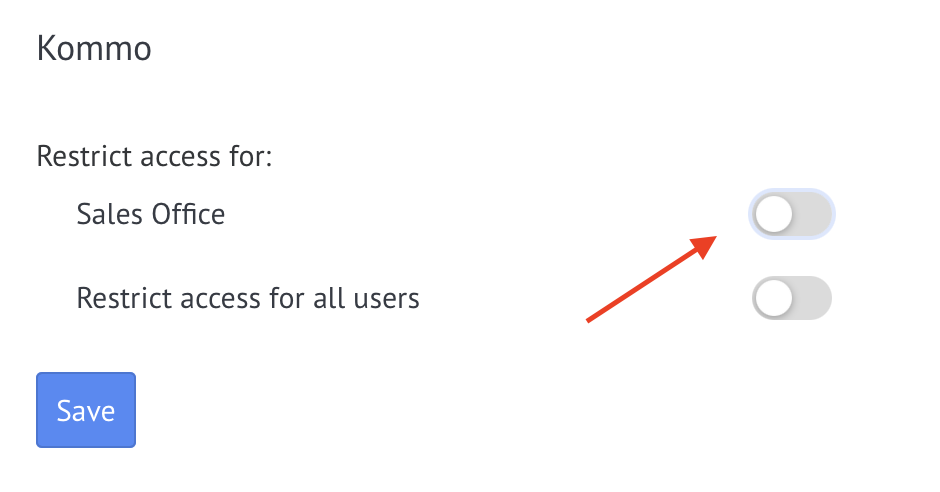
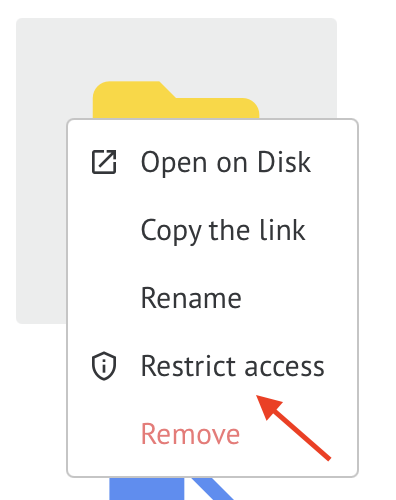
You can hide access to folders from users who are not administrators. To do this, go to the Google Drive tab, right-click the desired folder, and select Restrict access

Select the manager from which you want to hide the folder and click Save

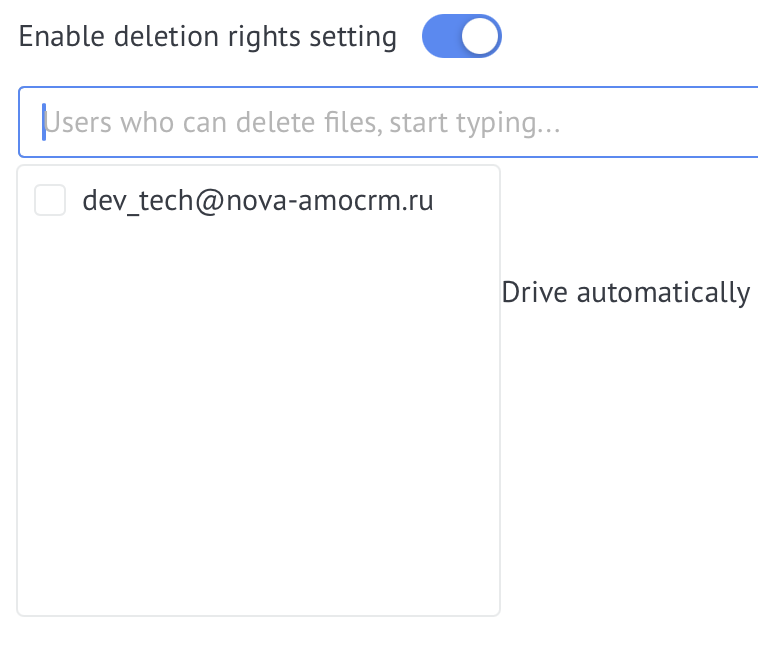
Deletion rights

By default, only Administrators can delete files.
To allow other users to delete files/folders, enable the "Enable deletion rights settings" checkbox and select managers
When enabled, only the selected users will be able to delete files.

Upload files from Kommo to Google Drive

The automatic upload of files from Kommo to Google Drive is needed to transfer documents from Kommo file storage to Google Drive once a day, thus freeing up space in Kommo storage.
Only files linked to entities in Kommo are uploaded.

To enable this feature, go to the widget settings, enable the checkbox, and click Save