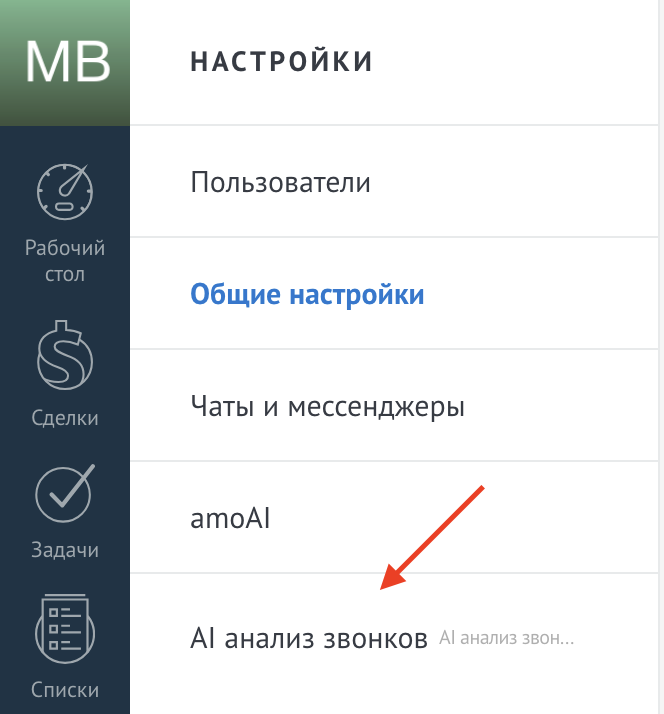
In order to start working with the agent, we need to write instructions for it; for this we need to go to the widget settings
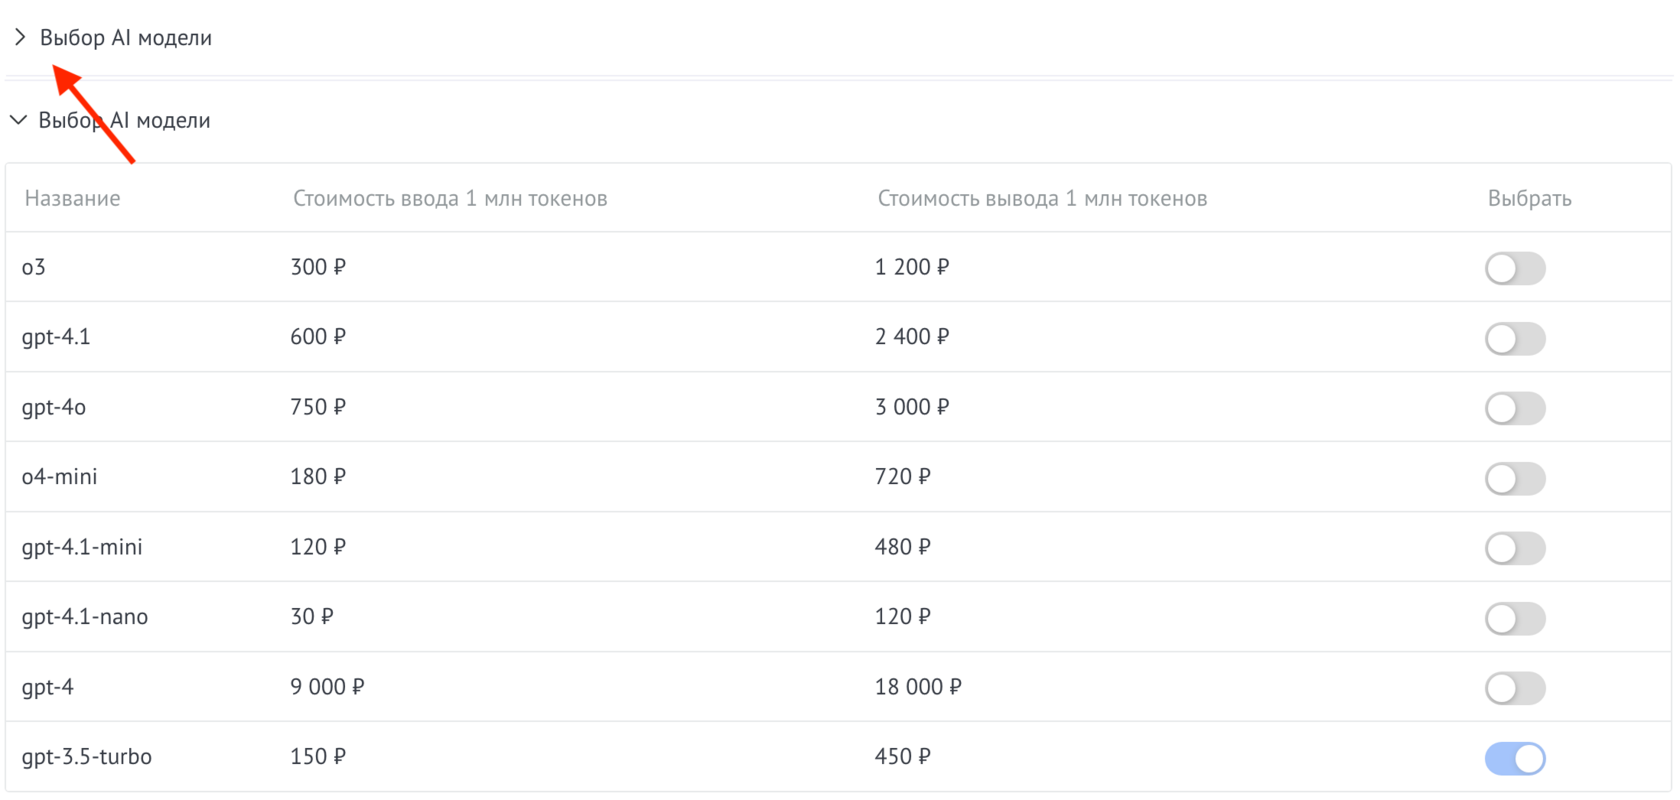
First you need to select an AI model
Next, select which calls to process: incoming/outgoing

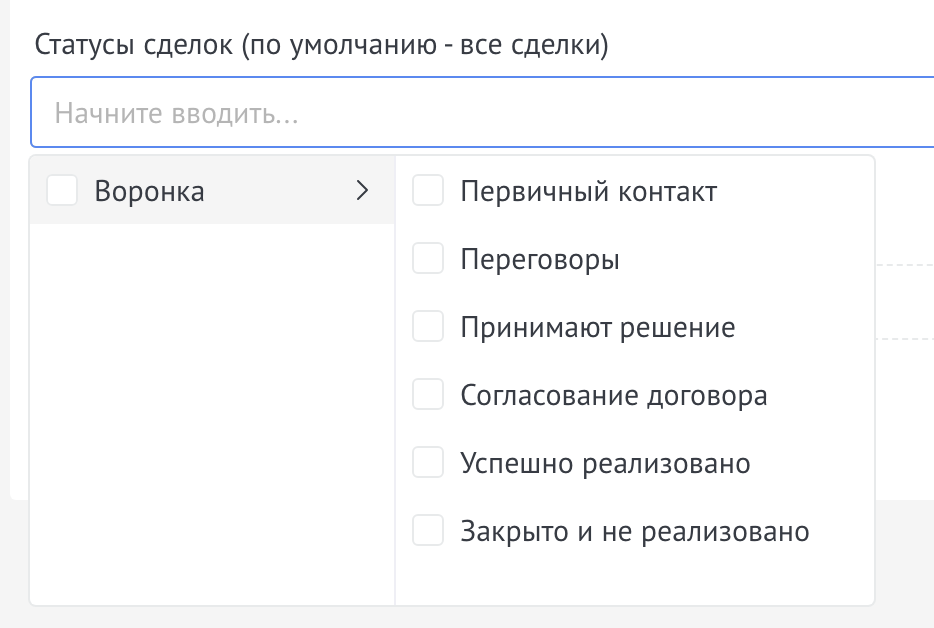
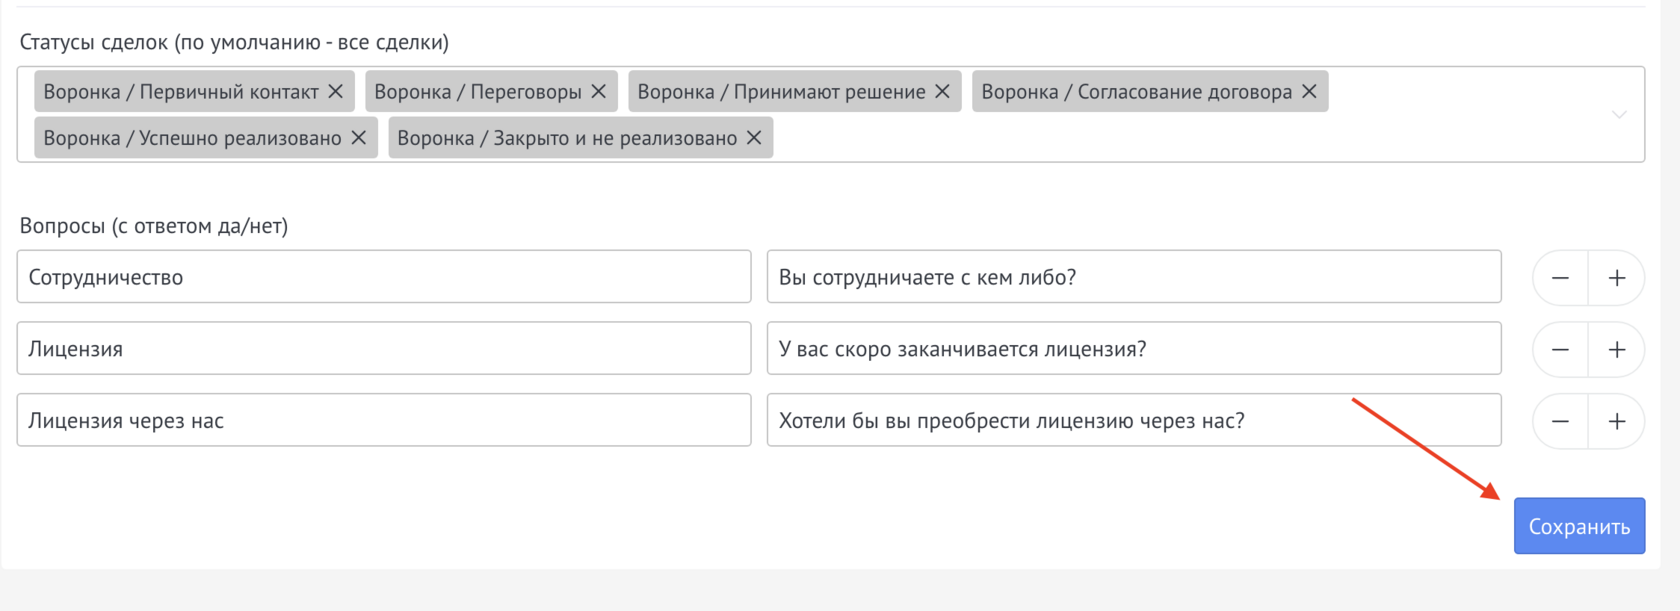
Next, select the lead statuses in which the widget will work
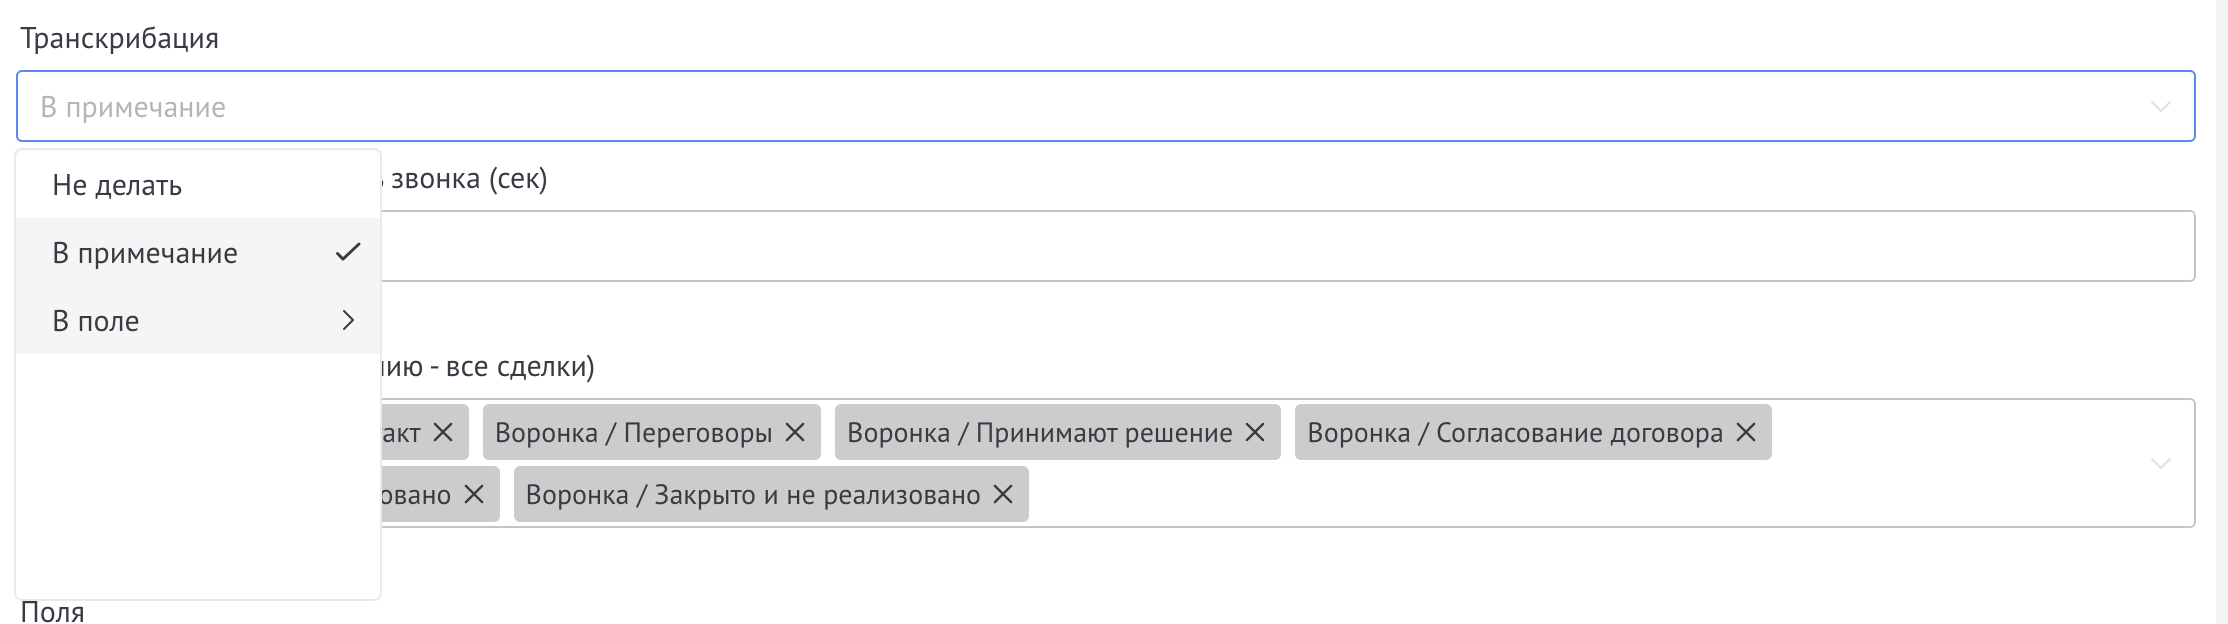
Next, select where to record the transcription:
- in a CRM custom field;
- in a note/activity feed;
- do not do
Next, enter the minimum call time for processing

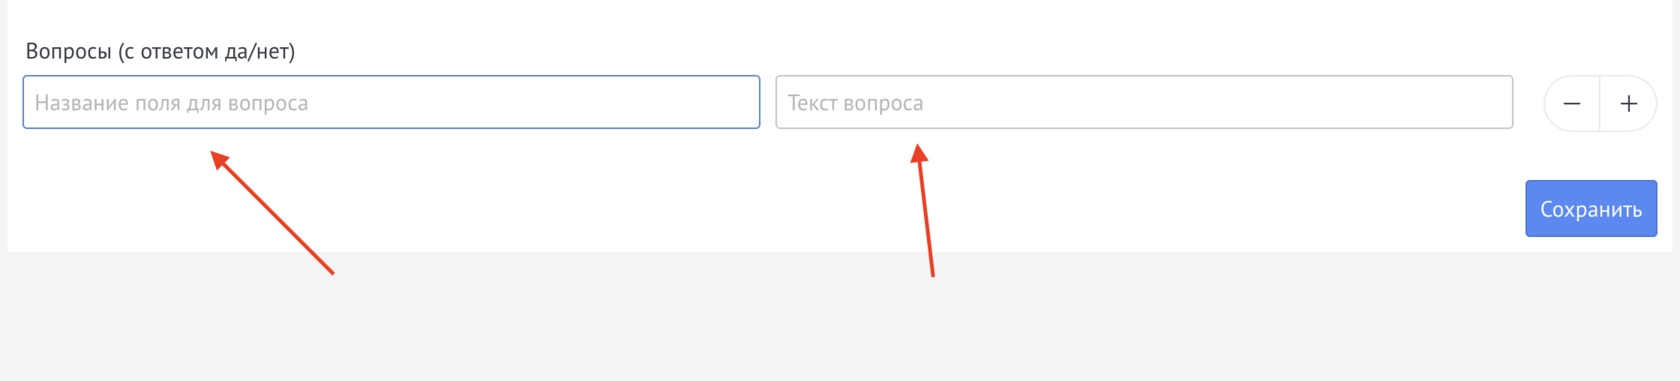
Next you need to enter the name of the field for the question (this field will be created automatically in the lead on the “Call Analysis” tab)
And enter the text of the question
Or you can create a field in which you want to record the answer in the settings.
Select “Create field”
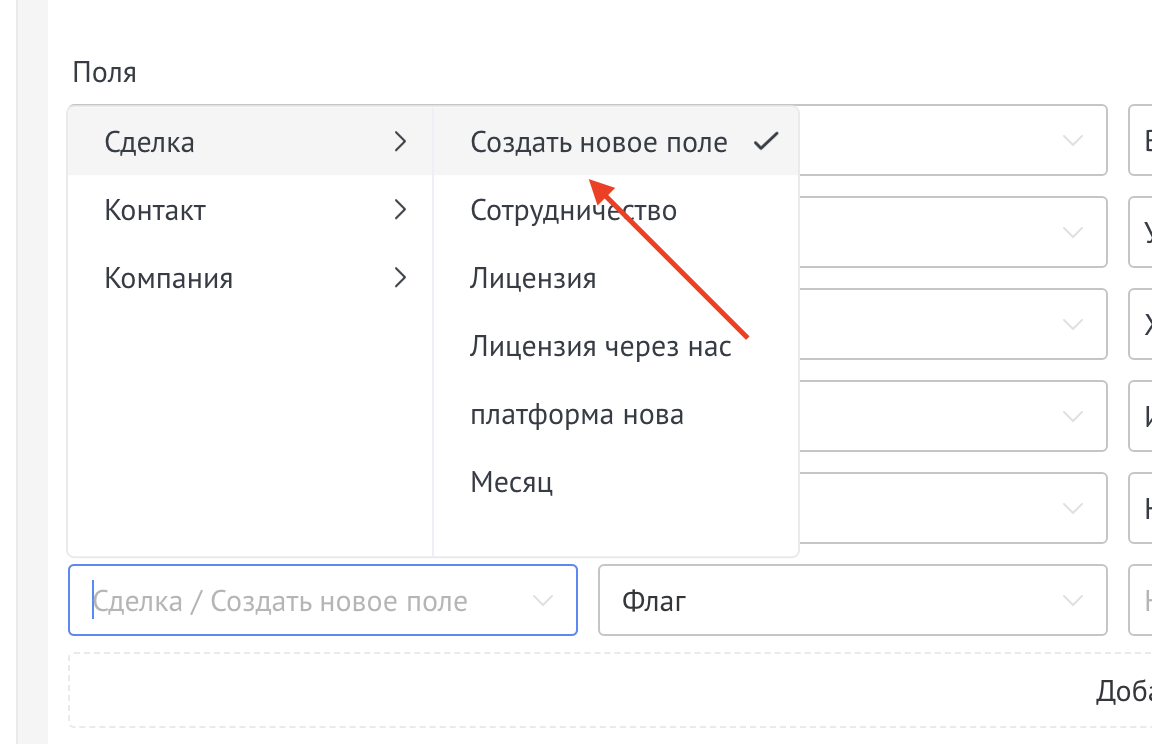
Select the type of field you want to create
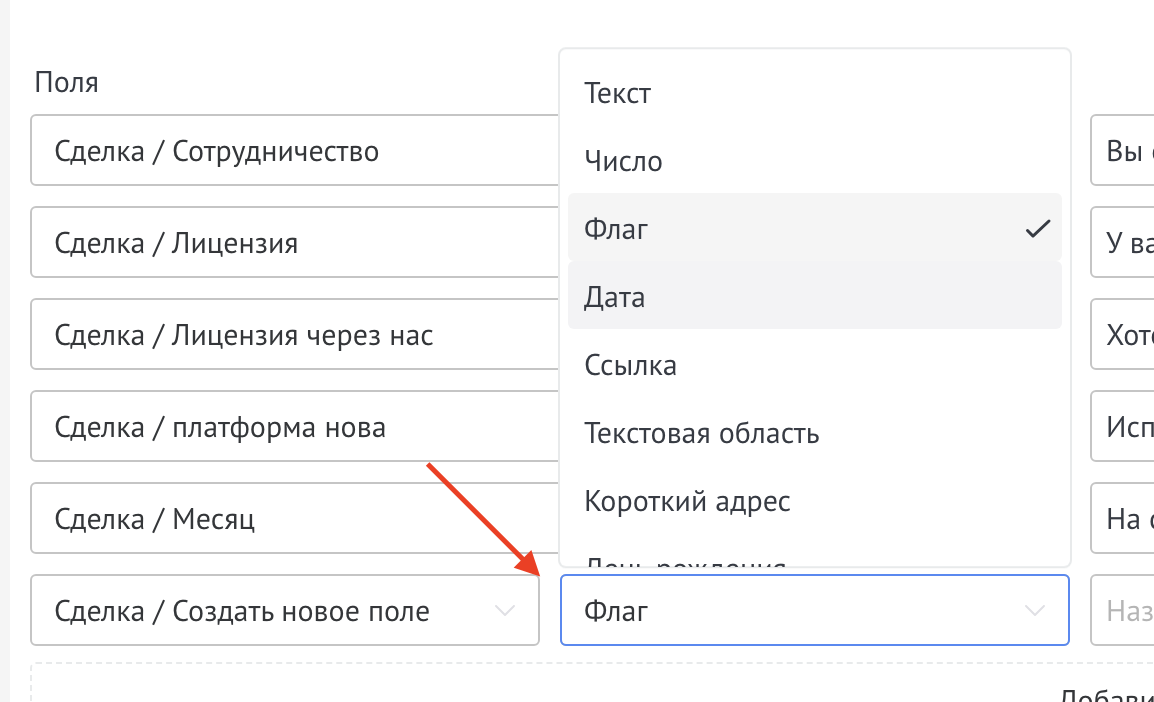
Next, enter the name of the field and the question the answer to which you want to place in this field
After adding all fields, you need to save the settings
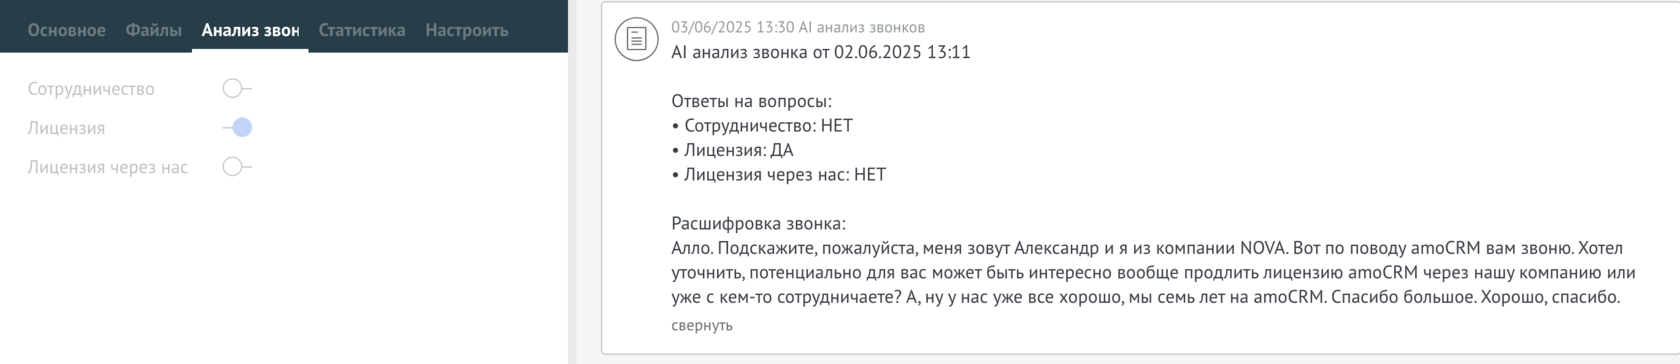
After the conversation ends, the widget will add a text transcript of the call, analyze the answers and in the tab indicate whether the interlocutor answered positively or negatively
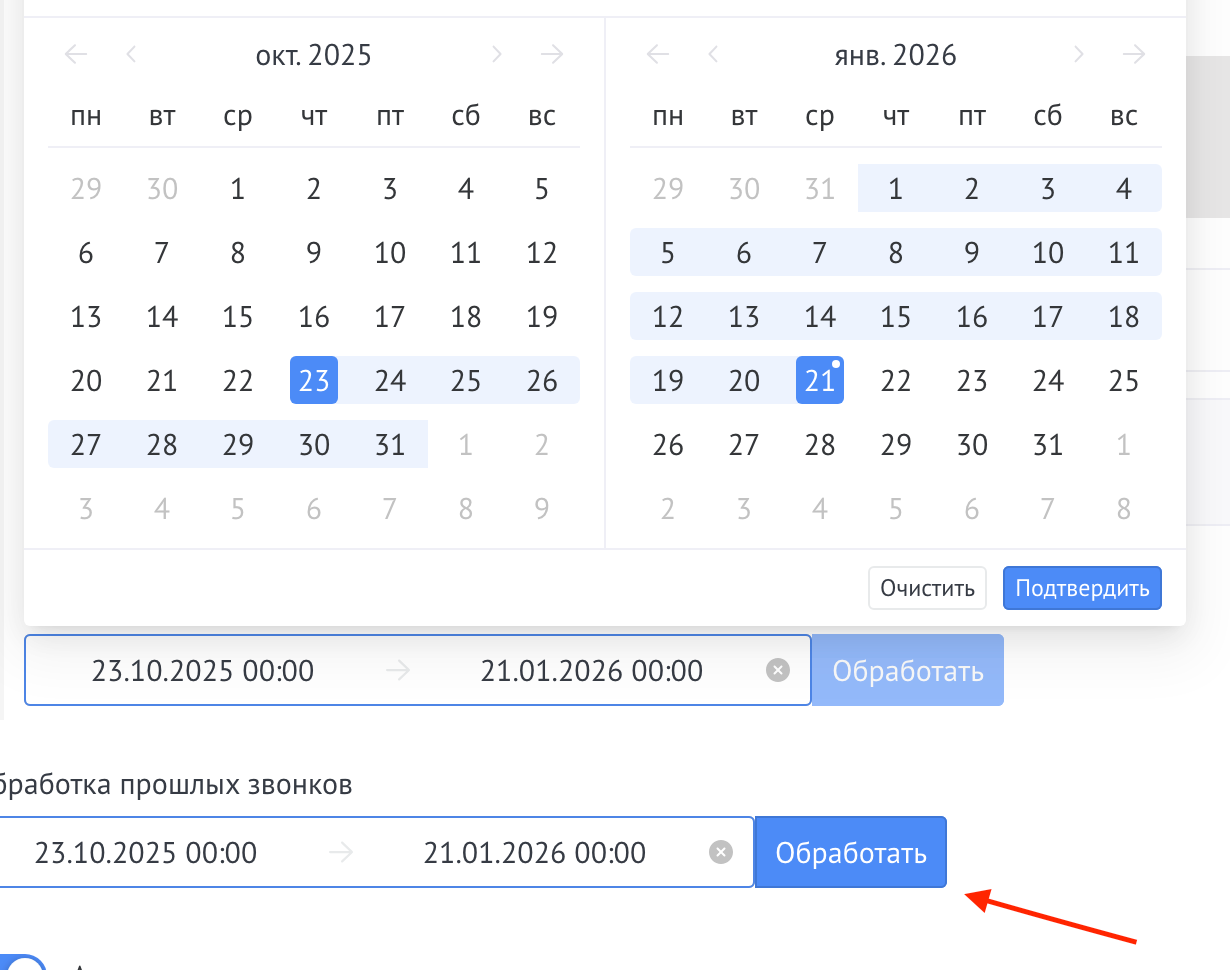
You can process past calls. To do this, you need to specify the period for which you need to process calls